Article by Dr. Josh Axe
 Keto Fat Bomb Recipe with Cinnamon & Almond Butter
Most of us have spent our lives avoiding fat. When eating keto, Making the adjustment to not just eating fat but embracing fat can be tough. And if you’ve ever wondered how to eat more fat on keto, keto fat bombs are key.
What are keto fat bombs? Low-carb and low-protein, keto bombs are high-fat snacks, making them a great way to increase your fat intake on the keto diet, while also controlling hunger. They’re similar to energy balls, but keto bombs skip the oats, grains and sweeteners that make up most of those. Instead, they’re packed with healthy fats like nut butters, grass-fed butter and other tasty, high-fat foods.
Prep Time: 10 minutes,
Total Time: 1 hour,
Serves: 12
INGREDIENTS:
- 1/2 cup Grass-fed butter (1 stick)
- 1/2 cup Almond butter (crunchy or smooth)
- 1 tsp. Vanilla extract
- 1/2 tsp. Cinnamon
DIRECTIONS:
- In a small saucepan over medium-low heat, melt the butter and almond butter. Remove from the heat.
- Add in the vanilla and cinnamon, stirring until well-combined.
- Line a muffin pan with liners and equally distribute the mixture into the 12 liners.
- Freeze for 30 minutes to 1 hour.
 Avocado Deviled Eggs Recipe (the Ultimate Keto Snack)
Avocado deviled eggs are a delicious option for anyone seeking to snack on healthy keto fats. One egg is about 78 calories and has a whopping 6.3 grams of protein, while one serving of avocado is packed with 113 calories, vitamin K, folate, vitamin C, healthy monounsaturated fats, fiber and protein.
These healthy deviled eggs are vegetarian-friendly, dairy-free and fit into Paleo and ketogenic diets.
Total time: 25 minutes,
Serves: 6
INGREDIENTS:
- 4–6 Eggs
- 1 Avocado
- ¼ tsp. Sea salt
- ¼ tsp. Pepper
- ¼ tsp. Garlic powder
- ¼ tsp. Chili powder
- ¼ tsp. Cumin
- ¼ tsp. Smoked paprika (optional)
- 2 Tbsp. Cilantro, for garnish
DIRECTIONS:
- In a medium pot, add eggs and cover with water until fully submerged.
- Bring to a boil, then remove from heat and cover for 12–13 minutes.
- Fill a large bowl with ice water and, using a slotted spoon, gently place eggs in the bowl, allowing eggs to chill for 5 minutes.
- Remove shell from eggs and slice in half lengthwise, removing the yolk.
- In a bowl, combine yolks with the avocado and spices, mixing until well combined.
- Add the mixture to the egg halves.
- Drizzle with lime juice and top with cilantro.
 Keto Coffee Recipe
Keto coffee is the perfect morning or afternoon beverage for someone following a ketogenic diet. It’s also a way of giving this ketogenic philosophy of eating a try, with a healthy keto drink!
Instead of loading your coffee with carbohydrate-rich milk and sugar, you’ll add in seriously beneficial nutrients like beef gelatin and bone broth collagen, and substitute some vitamin-rich butter for creamer. Replacing sugar with a nice sprinkle of cinnamon satisfies a need for sweet and helps to keep blood sugar from spiking.
Total time: 5 minutes,
Serves: 1
INGREDIENTS:
- 1 cup Organic coffee
- 1 scoop Collagen powder made from bone broth
- 1 scoop Beef gelatin (optional)
- 1 Tbsp. Grass-fed butter
- 1 Tbsp. Coconut or MCT oil
- Cinnamon to sprinkle on top
DIRECTIONS:
- Add all ingredients to a high-powered blender, blending until well combined.
About Josh
Dr. Josh Axe, DNM, DC, CNS, is a doctor of natural medicine, clinical nutritionist and author with a passion to help people get well using food as medicine. Author of the books
Eat Dirt, Essential Oils: Ancient Medicine and the upcoming
Keto Diet: Your 30-Day Plan to Lose Weight, Balance Hormones and Reserve Disease (February 2019), he also operates the number-one natural health website in the world at
DrAxe.com, with over 15 million unique visitors every month. He’s a co-founder of Ancient Nutrition, a health company where the mission is to restore health, strength and vitality by providing history’s healthiest whole food nutrients to the modern world.
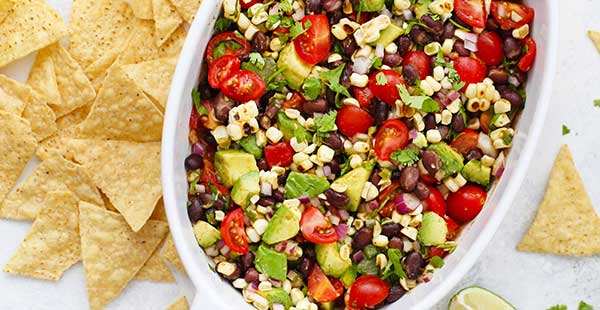 Combine classic bean dip with corn salsa to make the BEST double-decker dip around! Grab a bag of Sprouts tortilla chips and dive in!
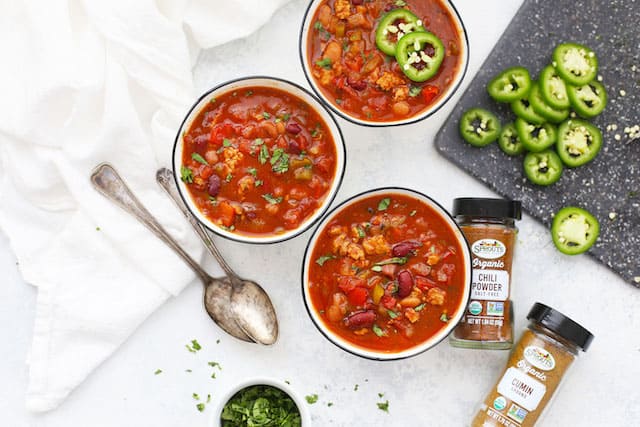 Simple Slow Cooker Chili is perfect for feeding a crowd on game days or chilly nights. Plus, the slow cooker does the work, so you can sit back and enjoy your afternoon!


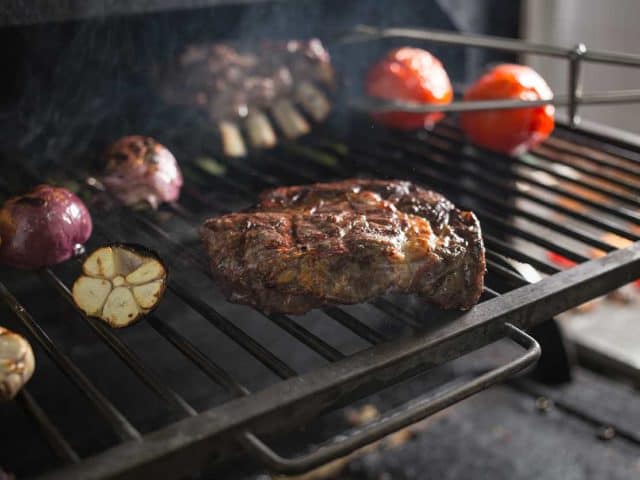 Whether it’s the ultimate burger or the perfect steak, these tips from our experts in the Butcher Shop, will help ensure you wow friends and family, every time.


 Roasted over a bed of root vegetables for extra flavor, this recipe couldn’t be simpler or more foolproof. Recipe provided by our blogger friend,
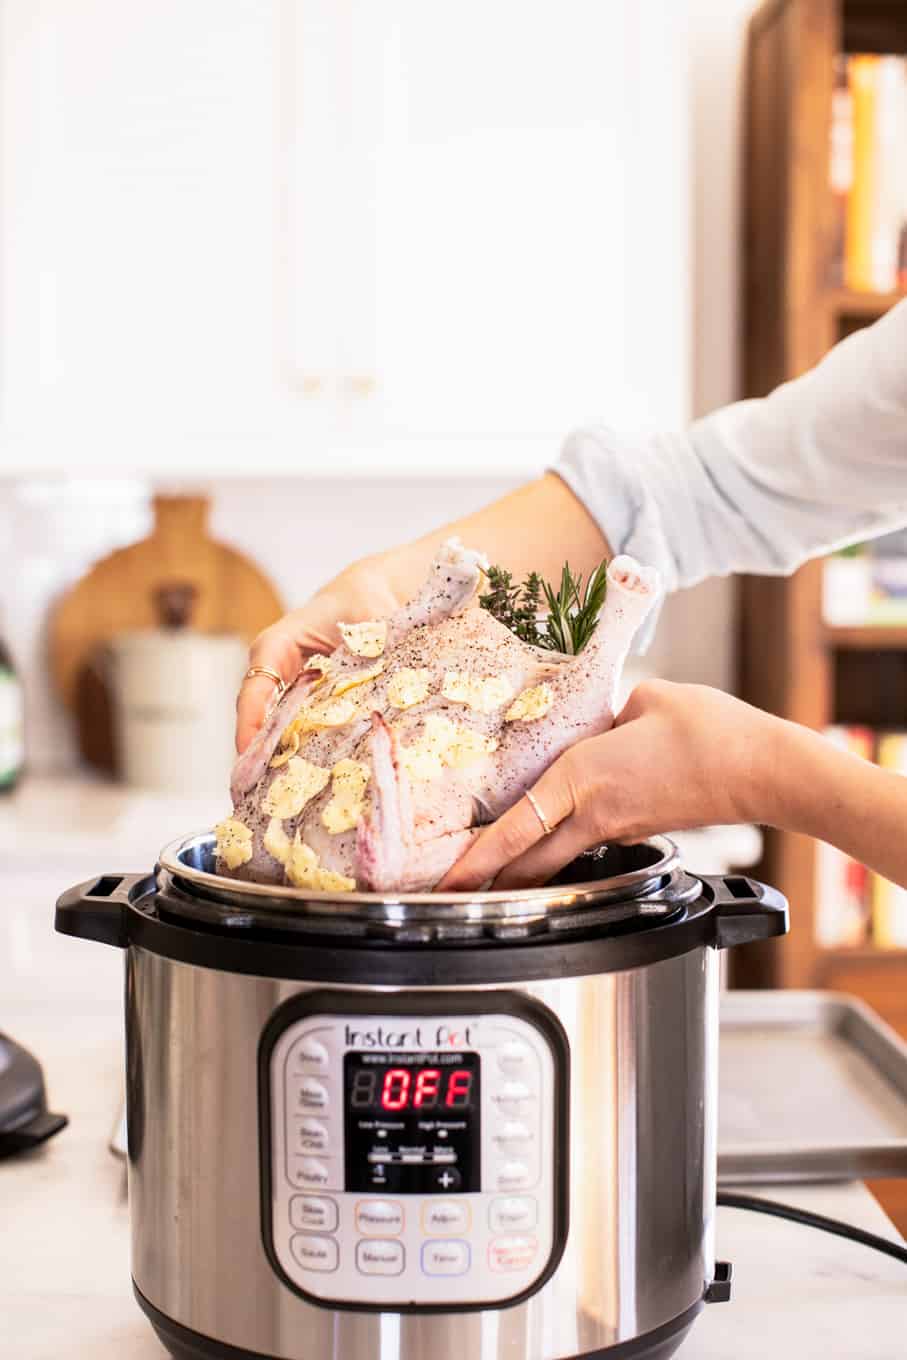
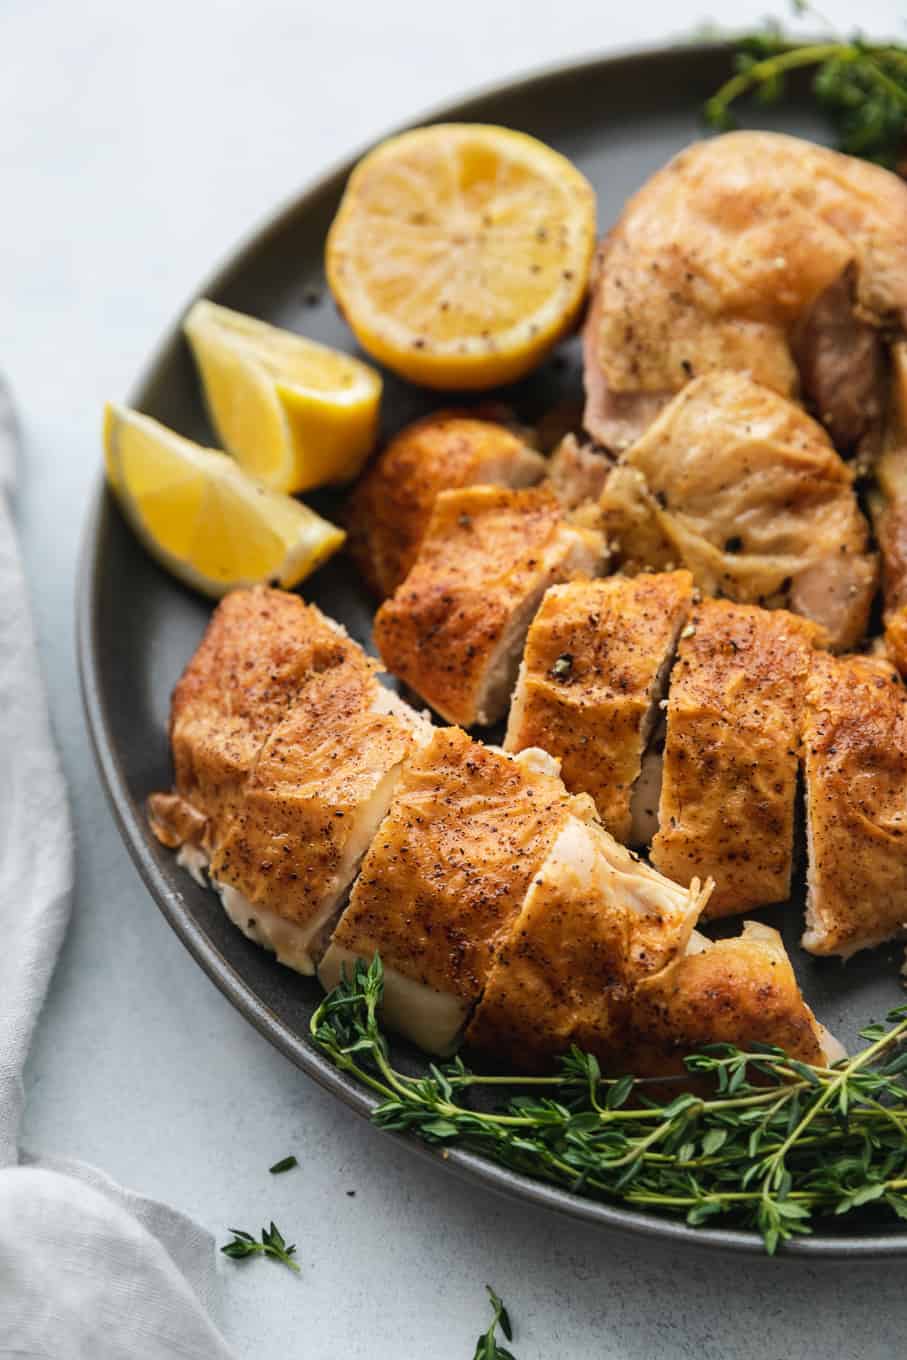
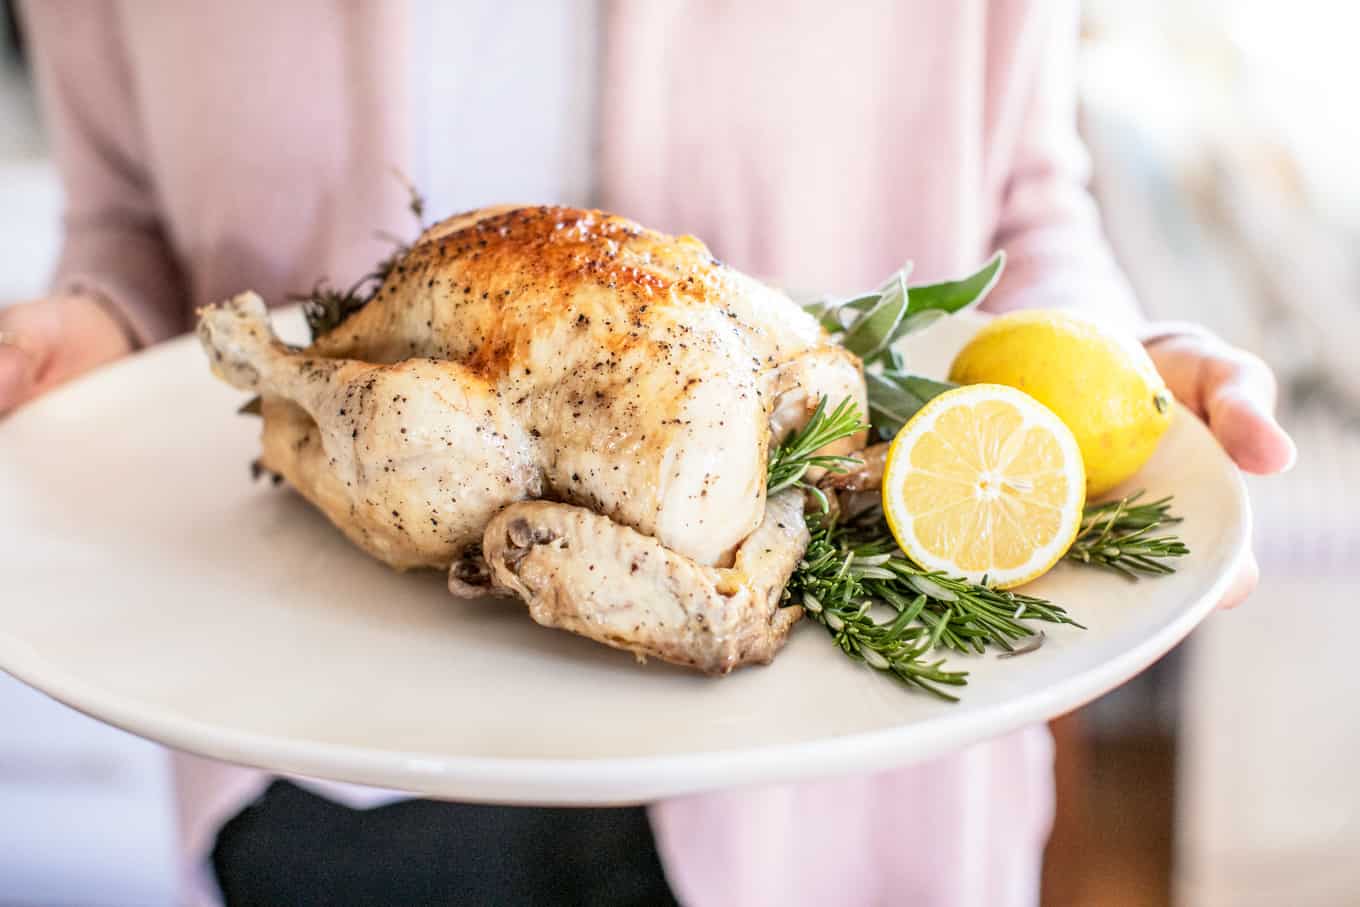 We love tasty chicken, and we especially love tasty chicken done in under an hour! Grab your instant pot multicooker and have dinner ready in a flash. *Note: for every pound add 6 minutes, for every half a pound add 3 minutes to total cooking time for whole chickens. Recipe provided by our blogger friend,