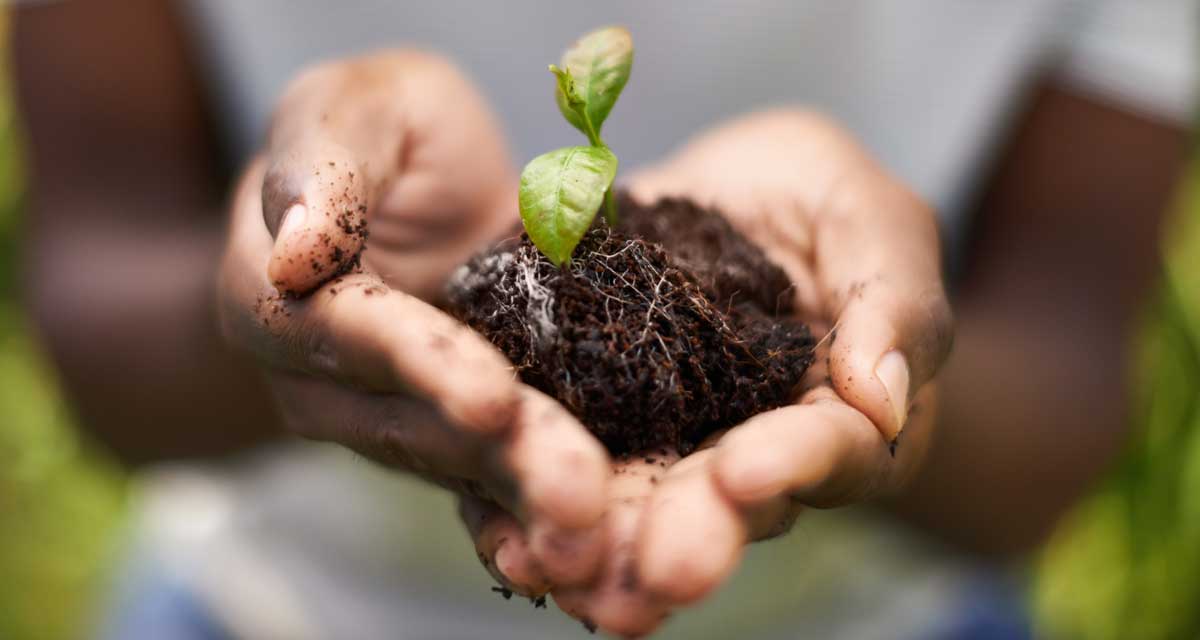
Did you know there is a difference between soil and dirt? Soil is nutrient-rich because it contains microorganisms, decaying organic matter, earthworms and other helpful insects. Dirt lacks all of those nourishing and living things. Even earthworms will not thrive in dirt—composting to the rescue! You can turn your dirt into soil with these composting steps.
 What is Compost?
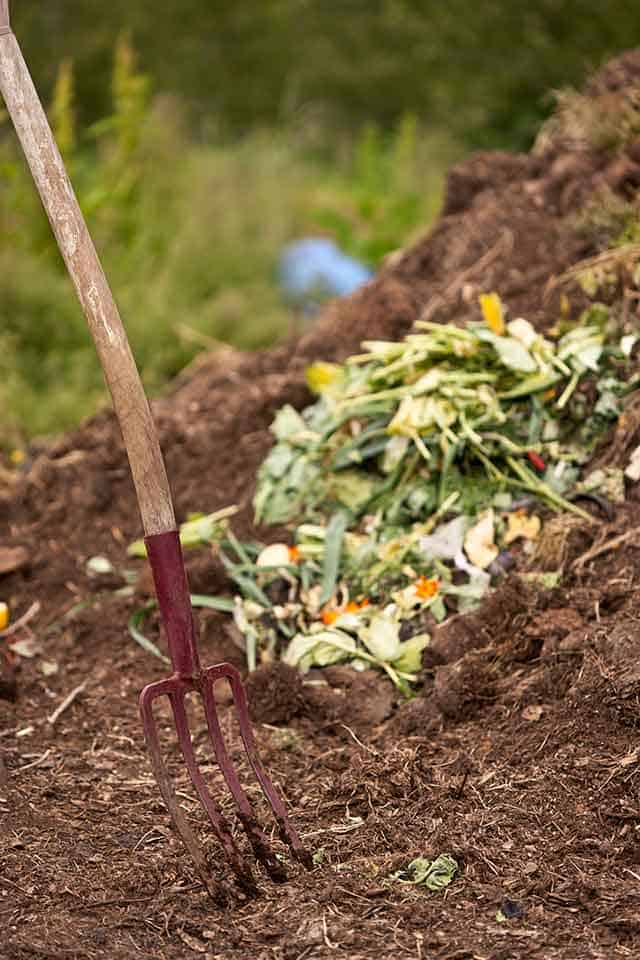
Compost is a mixture of decaying organic material that helps to fertilize soil. At its simplest form, you can easily make compost by taking your vegetable-based kitchen scraps and yard waste like leaves and grass, putting them in a pile, and letting nature decompose it into nutrient-rich fertilizer for your house plants, garden or plants in your yard.
1. Pile vs. Bin
Decide whether you’re a super-DIYer and want to build a place for a compost pile in your yard or you’d rather use a bin. There are loads of simple plans for containing a compost pile online as well as various types of compost bins. Choose whichever best suits you.
2. Placement
You’ll want to find a spot in your yard to place your composting bin or pile. Ideally, this spot is not too sunny and easy to access from your kitchen. (The easier it is, the more apt you’ll be to continue your new composting routine!)
3. Save up Stuff
You’ve got your bin or pile space all situated and ready to go, now’s the time to rake your yard for dried leaves to use as the base of your pile. You’ll also want to start saving kitchen scraps of veggies and fruits. (Remember, no animal products can make their way into your compost pile!)
4. Layering
Ideally, you’ll want to have about three times as much dried matter to the wetter fruit and veggie scraps from your kitchen. Put down the dried matter first, then add your kitchen scraps on top. Add a layer of soil and a little water to moisten and there you have it—your beginning compost pile!
5. Turning
You’ll need to turn your compost from time to time. Also, if it is dry, give it a little water. If it smells, it has too much water, add some crushed leaves (not more kitchen scraps), turn it and that should do the trick! If it’s really dry, it needs to be turned and watered, or add more fruit and vegetable scraps.
6. Ready to Use
You’ll know your compost is ready to use when it looks like dark rich soil. Add it to your houseplants or garden—they’ll love you and so will the environment!
Tip: Crushing or shredding your dried yard leaves and cutting your kitchen scraps into smaller pieces will help your compost turn into usable compost more quickly.
Did you know?
Crushed egg shells are the only exception to the no-animal products rule in composting. Including them in your compost pile adds calcium—an important nutrient in helping plants build cell walls!

 >
>
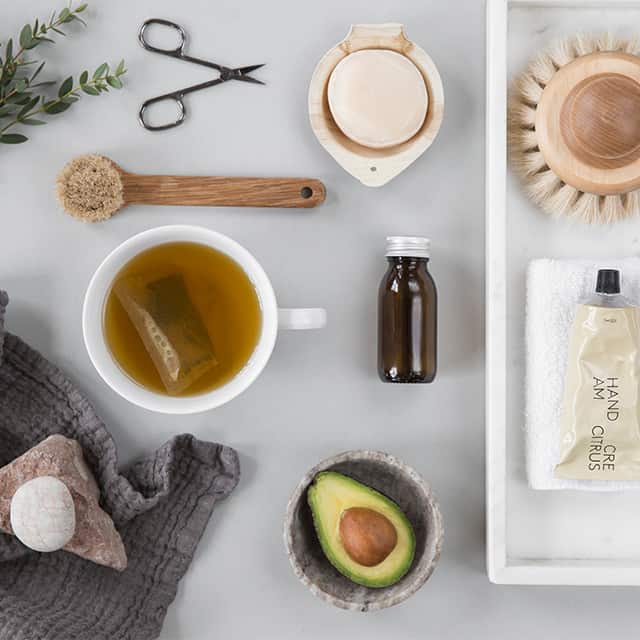 The New Year is full of big goals and new routines, but you can’t achieve great things if you aren’t taking care of your body and mind. Next time you’re feeling a bit stressed, take a step back and implement some of these self-care tips so you can be your best year-round!


 Marbled Pumpkin
 Pushpin Pumpkin
 Embellished Pumpkin
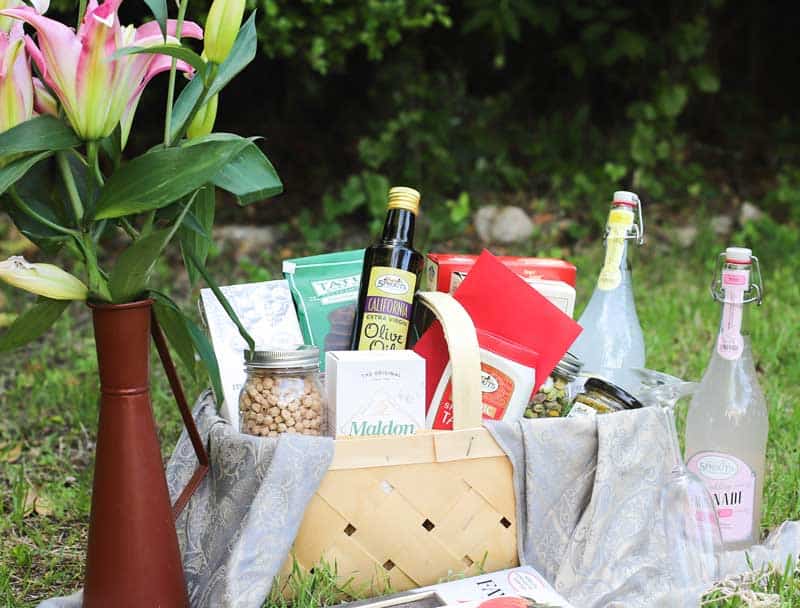
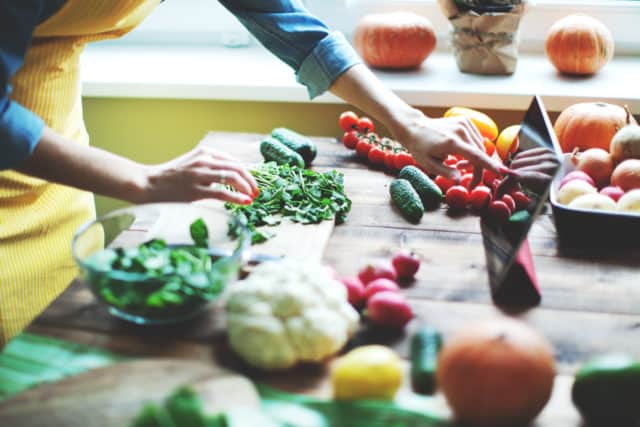 There are a lot of benefits to meal prepping in order to create multiple meals or snacks for the upcoming week. It can reduce stress, save time and money, and help you and your loved ones eat a little healthier, too.