Recycling seems pretty simple. But did you know things like cleanliness and contamination play into the whole system? To help you become a model recycler, we’ll be answering questions like, how clean is clean? And, can those plastic windows in envelopes be included with the paper?
Does recycling really matter?
Yes! Here’s a recycling fact: Recycling one aluminum can saves enough energy to run a TV for two hours, or a laptop for three hours or light a 100-watt bulb for 20 hours.
The Benefits of Recycling
When we choose to recycle things like paper, cardboard, glass and plastic, we’re sending less material to the landfill. At the same time, when those materials we divert from the landfill are reused, they’re saving other valuable natural resources like water, trees and minerals. Recycling also benefits our economy by creating a domestic source of materials. Last but not least, recycling saves energy.
What Can Be Recycled?
The best answer to this question is: Check locally! Because recycling programs vary from one area to the next, there is no set answer for what materials can be recycled in your neighborhood. The non-profit organization,
Keep America Beautiful, has a fantastic website to help you find information on the recycling programs in your area—searchable by zip code!
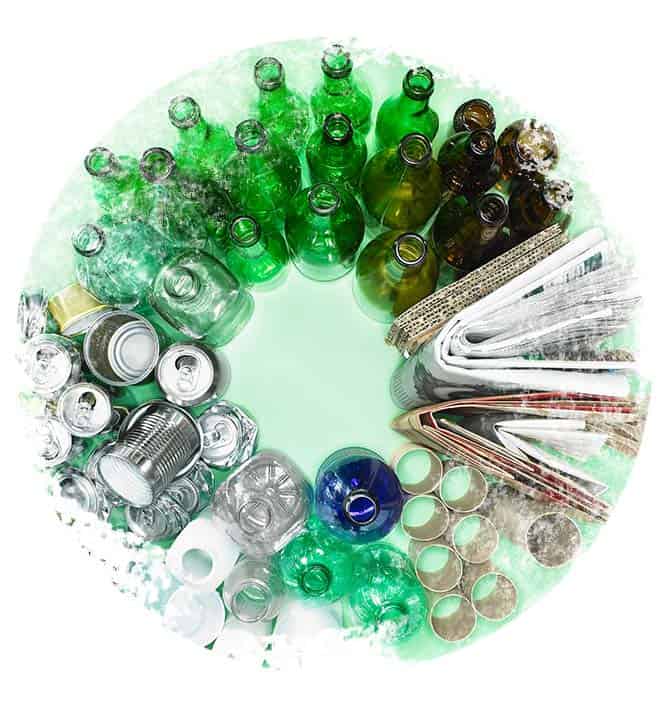
Containers
Is it really true that if you don’t clean your plastic, glass or can you ruin it for all the other recycles? Yes and no. If there are still a few schmears of mayo in the jar after you’ve rinsed it out, no harm done. But if the container has not been rinsed at all and/or contains leftover food or liquids, yes, it could contaminate other materials, especially in places that have a single-stream system.
Consider this: An unrinsed food jar could come open or break somewhere in the process. If it gets on paper and cardboard recyclables, they’ll be ruined. You don’t have to spotlessly clean plastics and glass with soap and water, just rinse them so little to no food is left in them. And let them dry too. Wet containers with paper and cardboard aren’t a good combo—soggy items can contaminate a whole bundle of paper products.
Paper
Crumpled paper, newspaper and cardboard are a-okay. Shredded however, in most cases, is not. You can use it in your
compost pile as a brown/carbon. As for those pesky plastic windows in paper envelopes? It’s best to remove them before adding the envelope to the recycle bin. (Don’t worry if there is a little sliver of plastic that hangs on.) And unless you can completely separate the paper part of a bubble-wrap mailer from the plastic, those shipping envelopes will need to be reused or thrown in the garbage.
Wishcycling
When you toss something in the recycling bin that you hope is recyclable, but aren’t sure, you’re wishcycling. The trouble with this practice is, if what you’re adding to the recycles truly isn’t recyclable, you run the risk turning vast amounts of potentially recyclable material into trash or at the very least, bringing the process to a halt at the recycling center. Keep in mind, just because something has the chasing arrows symbol on it does not mean it can go in the bin with everything else. Boost your eco-savvy by checking with your local municipality for the rules as to what can be collected in your area.
Can You Recycle Plastic Bags?
Most recycling programs will not take plastic bags, even if it has the recycling logo on it. At Sprouts, we have containers at the front of every store where plastic bags can be recycled. Last year, our customers returned 22 million plastic bags to us, so we could recycle them for you. We also recycled 850,000 pounds of our own mixed recyclables including paper, plastic, aluminum and glass, as well as 80 million pounds of cardboard—that’s equivalent to 450,000 trees!
Here’s another recycling fact:
It’s possible to turn an aluminum can into another aluminum product in as little as 60 days!


 Family owned and operated since 1995, Taylor Farms started in Salinas Valley, California, affectionately called America’s Salad Bowl. As a third-generation produce grower, Bruce Taylor followed in his family’s footsteps to build Taylor Farms into the largest producer of salads and healthy fresh food. Growing high-quality salads and vegetables begins with high-quality farming families and sustainable farming practices.


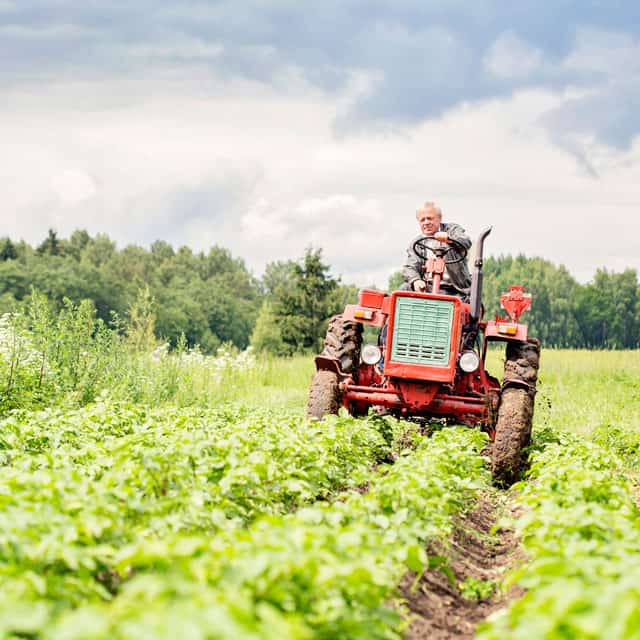 Caring for the health of our soil has become an increasingly important endeavor as we better understand the role nutrient-rich soil plays in the quality of our food and ecosystem. Regenerative agriculture is a system of farming that works to progressively improve the soil, water and the environment. These farming methods can help take CO2, a powerful greenhouse gas, out of the atmosphere and put it back where it can do the most good—under our feet—and that’s where this story begins, with soil.


 Ingredients:


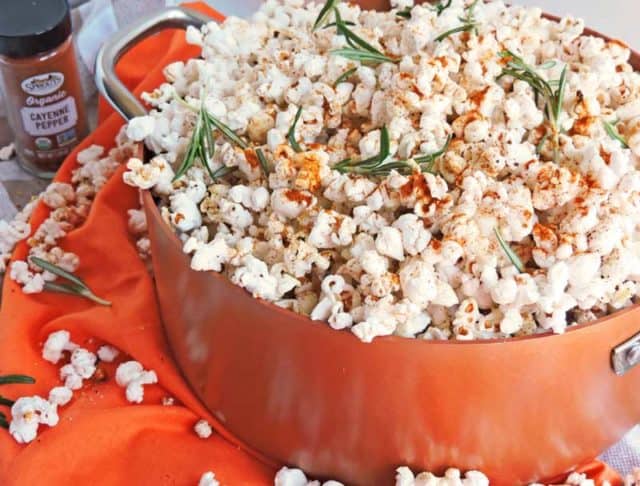 Spicy Paprika, Rosemary, & Garlic Stovetop Popcorn by
 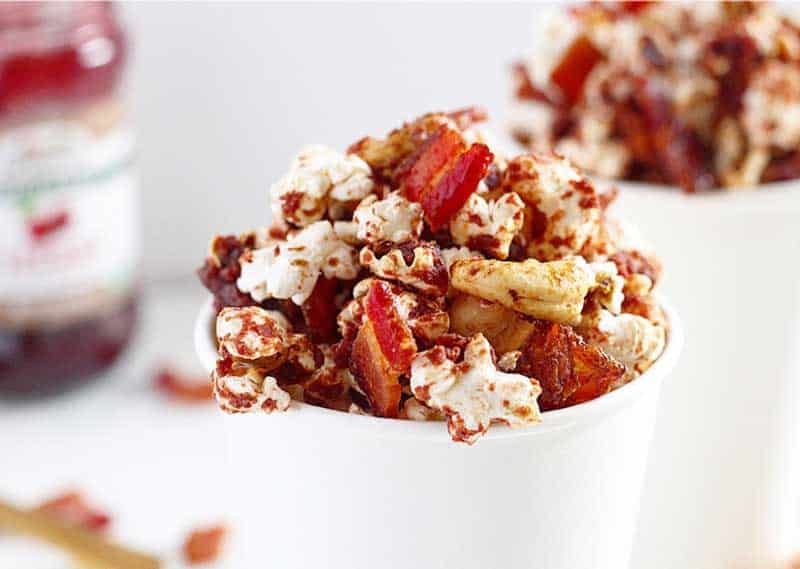 Nutty Cherry & Bacon Popcorn by
 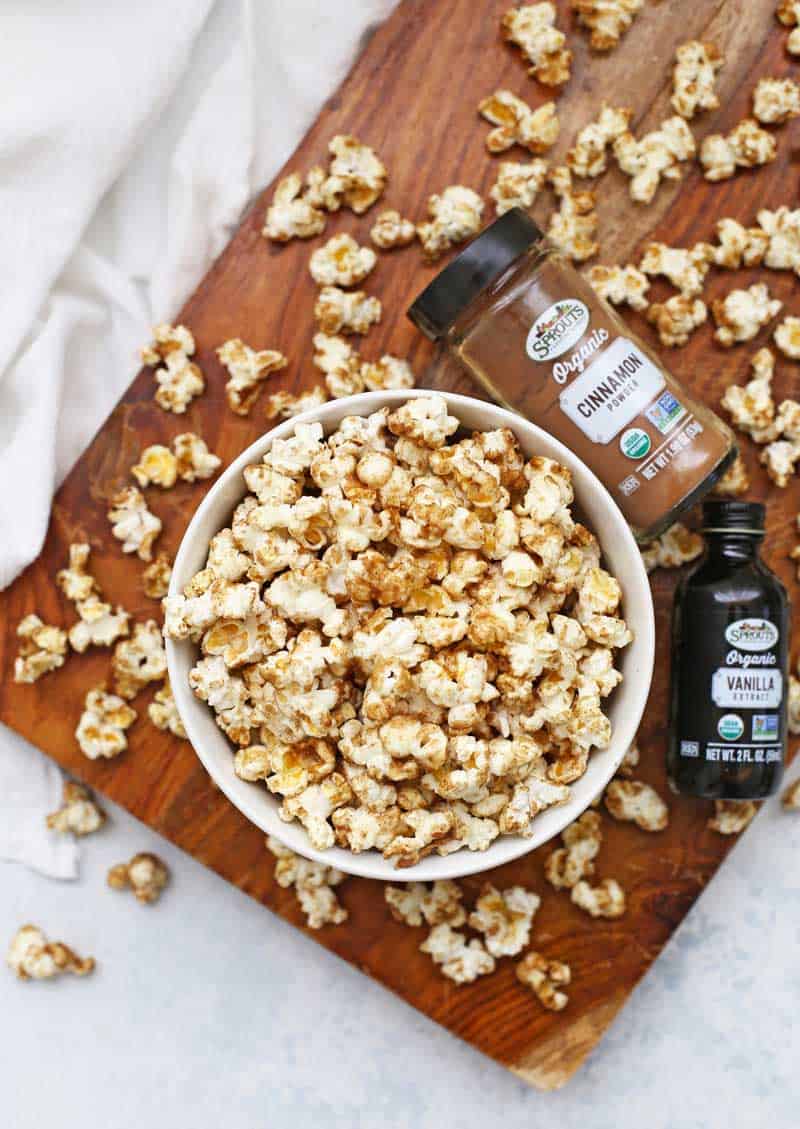 Cinnamon Churro Popcorn by
 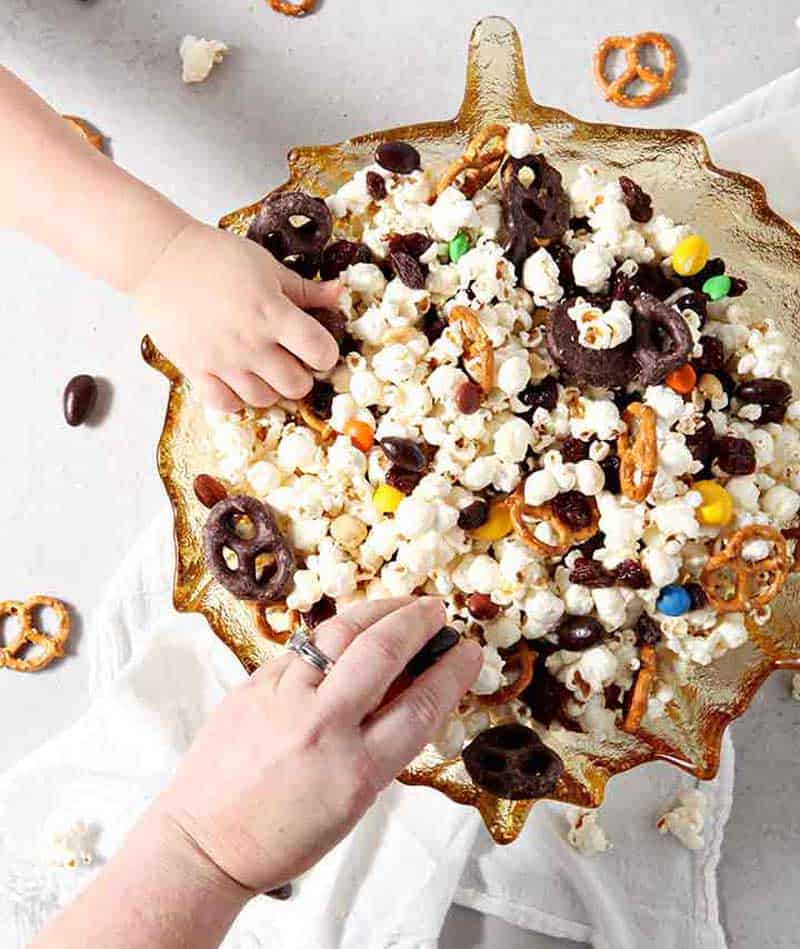 Sweet and Salty Popcorn Snack Mix by