Hatch them while you can!
They’re back! Hatch green chiles are a popular fall treasure. Harvested only from the Hatch Valley in New Mexico, they add a distinct dosage of flavor and spice to both sweet and savory recipes. Try out seven of our newest hatch recipes from our blogger friends and see for yourself!

1. Hatch Chile Bite-Size Chicken Nachos
Shredded chicken spiced with Hatch chile is piled on waffles fries, and served with a savory hatch salsa queso.
Recipe provided by our blogger friend, Megan, at Cake N Knife.
Shop this recipe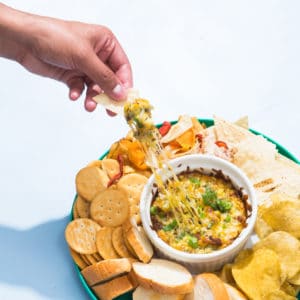
2. Hatch Chile Sausage Queso Fundido
This cheesy dip pairs sweet corn, zucchini and our spicy Butcher Shop Hatch Chile Pork Sausage.
Recipe provided by our blogger friend, Billy, at Wit and Vinegar.
Shop this recipe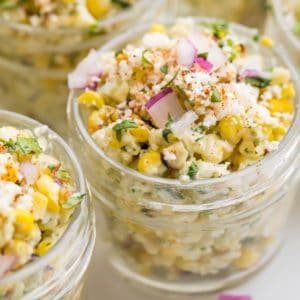
3. Mason Jar Hatch Chile Esquites
A flavorful Mexican bite-sized salad, made with roasted corn and Hatch chiles. Great for parties or gatherings of any kind!
Recipe provided by our blogger friend, Cheryl, from 40 Aprons.
Shop this recipe
4. Bacon-Wrapped Hatch Chile Poppers
Take hatch chile season to the next level with this easy-to-grill, low-carb, scrumptious appetizer. Warning, these are seriously addicting!
Recipe provided by our blogger friend, Lauren, from Bon Appeteach.
Shop this recipe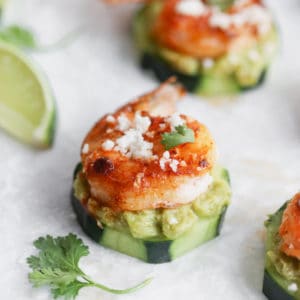
5. Guacamole and Shrimp Cucumber Bites
Crispy cucumber slices are topped with grilled shrimp and our Sprouts Hatch Chile Guacamole for a snack full of healthy fats and protein!
Recipe provided by our blogger friend, Nichole, from Casa de Crews.
Shop this recipe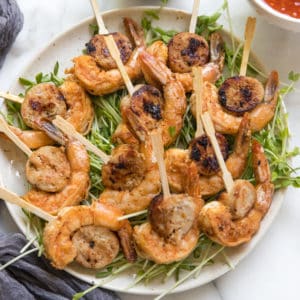
6. Sweet & Spicy Shrimp
Our Butcher Shop Hatch Chile Pork Sausage is paired with jumbo shrimp and a sweet chili dipping sauce to create these appetizing bites.
Recipe provided by our blogger friend, Tawnie, at Kroll’s Korner.
Shop this recipe
7. Mini Hatch Chile Cornbread Muffins
These muffins are sweet with a hint of spice! Made with in-season hatch chiles, they’re flavorful on the inside with a golden crunch on the outside.
Recipe provided by our blogger friend, Erin, from The Speckled Palate.
Shop this recipe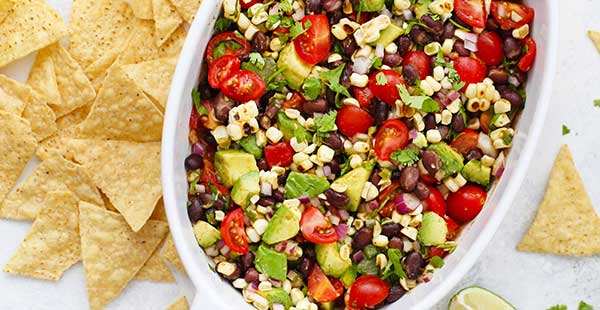 Combine classic bean dip with corn salsa to make the BEST double-decker dip around! Grab a bag of Sprouts tortilla chips and dive in!
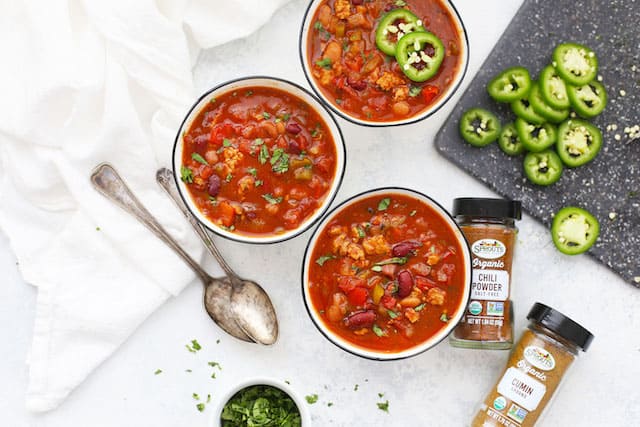 Simple Slow Cooker Chili is perfect for feeding a crowd on game days or chilly nights. Plus, the slow cooker does the work, so you can sit back and enjoy your afternoon!
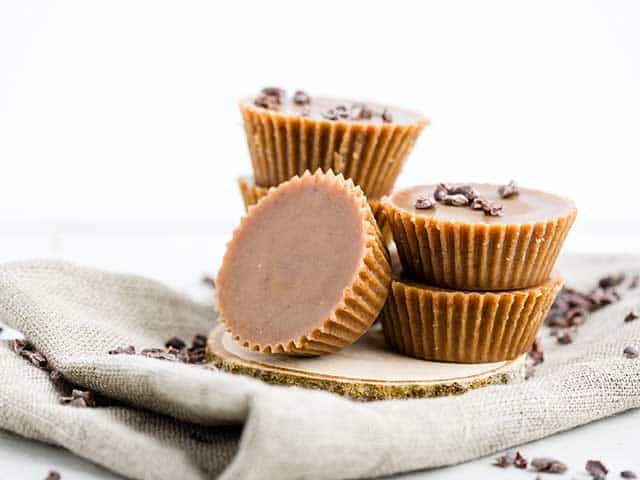 Keto Fat Bomb Recipe with Cinnamon & Almond Butter
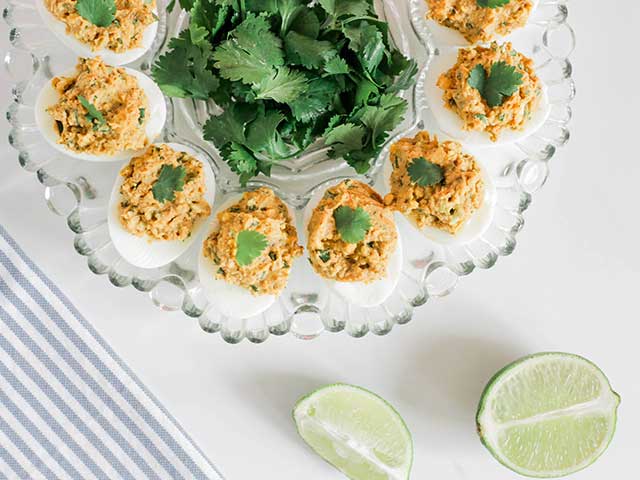 Avocado Deviled Eggs Recipe (the Ultimate Keto Snack)
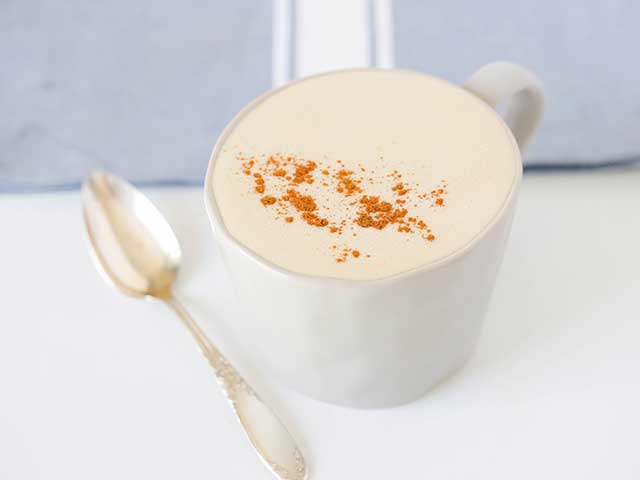 Keto Coffee Recipe
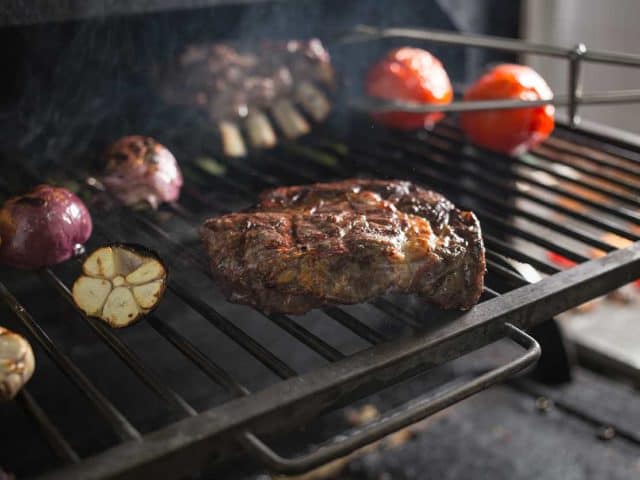 Whether it’s the ultimate burger or the perfect steak, these tips from our experts in the Butcher Shop, will help ensure you wow friends and family, every time.