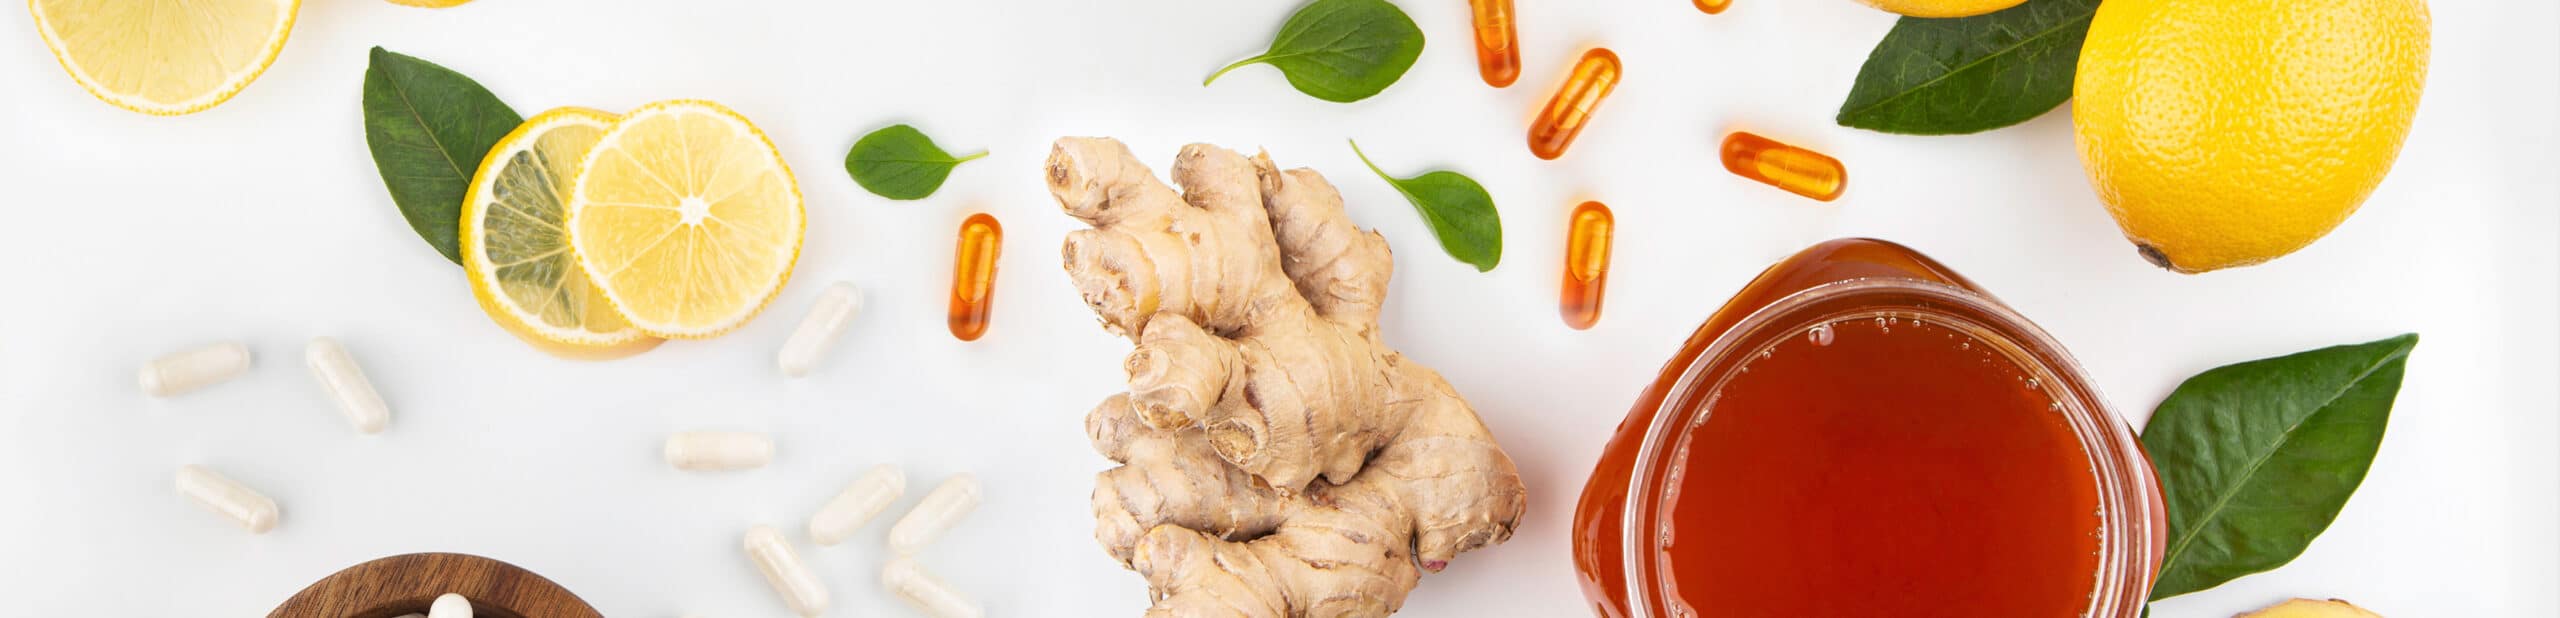
Boost your immune system, naturally!
Boost your immune system naturally and feel your best with vitamins, supplements and homeopathic remedies from Sprouts! Our friendly and knowledgeable vitamin team members are happy to guide you through the aisles to help you stay well this season.
Keep Your Hands Clean
One of the best ways to reduce your chances of spreading germs is to simply keep your hands clean and minimize touching your face. You might think this is a no-brainer, but washing your hands properly can make a big difference. Opt for natural soaps and hand sanitizers instead of harsh, anti-bacterial soaps.
Fill Nutritional Gaps
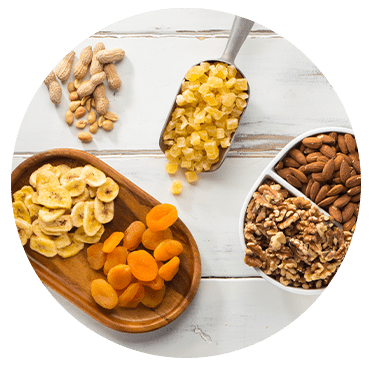
Some say that eating a proper diet is all you need to get your recommended daily vitamins, minerals and nutrients for optimal health. But despite our best efforts, we often miss our nutritional mark by eating foods that lack many key nutrients. The good news? A simple, daily regimen of incorporating multivitamins, omega-rich oils, probiotics and superfoods can help bridge the nutritional gaps where your diet may fall short. Check out the
Sprouts Essential 4 Supplements to kick-start your immunity!
Herbal Defense
It’s all too easy to forget the importance of strengthening the body’s defenses before illness strikes. While tending to your immune system at any time never hurts, you will thank yourself for doing it sooner rather than later. Echinacea is a great place to start! Studies show it can support your immune function by helping to stimulate white blood cells. In addition to Echinacea, adaptogens are a simple way to support your body. This special group of plants can help balance, protect and restore the body from daily stressors.
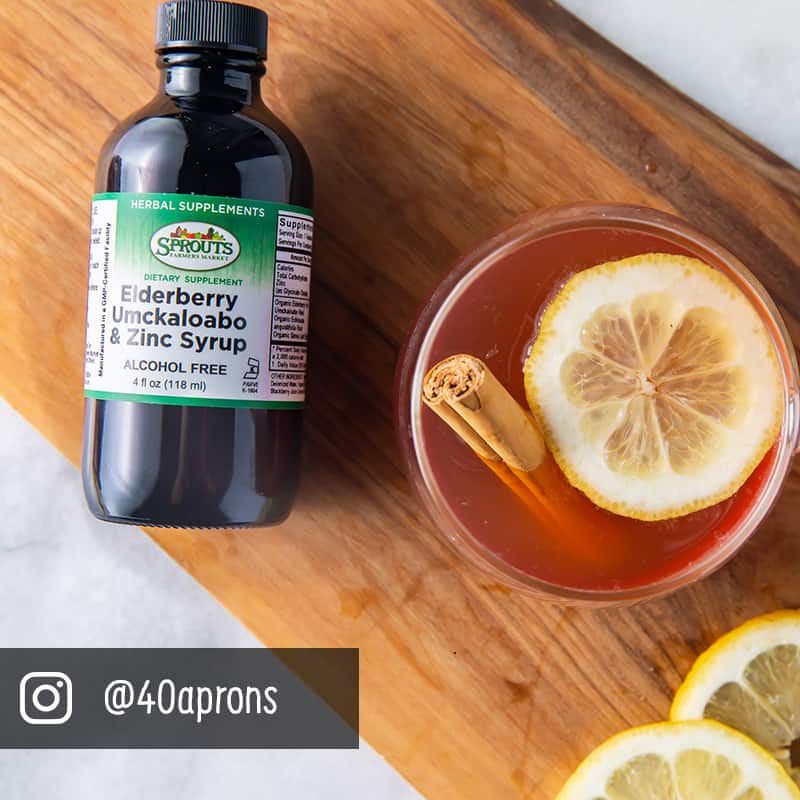
Elderberry Power
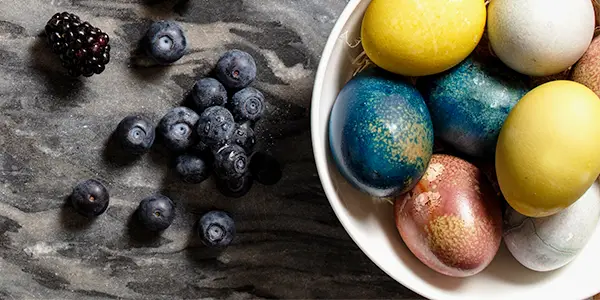
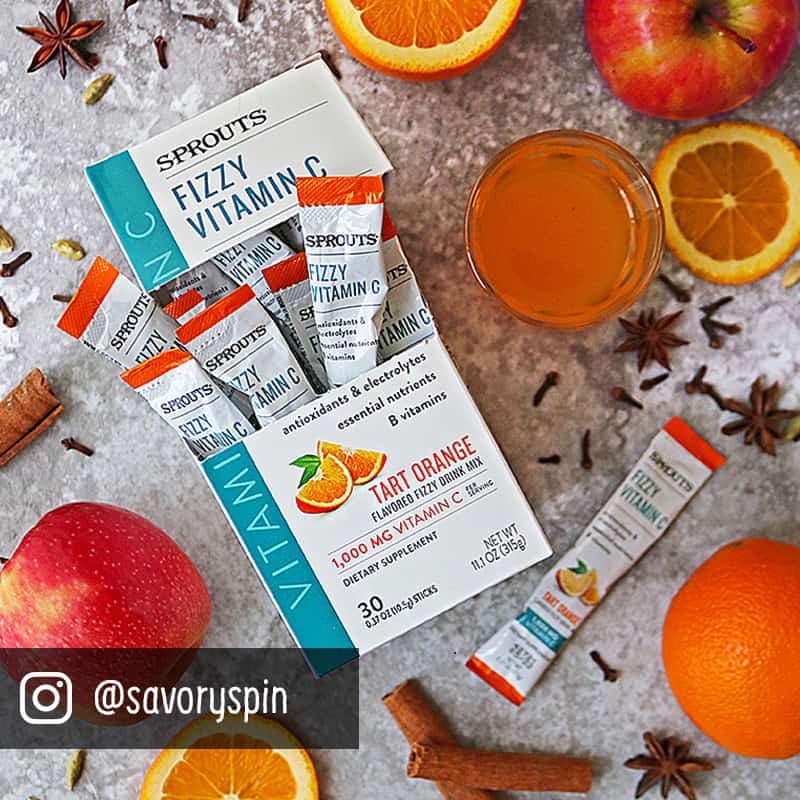
Elderberries are a concentrated source of two antioxidants: quercetin and anthocyanin. These powerful antioxidants enhance the body’s immune response by increasing the production of cytokines. Cytokines are the immune system’s messengers, helping to regulate the body’s response to disease, inflammation and infection. The high antioxidant capacity in elderberries neutralizes harmful, free-radicals and helps support the body’s immunity against illness and disease. Elderberries are also an excellent source of vitamins A and C. Vitamin C is a strong antioxidant, which is part of what makes it a great addition to your immune-boosting arsenal.
Homeopathic Remedies
Homeopathic tinctures and supplements are a natural way to stay well year-round. Try incorporating good-for-you minerals like zinc and magnesium, or utilizing Boiron Oscillococcinum at the onset of symptoms. Not sure where to start? Shop for these homeopathic brands to keep on hand:
- Genexa Homeopathic
- Nature’s Way Umcka
- Boiron
Oil of Oregano
Oil of Oregano is a powerful, natural remedy that can help you prepare in advance to fight off symptoms. Made from the Oregano plant, it contains Thymol, a natural anti-septic and Beta-Caryophyllene, which can help reduce inflammation. Simply use a few drops in your hand soap for anti-microbial properties, convenient capsules or 2-3 liquid drops under your tongue for daily defense.
Shop Immune-boosting Products
Not sure where to start? Let our vitamin team members help!
With so many options to choose from, it can be hard to know which vitamins and supplements are best for you! We’ve rounded up some of our team member’s favorite products to help you navigate all the different varieties in-store. Looking for something specific? Our friendly and knowledgeable team members are there to help!
No items found
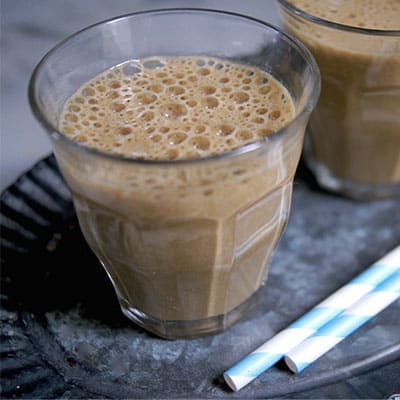
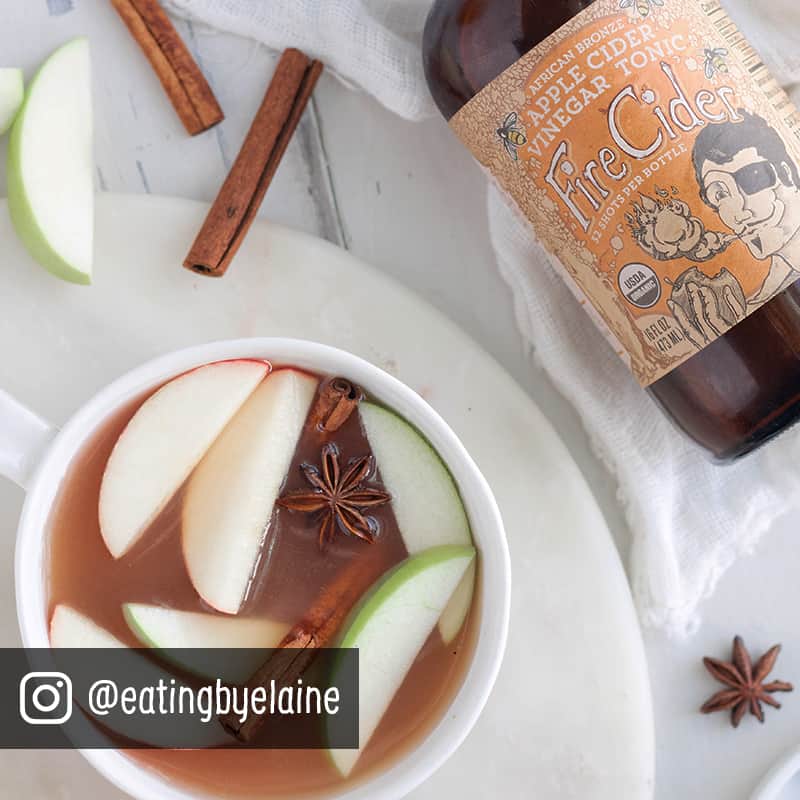
Feel your best with these simple, wellness tonics!
*These statements have not been evaluated by the Food and Drug Administration. This product is not intended to diagnose, treat, cure, or prevent any disease.


 No gym equipment? No problem. Put common household items to use and get moving with a simple fitness routine. This full-body routine will take 20-30 minutes and can be modified depending on your fitness level and experience. The endorphins released during physical activity can naturally boost your mood, increase your immunity and contribute to your general well-being.
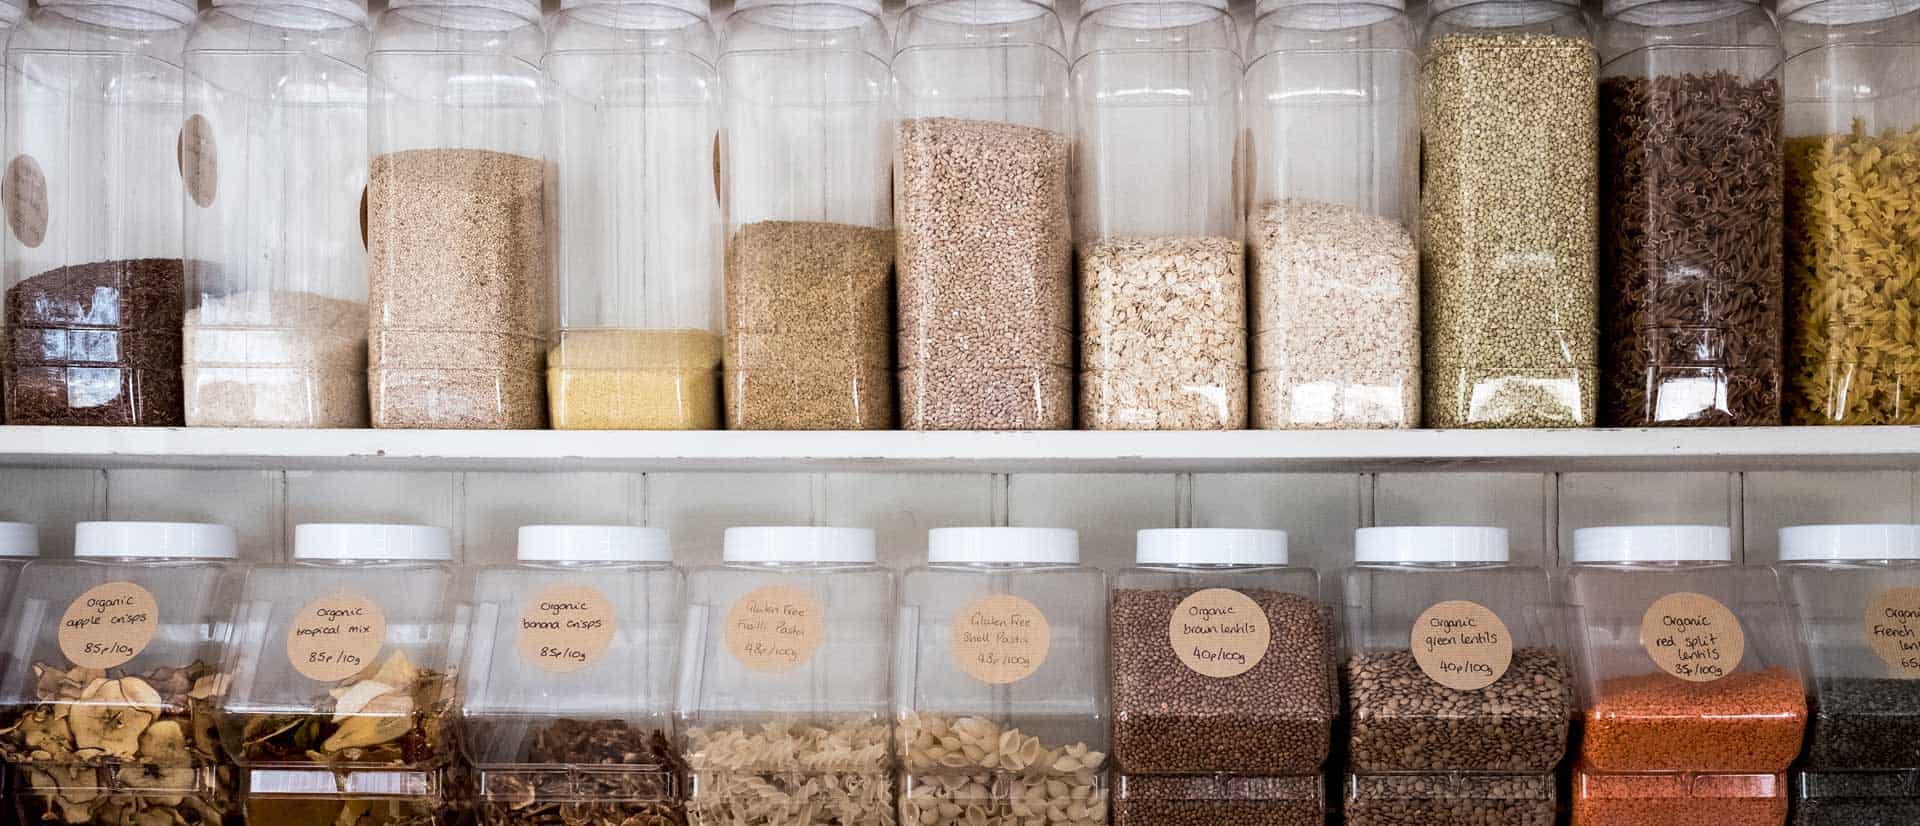
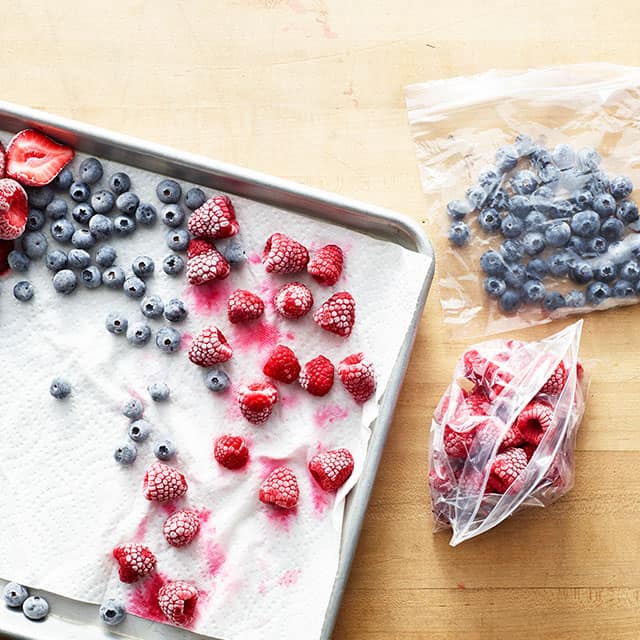 We’re all spending more time at home these days, so why not spend some of it learning to extend the life of your produce? Freezing food is one of the best ways to combat food waste and allows you to have plenty of food on hand for an extended period of time.
 Instructions:
 Ingredients:


 Looking for a natural way to handle stress? Ashwagandha is your herb! It has been used for centuries to promote mental and physical health. With holidays right around the corner, look to this energy-restoring herb to help support both mental and physical health.