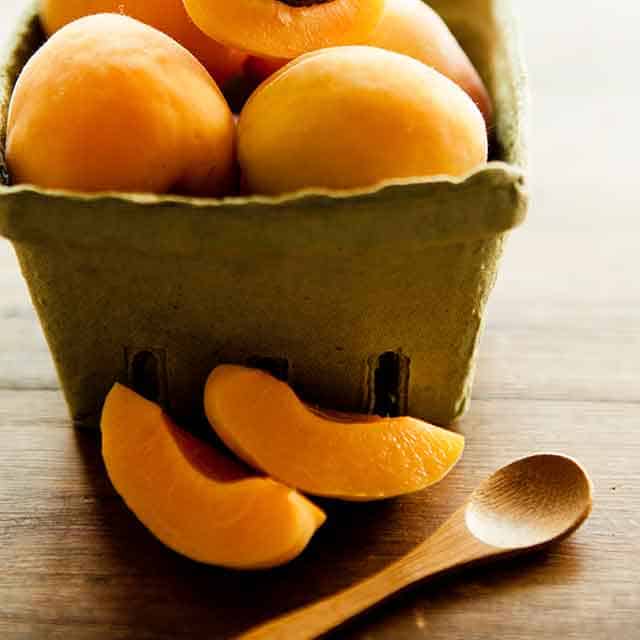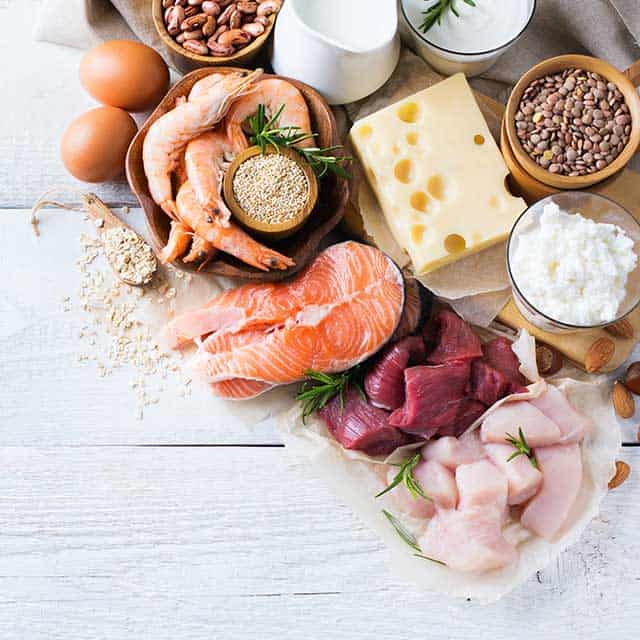
When it comes down to it, eating a paleo diet is simple—embrace your inner cave-dweller self! Seriously though, paleo is about eating real, nutrient-dense foods that would have been hunted or gathered before the agricultural revolution. That means veggies, fruits, meat, seafood, poultry, eggs, nuts, seeds, and healthy fats like olive oil, coconut oil, and ghee. You don’t need any exciting products to eat this way, just a great produce section and a quality meat department. But these paleo products make eating primally
way more fun and easy. From Sunday morning pancakes to bacon on all things, take this list of the top paleo products at Sprouts next time you head to the store and stock up!
Vital Proteins® Collagen Peptides
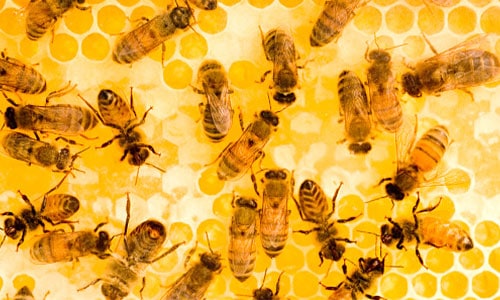
A favorite supplement in the paleo world, collagen peptides are high-quality, high-protein amino acids derived from grass-fed gelatin. Loved as a protein supplement, collagen peptides are amazing for your hair, skin, nails, as well as muscle support when exercising. They’re tasteless, too, and won’t affect texture in most recipes, so load up!
Sprouts Coconut Date Rolls
Two ingredients, one big impact! These coconut date rolls are naturally sweet and so dangerous. After a couple bites, you’ll abandon all thoughts of conventional candy bars.
Rxbars®
So perfect for keeping in your purse, desk or gym bag, Rxbars® are high in protein without any undesirable fillers or weird ingredients.
SO Delicious Dairy Free Coconut Milk Non-Dairy Frozen Dessert
For that occasional sweet indulgence, this coconut milk “ice cream” is sweetened with monk fruit extract and is totally dairy-free. It has more additives than you’ll want to include in your diet on a regular basis, but it’s great for an occasional dairy-free, sugar-free treat.
Sprouts Organic Bone Broth
Loaded with protein, collagen and other nourishing amino acids, bone broth is a staple in paleo diets for its nutrient-rich properties. Another plus? Bone broth helps to maintain a healthy gut and is great sipped like tea or used in place of chicken stock or broth in recipes.
Sprouts Coconut Cream
A staple in probably every paleo diet, coconut cream—the solid white part in a can of coconut milk—gives recipes a dairy-free richness and creaminess. Sprouts Coconut Cream is affordable and loaded with the solid cream, making it a must for any primal pantry.
4th & Heart Ghee Butter
The richness of butter without the lactose? Yes, please! Bonus points: this ghee is grass-fed and seasoned with mineral-rich Himalayan pink salt.
Farmhouse Culture Gut Health Products
Hippocrates said, “All disease begins in the gut,” and this guy would be a big fan of Farmhouse Culture gut health products. From Garlic Dill Pickle Gut Shots (that you drink like a shooter) to Smoked Jalapeño Kraut and Taqueria Mix Fermented Vegetables, support your gut with these delicious fermented products, loaded with healthy bacteria.
Hail Merry Products
You’ll be shocked at how seriously indulgent these paleo treats taste. From Caramel Sea Salt Bites to Dark Chocolate Tarts, Meyer Lemon Cups and Chocolate Almond Butter Cups—luckily, there’s no guilt to these paleo desserts.
Sprouts Frozen Organic Riced Cauliflower
Cauliflower rice at your fingertips. Sprouts Frozen Organic Riced Cauliflower makes paleo “rice” beyond quick and easy.
Birch Benders Paleo Pancake & Waffle Mix
Pancakes can still be part of your paleo menu! Having a bag of this paleo pancake mix in the pantry is great when you want to make pancakes in a pinch. They’re light, fluffy and totally paleo.
Pederson’s Natural Farms Bacon and Sausage
Destined to go down in history—bacon and the paleo diet are a classic couple! Pederson’s Natural Farms makes a sugar-free paleo version you’ll want need in your fridge at all times. Check out their smoked sausages, breakfast sausages and chorizo too.
Sprouts Grass-Fed Beef
Leaner, more nutrient-rich, and more ethically-minded, Sprouts Grass-Fed Ground Beef is fresh, never frozen, hormone-free, raised in open pastures, and never administered antibiotics. Richer in omega-3s than grain-fed, Sprouts grass-fed beef is a must for any paleo diet.
Sprouts Market Corner Deli Carnitas
Dinner is served … in about a minute or two! Fully cooked and totally paleo, simply reheat these carnitas and serve over cauliflower rice and a quick guacamole. Or try these carnitas in lettuce tacos or over a bed of romaine topped with salsa! However you like it, this dish is great to keep on hand for super-quick, flavor-packed weeknight dinners.
Cheryl Malik is the blogger behind 40aprons.com
 Vegan doesn’t have to be complicated! There are tons of super simple, healthy and delicious meals that come together in a snap and require little to no prep. Here are some easy and tasty breakfast ideas that will fill you up and satisfy you until lunchtime.
Whole-grain cereal – many cereals are vegan and a perfect, nutritious breakfast for a busy morning when paired with non-dairy milk. Look for one that has fiber and protein for a fullness that lasts.
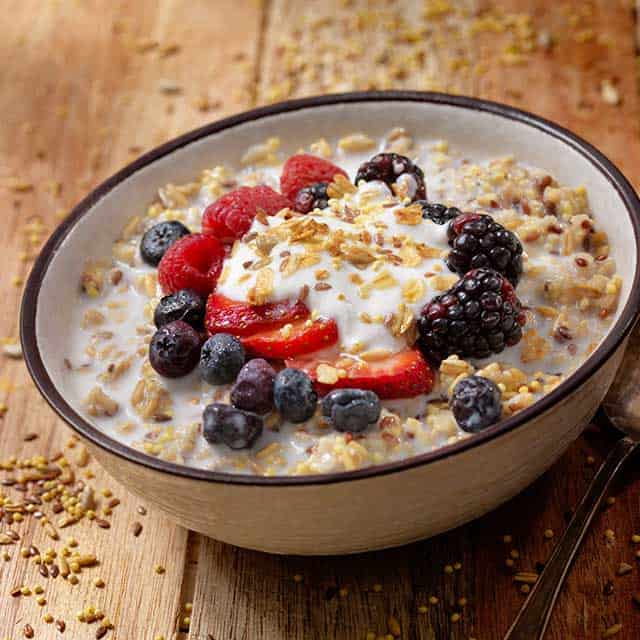
Overnight oats or oatmeal – the possibilities really are endless! Walnuts, pecans, peanut butter, chia seeds, and shredded coconut are some of my favorite toppings.
To prepare overnight oats, just combine oats and water or milk in a 1:1 ratio in a jar the night before you want to enjoy it. Place it in the fridge, and your oats will be softened and ready for you in the morning.
Toast topped with avocado or nut butter – with the nut butters, try adding fresh fruit, dried fruit, nuts, or shredded coconut on top!
Smoothies – smoothies are a great way to load up on tons of fiber, protein, healthy fats, vitamins and minerals, all at once! They are also easily customizable. Combine any fruits and veggies of your choice (my favorite simple combination is banana and a handful of leafy greens) with chia seeds, and your favorite nut butter for a nutritious boost.
Vegan doesn’t have to be complicated! There are tons of super simple, healthy and delicious meals that come together in a snap and require little to no prep. Here are some easy and tasty breakfast ideas that will fill you up and satisfy you until lunchtime.
Whole-grain cereal – many cereals are vegan and a perfect, nutritious breakfast for a busy morning when paired with non-dairy milk. Look for one that has fiber and protein for a fullness that lasts.
Overnight oats or oatmeal – the possibilities really are endless! Walnuts, pecans, peanut butter, chia seeds, and shredded coconut are some of my favorite toppings.
To prepare overnight oats, just combine oats and water or milk in a 1:1 ratio in a jar the night before you want to enjoy it. Place it in the fridge, and your oats will be softened and ready for you in the morning.
Toast topped with avocado or nut butter – with the nut butters, try adding fresh fruit, dried fruit, nuts, or shredded coconut on top!
Smoothies – smoothies are a great way to load up on tons of fiber, protein, healthy fats, vitamins and minerals, all at once! They are also easily customizable. Combine any fruits and veggies of your choice (my favorite simple combination is banana and a handful of leafy greens) with chia seeds, and your favorite nut butter for a nutritious boost.
 If you are a new vegan, it may seem overwhelming when surfing the web or browsing through cookbooks to find vegan-friendly recipes. Having these pantry staples on hand will help you breeze through new recipes and make sure you always have something easy and tasty to whip up.
 There are tons of vegan substitutes for common non-vegan baking and cooking products. Here is how to substitute some of the most popular ingredients used in baking and cooking, so that you don’t have to miss out on the foods you love!
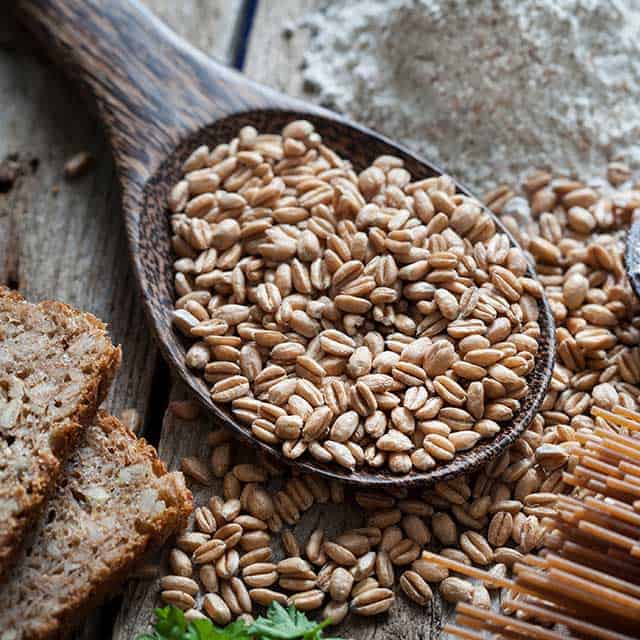
 Having a stocked Paleo pantry is critical when taking on a primal diet. Being prepared with Paleo ingredients means you’re more likely to stay on track with a commitment to your new diet and you’ll be ready to whip up a batch of homemade coconut-date bars or Paleo chocolate chip cookies at any moment! And really, the Paleo pantry looks an awful lot like the pantry you grew up with: flours, sugars, nuts, oils, and other dry goods like unsweetened, shredded coconut or cocoa powder. The only difference is that a paleo pantry avoids refined sugars and flours, legumes, dairy and vegetable oils. It may seem a bit overwhelming if you’re new to the diet, but we’re here to help with our guide to stocking a Paleo pantry at Sprouts Farmers Market.
 MULTIVITAMINS
 OMEGA-RICH OILS
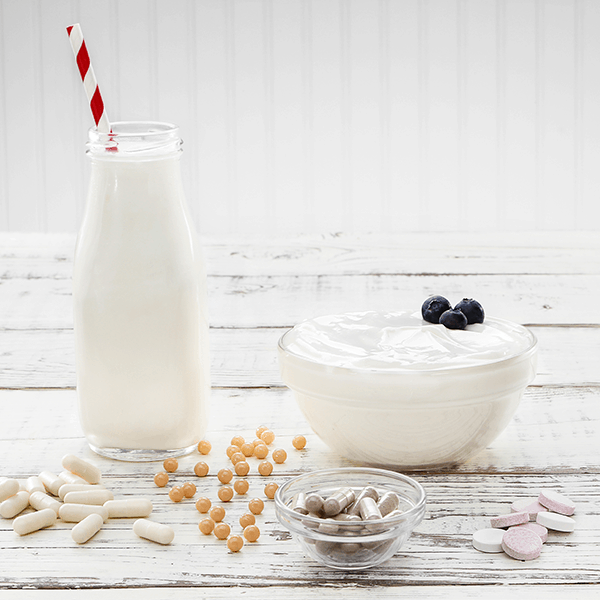 PROBIOTICS
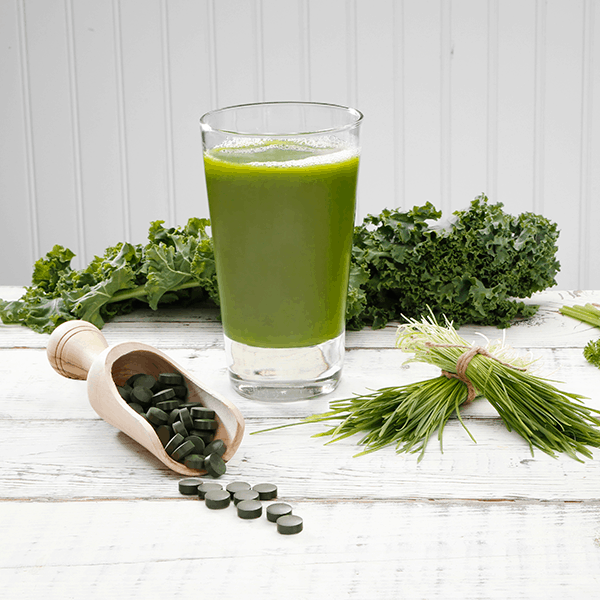 SUPERFOODS
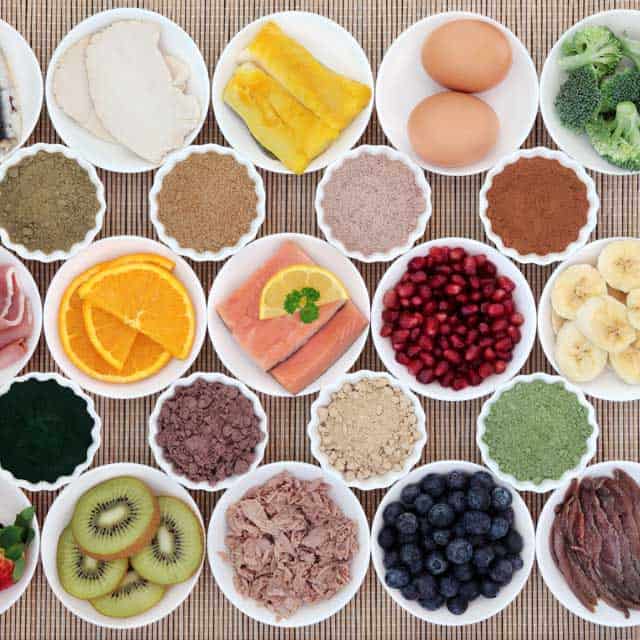
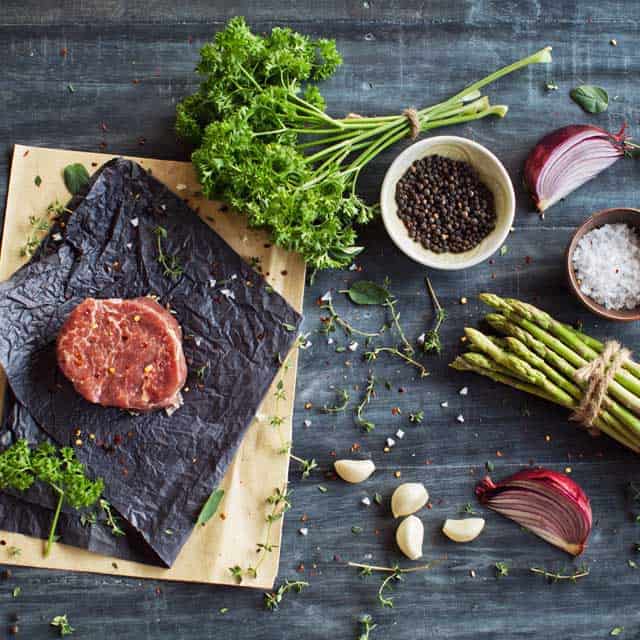 Unless you’ve been living in a cave like, well, a true caveman, you’ve undoubtedly heard the buzz about the paleo diet. This way of eating is becoming more and more popular, thanks to its healthy nutrient-rich foods and the elimination of commonly allergenic foods. High in protein, healthy fats, fiber and complex carbs, the paleo diet is definitely worth a shot if you’re looking to eat clean and feel great. It might feel intimidating to dive in! Follow these steps to easily start a paleo lifestyle without feeling overwhelmed.