It’s (almost) here. You may already have some holiday parties on your calendar and plans to cook up a storm for Thanksgiving. The holiday season is quickly approaching. How does that fit in with your healthy eating plans?
Though it may be tempting to take a little break for the next six weeks, your stomach and waistline may not appreciate that so much. Like us, you probably love cornbread dressing, mac and cheese and those homemade yeast rolls? We can’t be trusted around them. But here’s the thing … it’s all about balance. You don’t have to eat healthy 100% of the time. However, it can feel weird to go to a party that doesn’t have any fruit or vegetables on the table. If you’re playing host this season, here are a few ideas to provide your guests with plenty of options.
Step 1: Use What’s in Season.
Grapes, pears and apples are all sweet and delicious right now. Use the natural sweetness of these nutritious fruits to reduce added sugars in your dishes. Sweet potatoes and winter squash are also deliciously sweet as well as nutritious options. Combine fruit with winter greens for hearty salads.
Step 2: Go Small.
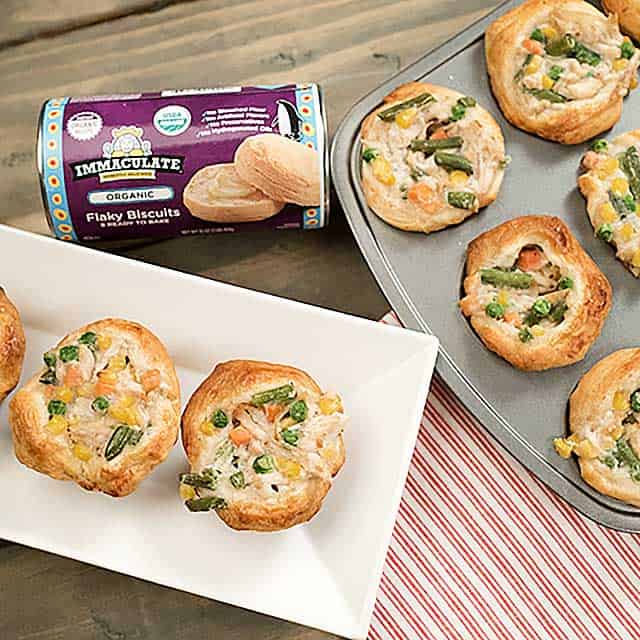
Instead of slaving over a large complicated menu, consider serving a variety of heavy appetizers. These can be prepped ahead of time and either served at room temperature or after a quick stint in the oven before guests arrive.
Step 3: Find Balance.
Look at your spread. Make sure you have a balance of fruits, vegetables, whole grains and protein so that everyone leaves feeling satisfied.
Step 4: Use the 80:20 Rule.
Offer 80 percent good for you dishes that taste great. (Remember: Healthy doesn’t have to mean tasteless.) Balance those with more indulgent desserts or dishes so your guests have options and get to enjoy some of the traditional holiday foods that can’t always be made healthfully. Also be flexible in what you offer. If you can’t find oranges, use tangerines. No halibut at the store when you go, try cod!
Step 5: Be Flexible.
It’s your party. Have fun! There’s no shame in using pre-cut butternut squash or pre-cooked shrimp, chicken or other foods that can speed up the prep process.
When creating a holiday party spread, the goal is to get some delicious bites on the table as well as enjoy your guests. It takes the same effort to make healthy bites as not-so-healthy ones. Here are a few dishes to try adding to your holiday spread this season.
 Pear Prosecco Cocktail
By Marisa Moore
Add pizzazz to your party with Marisa’s
Pear Prosecco Cocktail

Roasted Grape, Goat Cheese & Walnut Bites
By Marisa Moore
Red, black and green grapes are still in season through January and just bursting with flavor. They cook up sweet and balance the tangy, saltiness of the creamy goat cheese. These
Roasted Grape, Goat Cheese & Walnut Bites are sure to wow your guests!
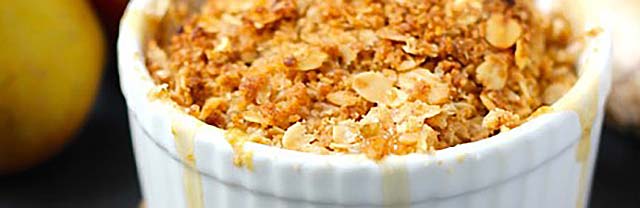
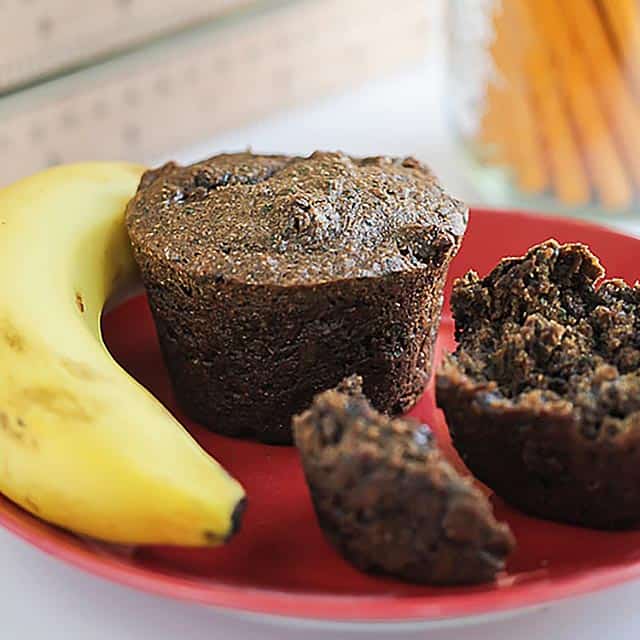
Maple Pear Ginger Crumble
By Marisa Moore
Fruit crumbles work well for dinner parties. Use whatever fruit is in season. Try seasonal apples and pears to make this
Maple Pear Ginger Crumble. You can add nuts for more crunch and a little extra protein and heart-healthy fats.
About Marisa Moore
Helping People Eat Better One Morsel at a Time
Marisa Moore is a registered dietitian nutritionist and owner of Marisa Moore Nutrition. Using a food-first, mostly plant-based approach, Marisa helps people eat better one morsel at a time through group classes, writing and developing healthy recipes. She enjoys working as a consultant for small and large businesses including food and nutrition startups and being an ambassador for delicious food and a healthy lifestyle.
A past spokesperson for the Academy of Nutrition & Dietetics, Marisa is a trusted food and nutrition expert and has appeared in most major media outlets including the Today Show, New York Times, Wall Street Journal, Washington Post and has had regular appearances on CNN.
Marisa is a contributing editor for Food & Nutrition Magazine and U.S. News & World Report blogger. Before launching her consultancy, Marisa worked as an outpatient dietitian, the corporate nutritionist for a national bakery café restaurant, and she managed the employee worksite nutrition program at the U.S. Centers for Disease Control and Prevention (CDC).
Always ready for new passport stamps, Marisa loves to explore new countries, but in her spare time, you might find her cooking, dancing salsa or on a walk with her dog Biscuit. Learn more at
marisamoore.com.
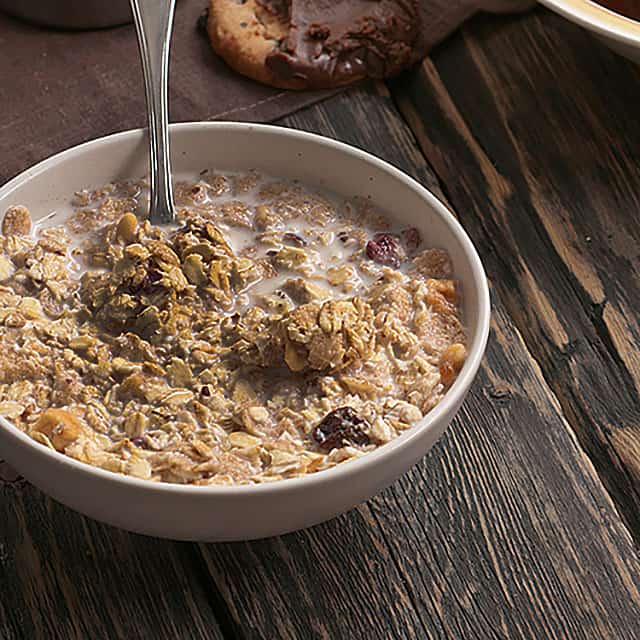
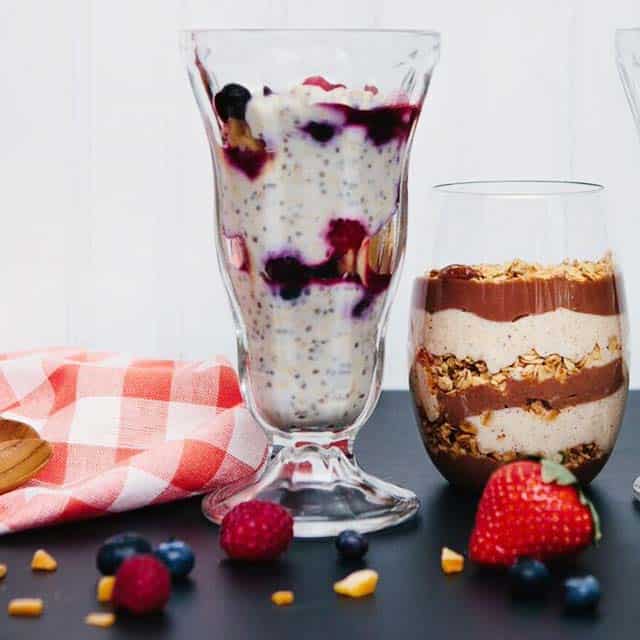 Fruit tastes great in the morning. So does yogurt. Put them together in an easy-to-assemble breakfast that’s tasty, kid-friendly and healthy too!
Plus, yogurt is good for you! Its protein-fat balance helps you feel satisfied and gives you longer-lasting energy; it’s an excellent source of calcium for strong bones; and its good bacteria (aka probiotics, literally “for life”) help support your healthy digestive and immune systems.
Try these yummy ideas for delicious—even brunch-worthy—fruit + yogurt parfait combos.
Fruit tastes great in the morning. So does yogurt. Put them together in an easy-to-assemble breakfast that’s tasty, kid-friendly and healthy too!
Plus, yogurt is good for you! Its protein-fat balance helps you feel satisfied and gives you longer-lasting energy; it’s an excellent source of calcium for strong bones; and its good bacteria (aka probiotics, literally “for life”) help support your healthy digestive and immune systems.
Try these yummy ideas for delicious—even brunch-worthy—fruit + yogurt parfait combos.
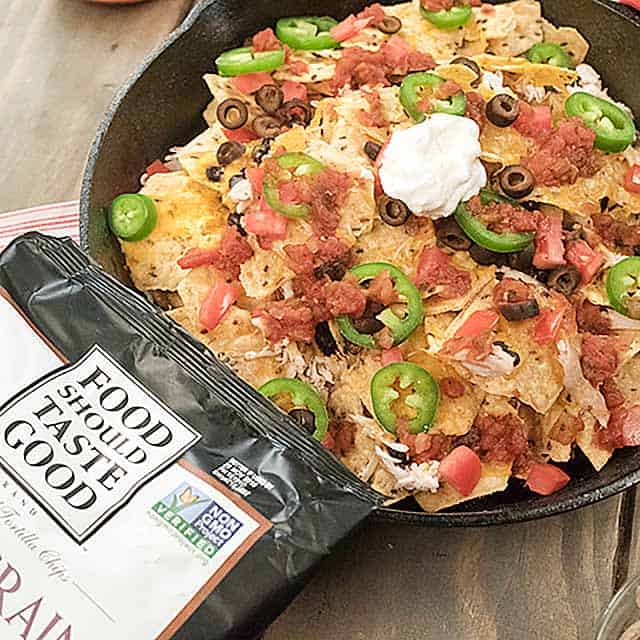
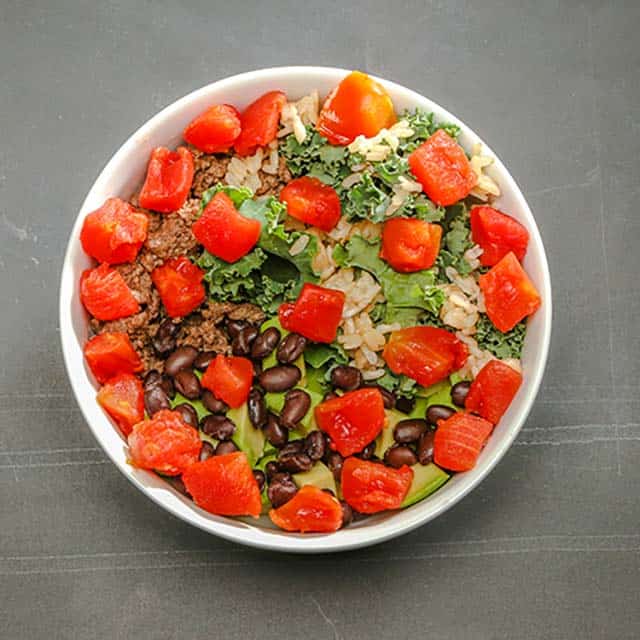 Savory Superfood Taco Bowl
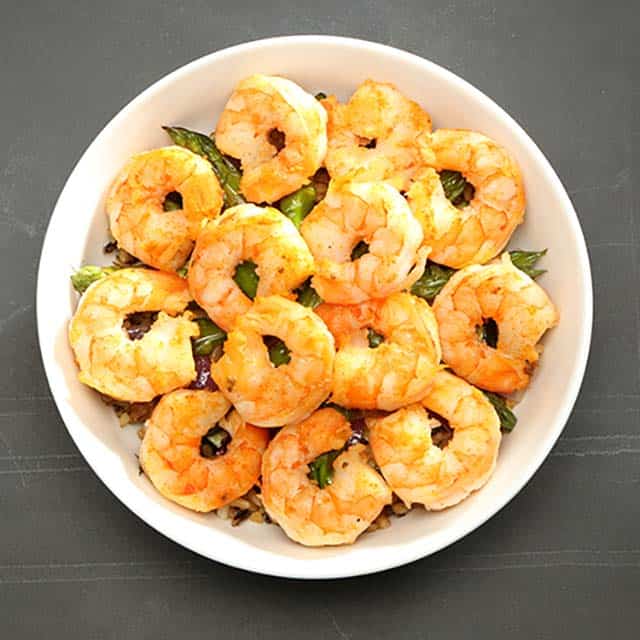 Cajun Shrimp Superfood Bowl
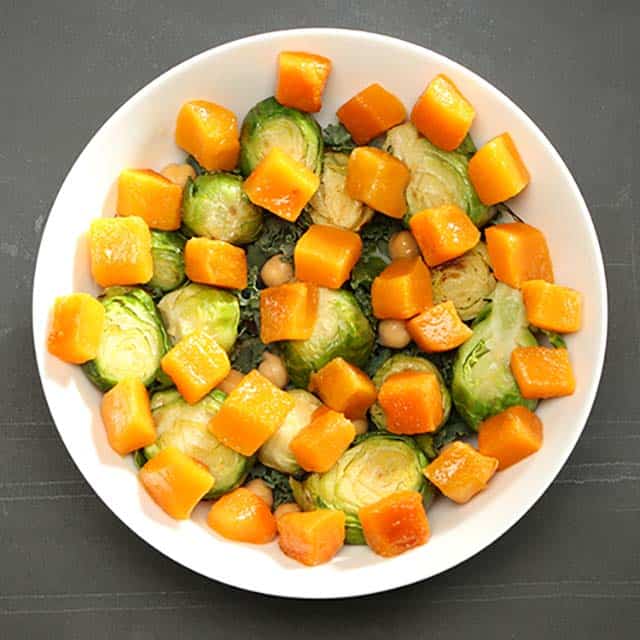 Hearty Veggie Superfood Bowl
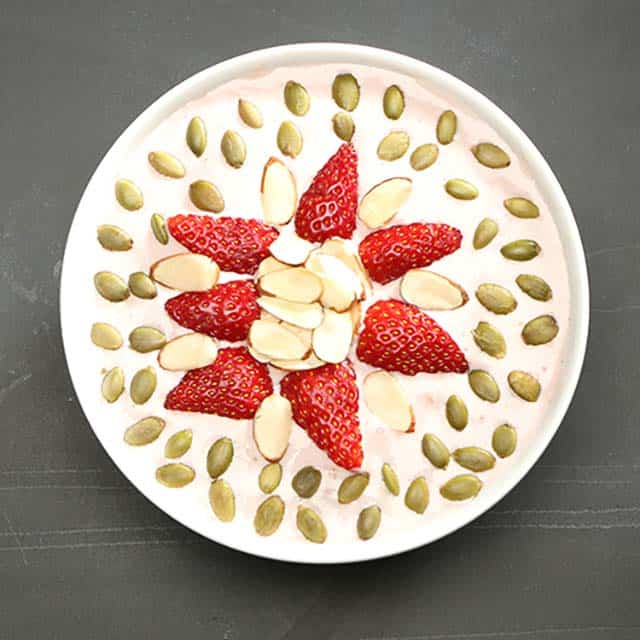
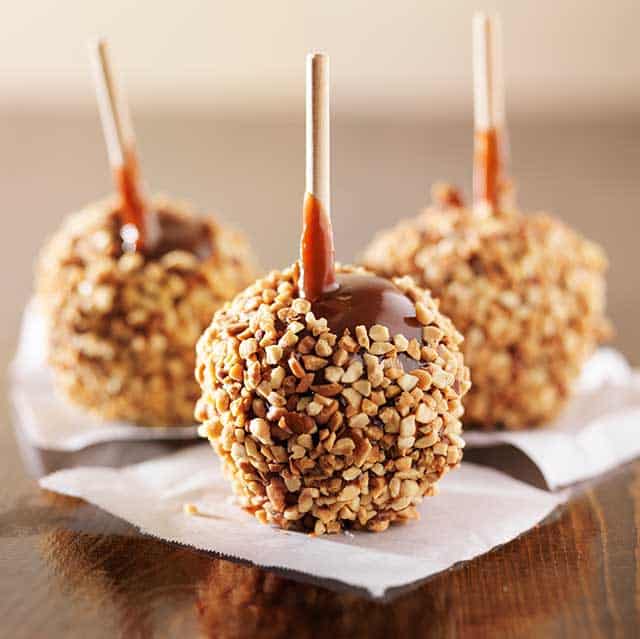 This caramel dip is naturally sweetened, made with fiber-rich Medjool dates. A definite upgrade from traditional caramel recipes calling for butter and sugar galore! With a pinch of sea salt, this dip pairs perfectly with freshly sliced apples or pears.
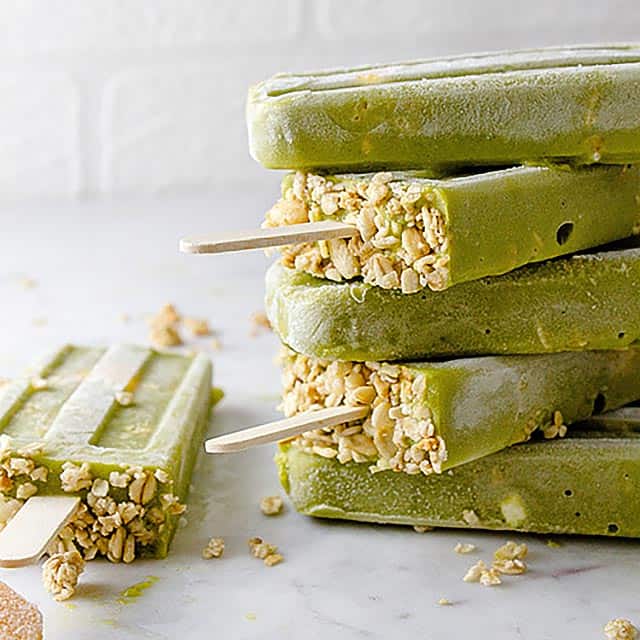 Mango, Granola Protein Smoothie Popsicles
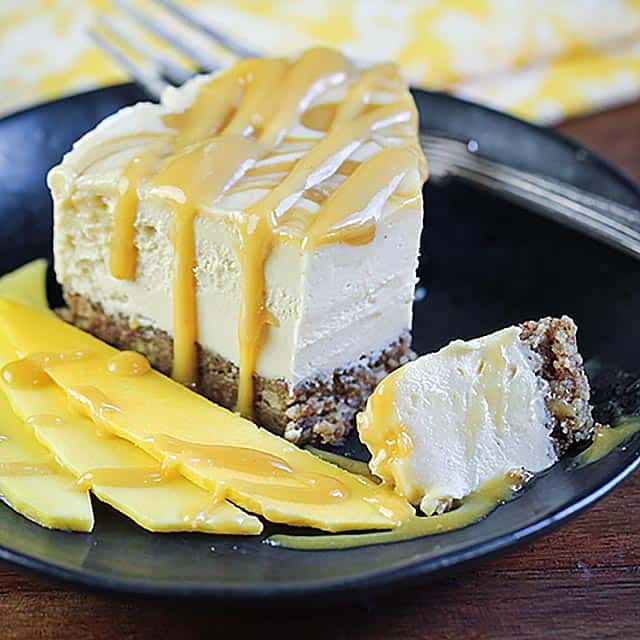
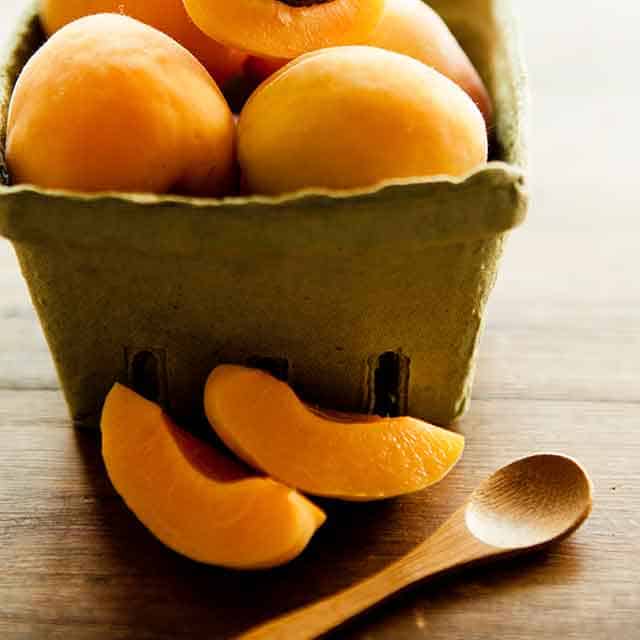
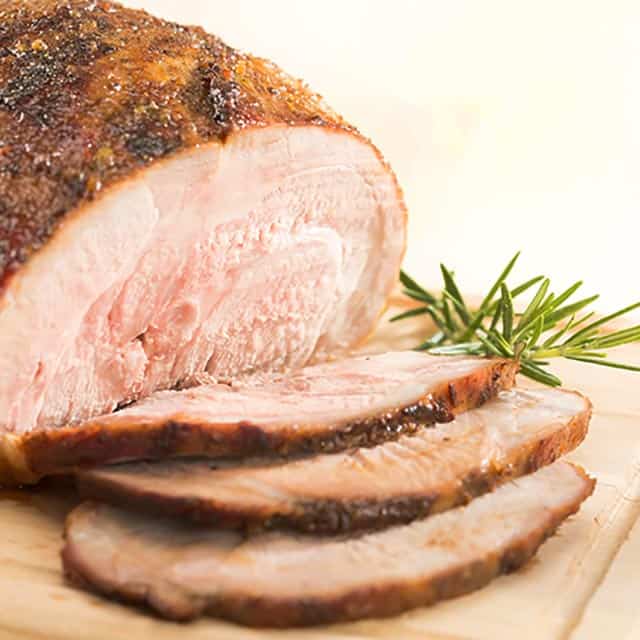 Roasted Pork Loin with Dijon Apricot Glaze
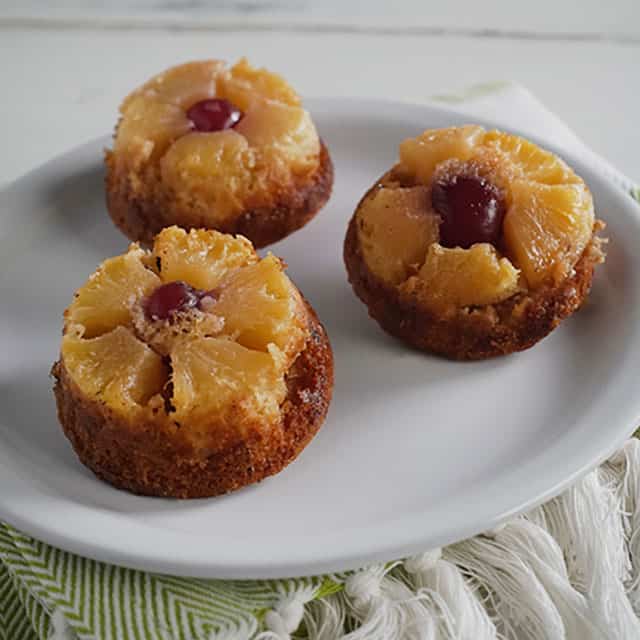
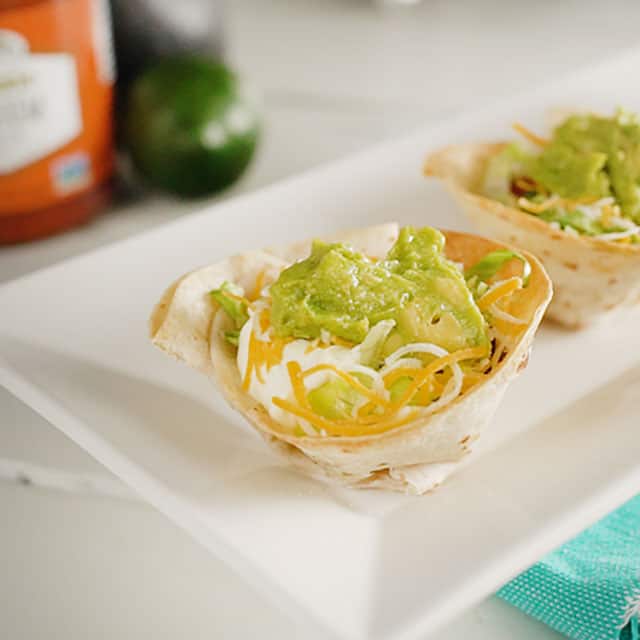
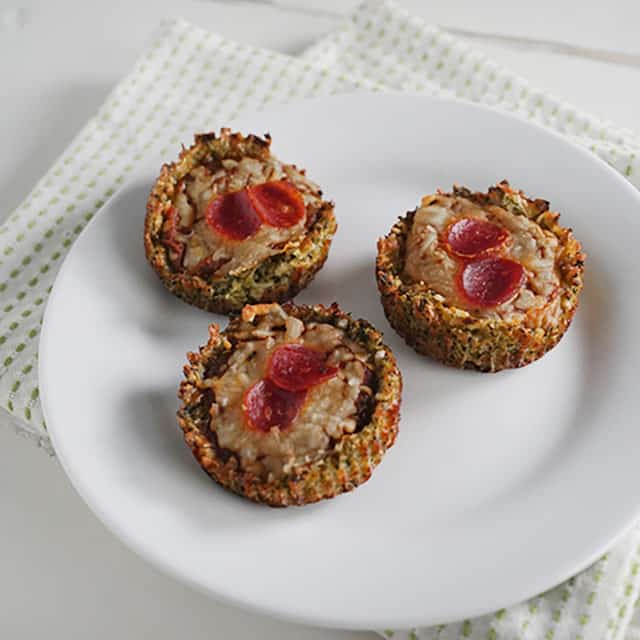
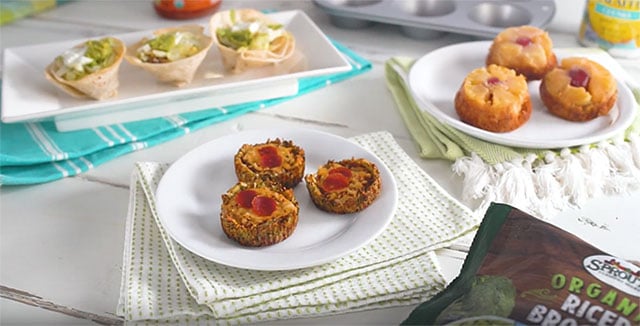 Start warming those ovens, because we’ve got three stress-free muffin-tin meals that will bake up in minutes! The whole family will enjoy the scrumptious flavor of the Broccoli Pizza Bites, sweet tang of the Upside-Down Pineapple Pancakes and assortment of textures the Mini Taco Cups have to offer. These handheld and super portable meals are perfect for weeknight dinners or when you’re on-the-go.