Now that spring has arrived, it’s time to freshen up our winter-weathered homes. Unfortunately, the often-toxic ingredients found in most conventional cleaning products can be just as harmful as the dirt and germs they are meant to eliminate.
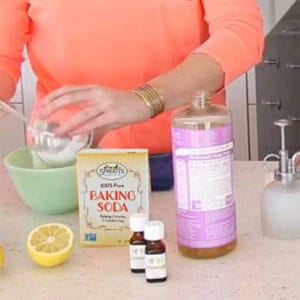
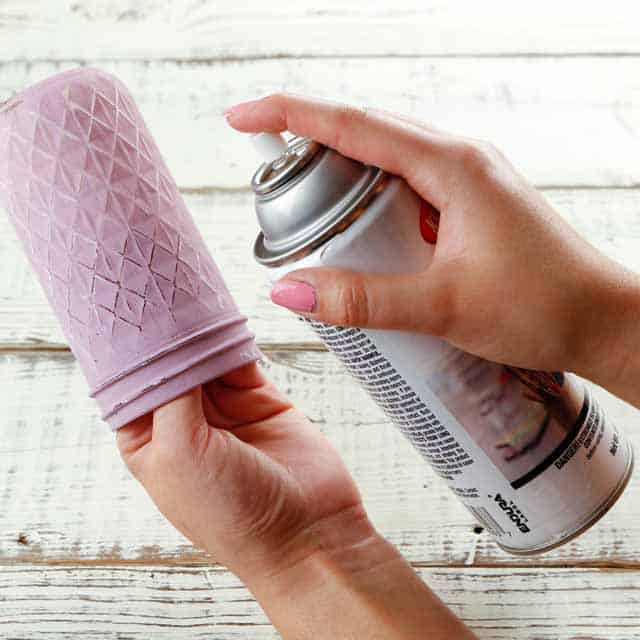
The good news is that spring cleaning doesn’t have to be dirty work. You can avoid the toxins in most conventional cleaning products by making your own. White, distilled vinegar is great for disinfecting, degreasing and non-toxic cleaning. It’s also extremely economical and readily available.
Note: The smell of vinegar does dissipate fairly quickly, but if the stench bothers you, try scenting it with fragrant essential oils.
What You’ll Need:
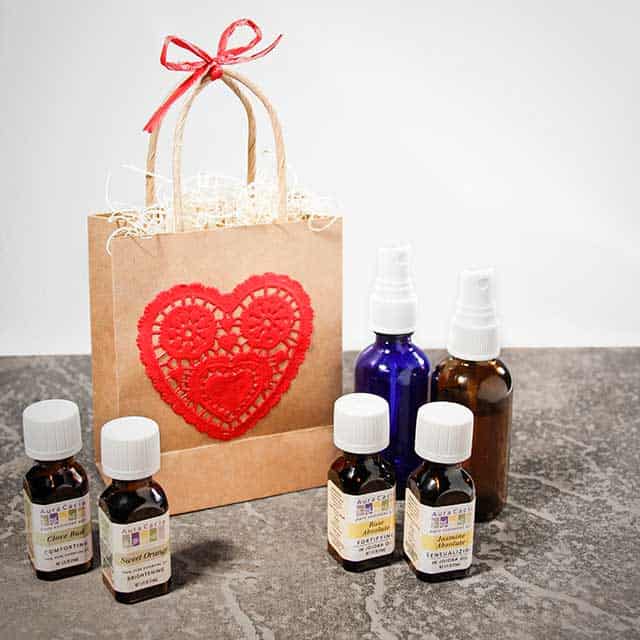
- Aura Cacia Essential Oils (we recommend lemon, peppermint, eucalyptus, tea tree)
- Sprouts Baking Soda
- Bronner’s Liquid Castile Soap
- White distilled vinegar
- Clean distilled water
- Toilet brush
- Spray bottles
- Cotton cloths
Disinfecting Surface Cleaner
Wipe away grime with this gentle, yet effective surface cleaner. Mix equal parts vinegar and water to disinfect walls, doorknobs, crib rails, and so on. If desired, add 5–10 drops of essential oil, per 2 cups of mixture. Dampen a sponge mop or cloth with the mixture and get to work!
Mirrors and Windows
To give your windows and mirrors a smudge-free shine combine 1/4 cup white distilled vinegar and 2 cups of water. Add 12 drops of lemon essential oil for added fragrance. Pour the ingredients into a clean spray bottle and shake well. Spray on surface and wipe with a clean cloth.
Multipurpose Cleaner
From the stovetop to the countertop, keep your home clean, fresh and safe with this multipurpose “greener” cleaner. Take an empty spray bottle and combine 1 tablespoon of liquid Castile soap, 1/2 cup of white distilled vinegar and 1 1/2 cups of water. We recommend lemon, tea tree, eucalyptus or lavender essential oils to create a sweet and wholesome scent. Put the cap on and shake well.
Toilet Cleaners
For regular toilet seat wipe downs, straight vinegar will do the trick. For tougher jobs, combine 1/2 cup baking soda, 1 cup distilled white vinegar and 1/2 teaspoon of tea tree essential oil in a spray bottle. Spray the bowl and allow the mixture to sit for a few minutes. Sprinkle baking soda inside the toilet. Then, scrub with a brush and flush.
Bath and Shower
The best way to prevent soap and scum from building up is to regularly spray the bath and shower walls with vinegar. For a deep cleaning, make your own soft soap cleaner with baking soda and Castile soap. Use the baking soda in place of scouring powder. Sprinkle it liberally on porcelain fixtures and rub with a wet rag. Add a little soap to the rag for more cleaning power.


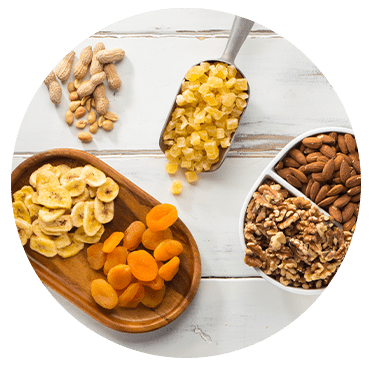


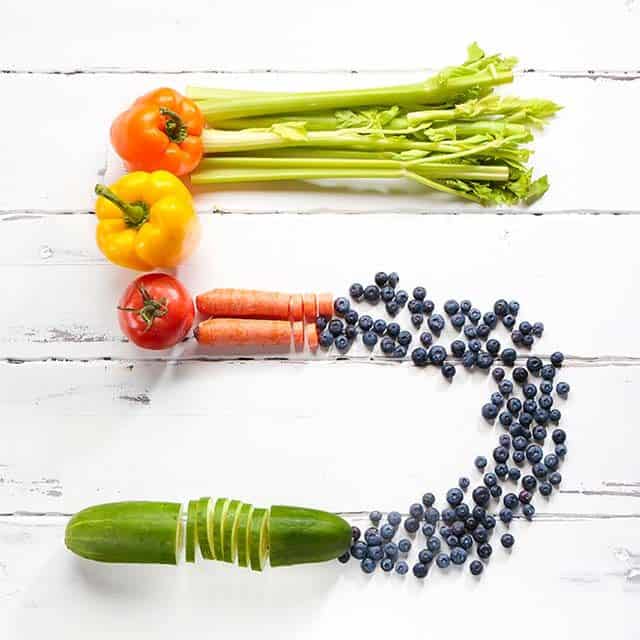
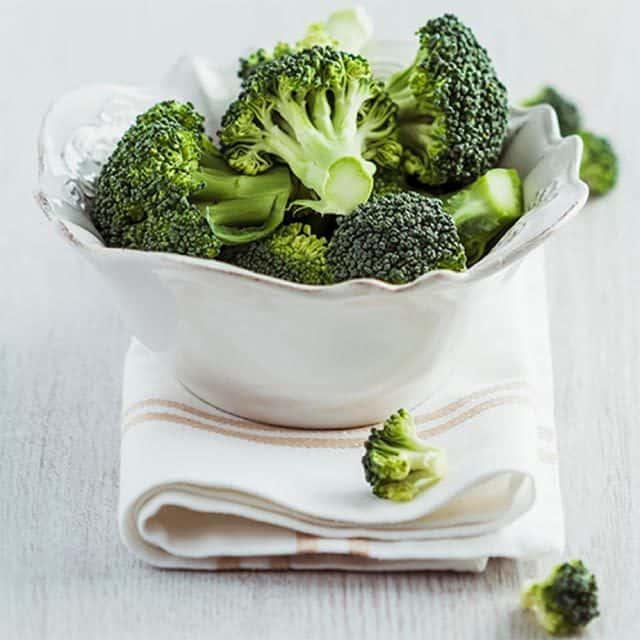 To start, the majority of potassium in our diet comes from fresh greens. They’re high in vitamins A, C and E, plus they are a great source of phytonutrients—compounds that protect and boost your immune system. No need to hold back—add to meals and snacks with abundance as green foods are naturally low in calories and free of saturated fats and cholesterol.
 GMOs are any organism whose genetic material has been altered using genetic engineering techniques. The majority of GMO crops (75–80 percent) are engineered for herbicide tolerance (e.g., “Roundup-Ready” crops). Farmers also cannot save GMO seeds, which means they must be purchased each year.
Even though the USDA maintains that food with GMOs are safe to eat, there is still debate surrounding inadequate data and environmental safety.
GMOs are any organism whose genetic material has been altered using genetic engineering techniques. The majority of GMO crops (75–80 percent) are engineered for herbicide tolerance (e.g., “Roundup-Ready” crops). Farmers also cannot save GMO seeds, which means they must be purchased each year.
Even though the USDA maintains that food with GMOs are safe to eat, there is still debate surrounding inadequate data and environmental safety.
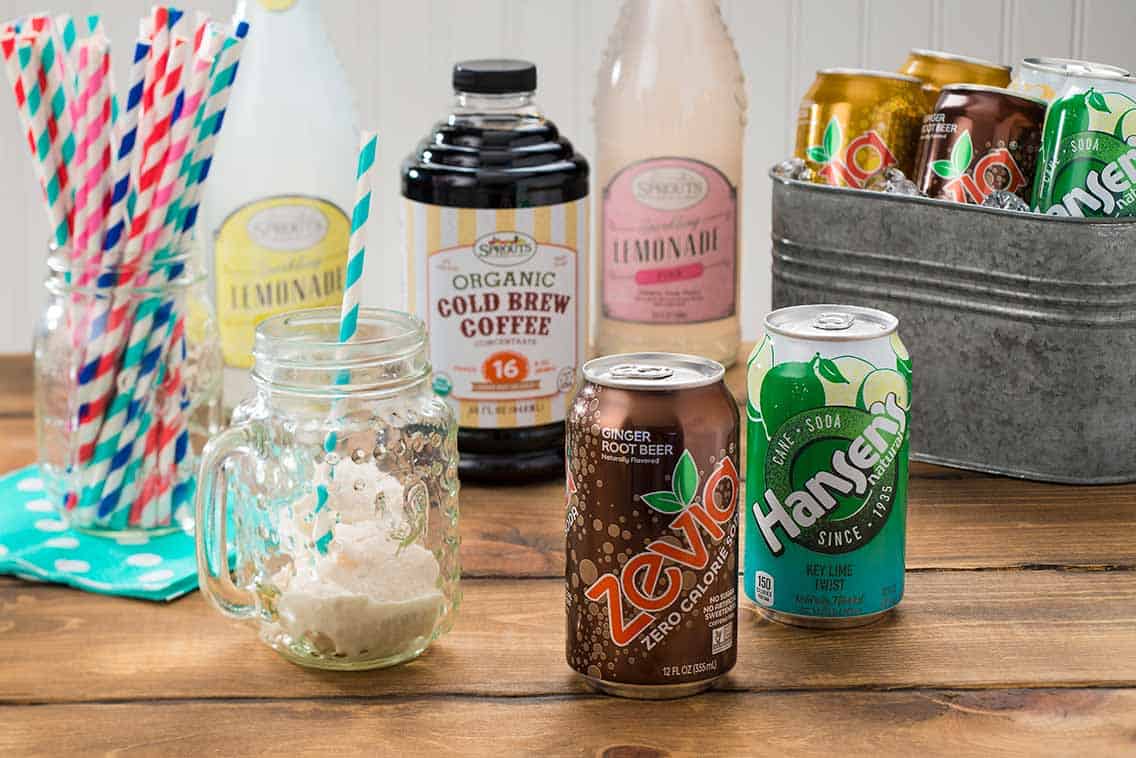
 “I’m going to be productive, efficient and amazing today.” These are the words of a person with a strong coffee in hand.
Just because your coffee keeps you on track, doesn’t mean you can’t have some fun with it. Easily add some variety by doctoring the flavor, and enjoying with add-ins. Here are ideas we’ve been brewing up:
“I’m going to be productive, efficient and amazing today.” These are the words of a person with a strong coffee in hand.
Just because your coffee keeps you on track, doesn’t mean you can’t have some fun with it. Easily add some variety by doctoring the flavor, and enjoying with add-ins. Here are ideas we’ve been brewing up:

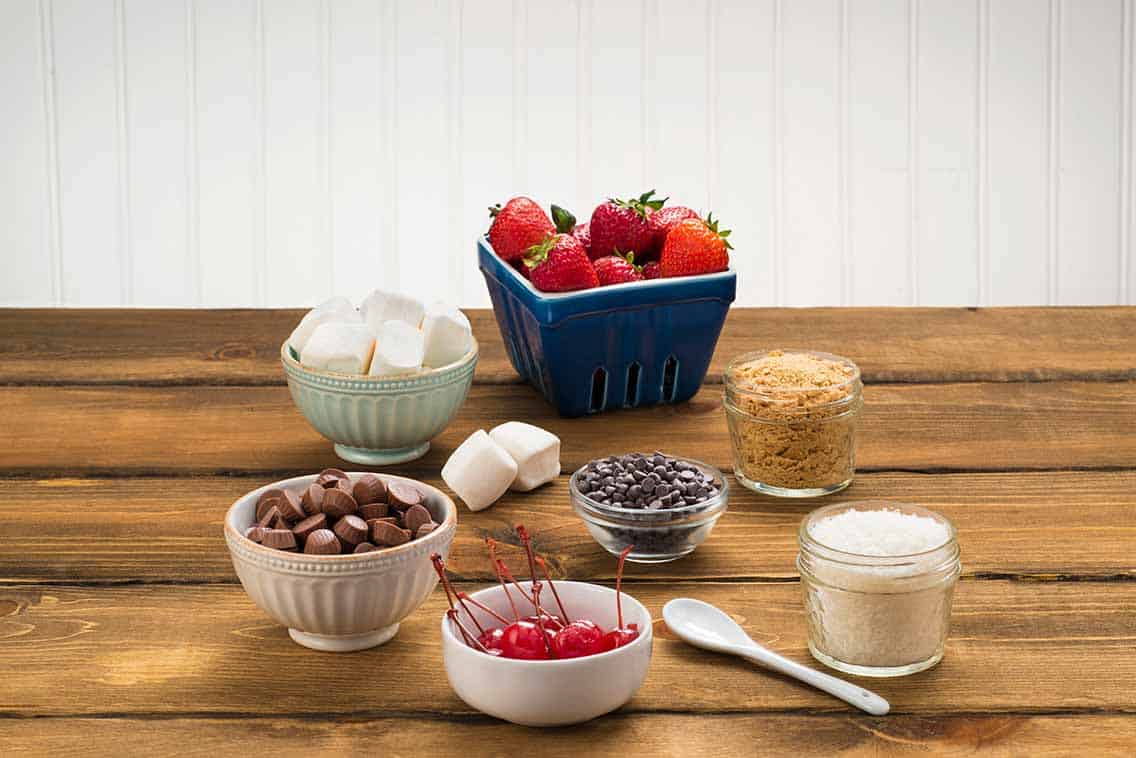
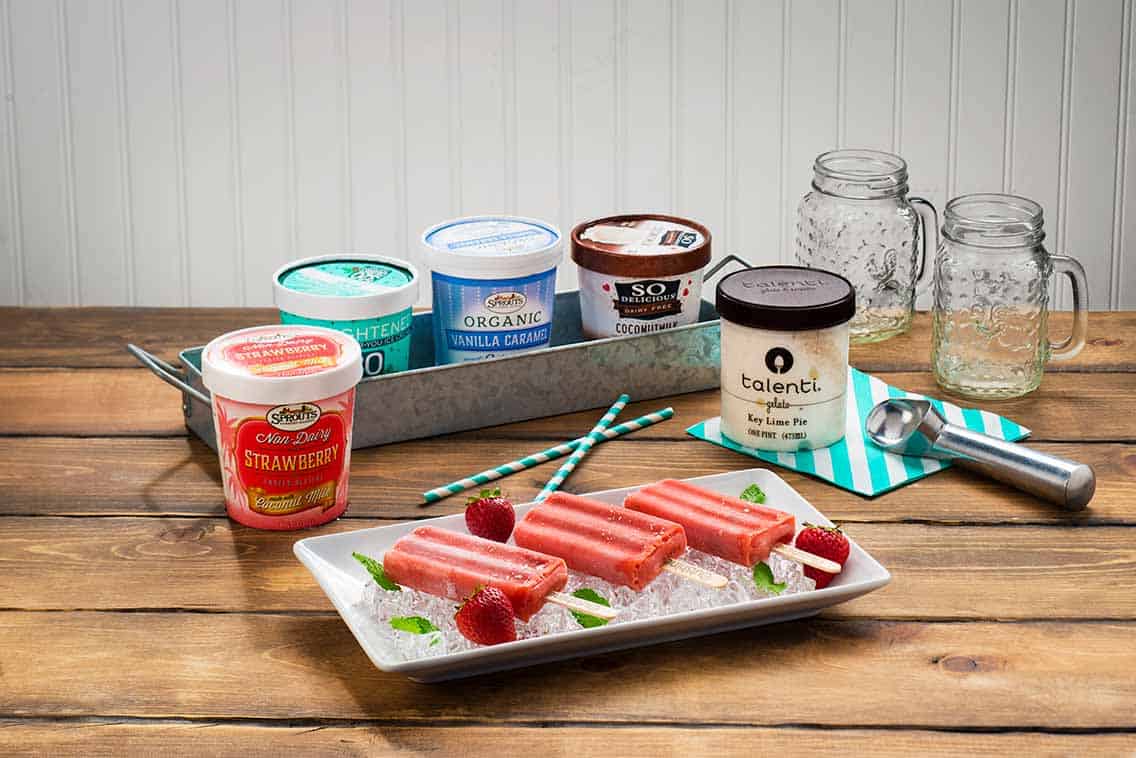
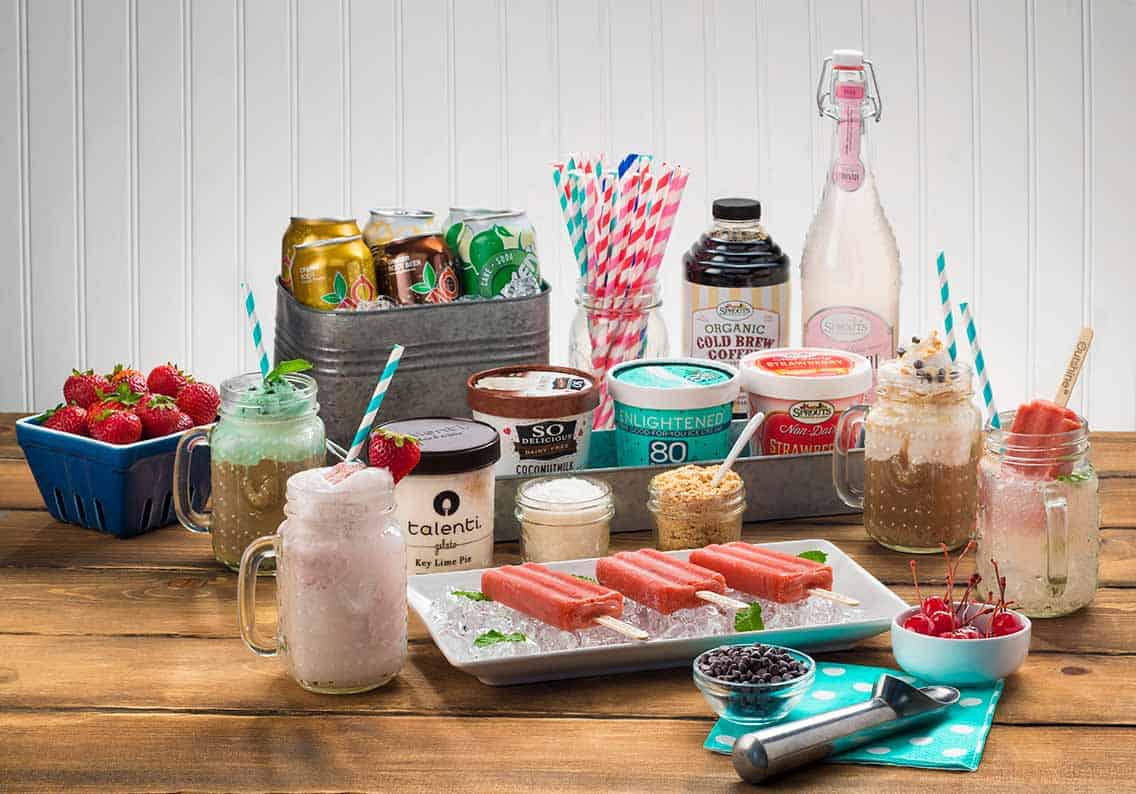 While you can’t go wrong with traditional vanilla, mix things up by providing a variety of flavors like mint chocolate chip or strawberry. You can find a number of dairy-free ice creams that will satisfy any sweet tooth. Sneak in an extra serving of fruit by dicing up fruit popsicles as a colorful option. Save time by prepping your ice cream the night before, by pre-scooping and freezing on a cookie sheet. Keep your frozen treats cool by serving the containers on ice.