This Mother’s Day, thank Mom for all she does. Whether she plans to spend the day relaxing or staying active, treating her to a homemade gift is a perfect way to show her how much you care. You’ll love having a chance to personalize just as much as she’ll love receiving a gift that’s heartfelt and thoughtful.
Find ideas below for celebrating Mom with gifts that have an extra special touch just from you.

Coconut Orange Body Scrub
What You’ll Need:
• 2 cups Coconut oil
• 1 cup Epsom salts
• 8-10 drops Sweet orange essential oil
Directions:
Mix coconut oil, Epsom salts and essential oils together. Use as a body scrub, hand scrub or foot scrub. The coconut oil may leave your tub a little slippery so be careful if you use this in the shower. Be sure to store in an air-tight container to preserve freshness.
How to Use:
Use as a body scrub, hand scrub or foot scrub.
Tip:
Make sure to be careful if you use this in the shower! The coconut oil may leave your tub a little slippery.
 Lavender Lotion Bars
What You’ll Need:
• 1 cup Beeswax
• 1 cup Coconut oil
• 1/2 cup Shea butter
• Silicon heart-shaped mold
• 25 drops Lavender essential oil
• 2 hours for refrigeration
Directions:
Start by warming beeswax in a double boiler until it becomes smooth. Add coconut oil and melt the two ingredients. Stir until smooth and add lavender essential oils. Let cool and place in silicon molds and refrigerate for at least 2 hours.
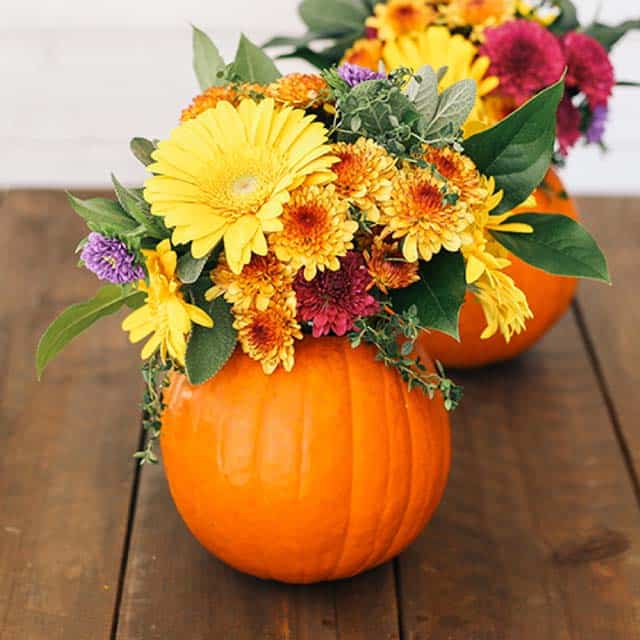
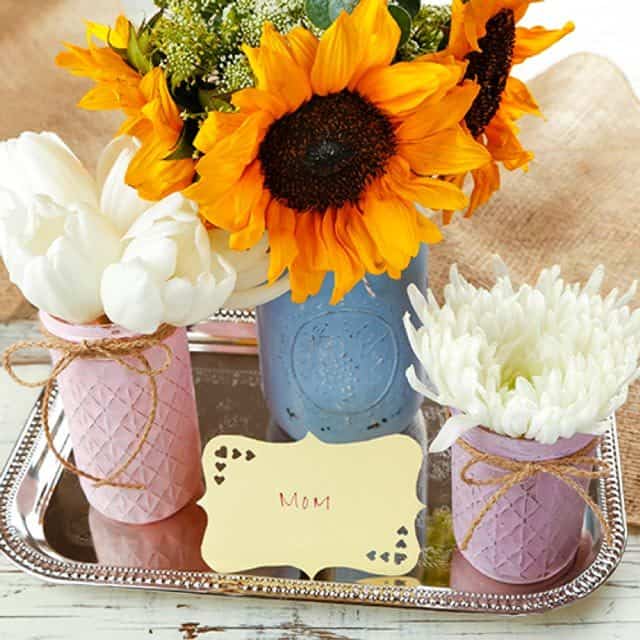 DIY Mason Jar Vases
What You’ll Need:
• Mason jars
• Chalk paint in your preferred colors
• Sand paper
• White chalk
• Clear acrylic spray
• Paint brush
Directions:
Paint the outside of each mason jar with chalk paint and let dry for one hour before applying another coat. After the jars have completely dried, use sand paper to take the paint off the raised, designed areas of the jar. Rub white chalk over jar to create a distressed look. Seal jars by spraying thoroughly with clear acrylic spray and let dry for at least 2 hours. Once dry, add your mom’s favorite fresh flowers.
 Peppermint Vanilla Bath Fizzies
What You’ll Need
• 1 cup Citric acid crystals
• 1 cup Baking soda
• 1/2 cup Almond oil
• 5 drops Aura Cacia Vanilla Essential Oil
• 5 drops Aura Cacia Peppermint Essential Oil
Directions:
In a large bowl, combine citric acid crystals, baking soda and corn starch. Add almond oil and essential oil drops. Mix ingredients thoroughly with a spoon or by hand until the consistency is that of damp dough. Press dough firmly into desired shape using ice cube trays or a muffin pan. Let set overnight for approximately 12 hours before removing from ice cube trays or pan.
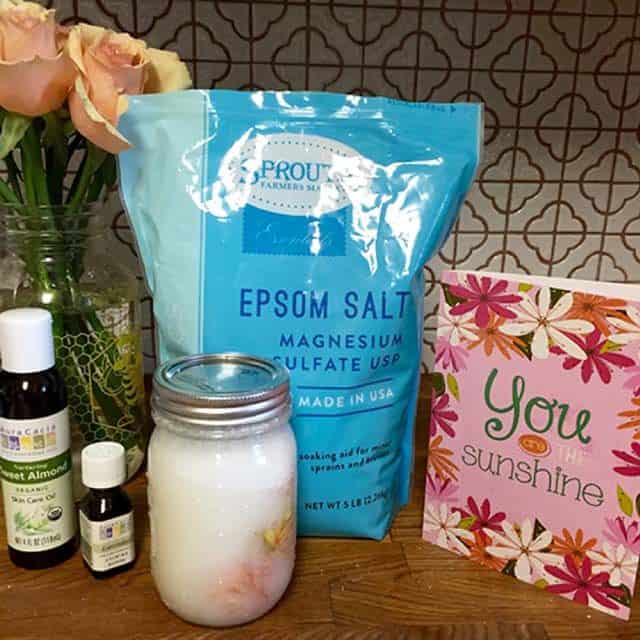
 Lemon and Rosemary Bath Salt
DENVER METRO MOMS BLOG
What You’ll Need:
• 3/4 cup Coconut oil
• 2 cups Sprouts Epsom Salt
• 2 sprigs Rosemary
• 10 drops Lemon oil
Directions:
For this project you’ll need a small mixing bowl to combine the ingredients. Simply mix all the ingredients and pour into a mason jar. Want to get the kids involved? Have them help mix the ingredients and decorate by spelling out MOM on the jar. The bath salt should last six months but the metal on the mason jars may begin to rust.
 Rose and Lavender Body Scrub
DALLAS MOM BLOG
What You’ll Need:
• 1 1/2 cups Coconut oil
• 1 1/2-2 cups Sprouts Epsom Salt
• 1/2 Rose petals
• 3 Tbsp. Sweet almond oil
• 15-20 drops Lavender essential oil
Directions:
Pour coconut oil into a mason jar. Add a layer of rose petals into jar evenly. Add sweet almond oil and lavender essential oil on top of rose petals. Begin mixing the Epsom salt into mixture until salt has fully saturated with the oils. Seal and wrap for Mother’s Day!
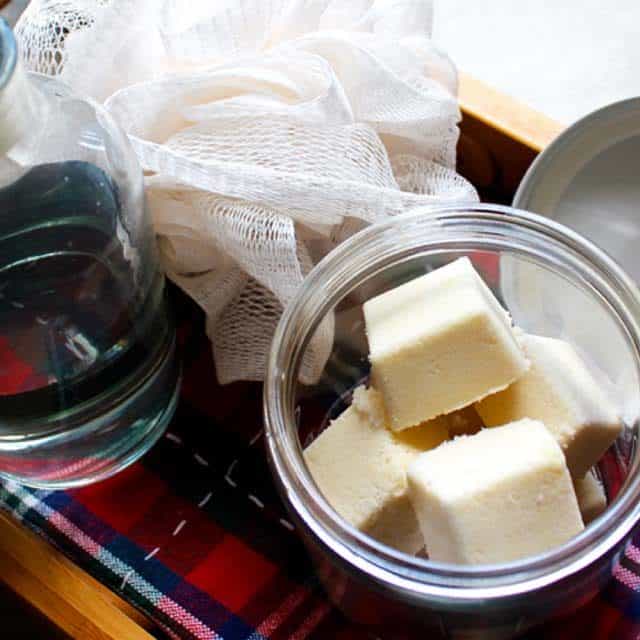
 Easy Salt Scrub
NASHVILLE MOM BLOG
What You’ll Need:
• 1 cup Sprouts Epsom Salt
• 2 cups Coconut oil or olive oil (take any allergies into account here!)
• 20-25 drops Essential oil of choice (I decided on a lavender and citrus blend that includes bergamot—two of my favorites!)
• Bowl and spoon for mixing
• Jar or other container with tight-fitting lid
Directions:
Measure out the Epsom salt and pour into your bowl. If you’ve chosen coconut oil as your moisturizing oil, keep in mind that you may need to (gently) warm it in order for it to mix well with the salt. It’s generally at least semi-solid at room temperature. Add your essential oil, and stir to blend. Once you’ve reached a fair homogenous consistency, your salt scrub is ready for packaging!
For ease, you can choose small reusable containers like my sister did at Christmas. (This choice makes it a much safer option for keeping on a shelf in the shower since there’s no possibility of shattered glass in the tub.) If you want to dress it up a little, you can use a small Ball jar (like mine picture above) instead. Cover with cloth and a ribbon, print off a fancy label, and you’ve got a sweet gift for any mom in your life!


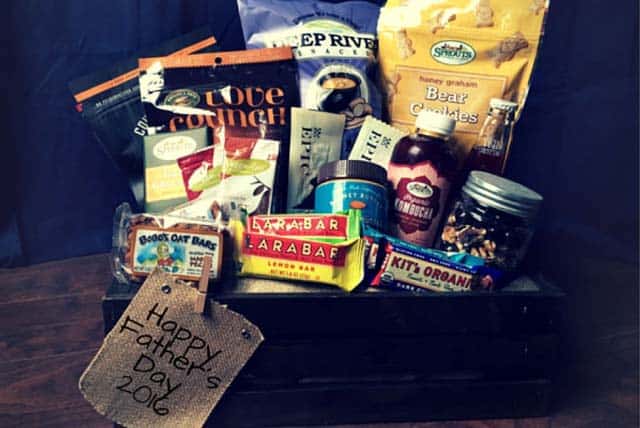 Say thank you to all the doting dads and handsome heroes this Father’s day. After all, where would we be without dad jokes, practical advice and bear hugs?If the standard gifts are feeling a little tired, we have a few ideas to “tie” this Father’s Day together. Check out these fun gifts that he’s sure to love, including one by blogger, Julie, from
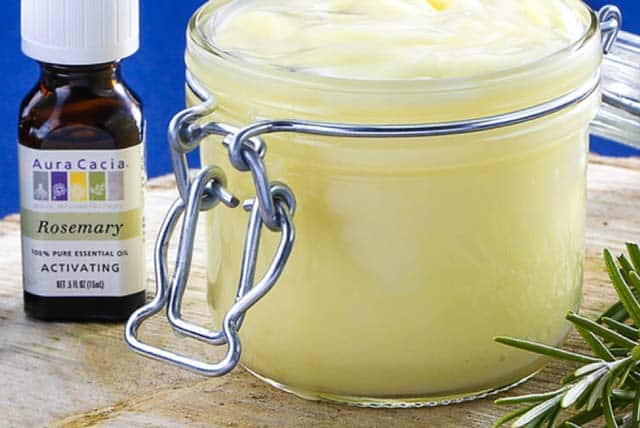
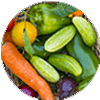
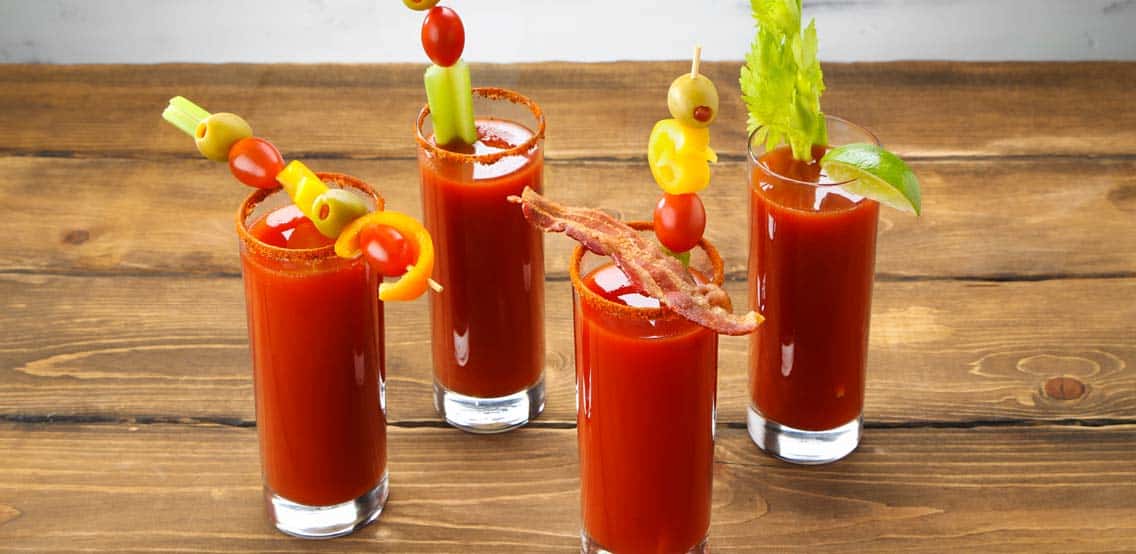 Next time brunch is at your place, try this fun and unexpected DIY Bloody Mary Bar! Mimosas are the classic brunch cocktail, but breaking out the veggies instead and mixing up a hearty Bloody Mary is another great way to start the day. Not only will this build-your-own-drink bar impress your guests with its stunning display, they’ll also have a blast making their own Bloody Marys and experimenting with unique flavor combinations. Better yet, for a non-alcoholic or “mocktail” version, simply replace vodka with sparkling water!
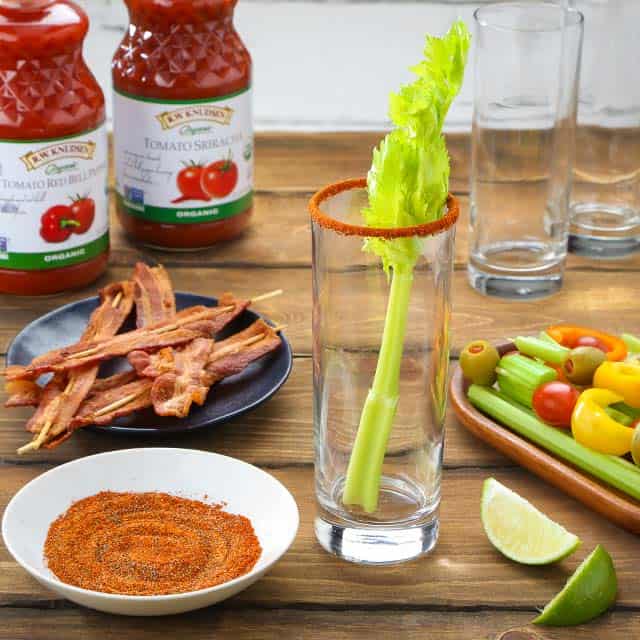 With vibrant, fresh citrus and colorful veggies, the only thing you’ll need is R.W. Knudsen’s savory tomato juice. R.W. Knudsen’s Organic Tomato Juice features flavors like Sriracha and red bell pepper, so you and your guests can skip adding the heat—it’s all the spice you need in one bottle!
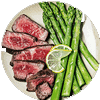
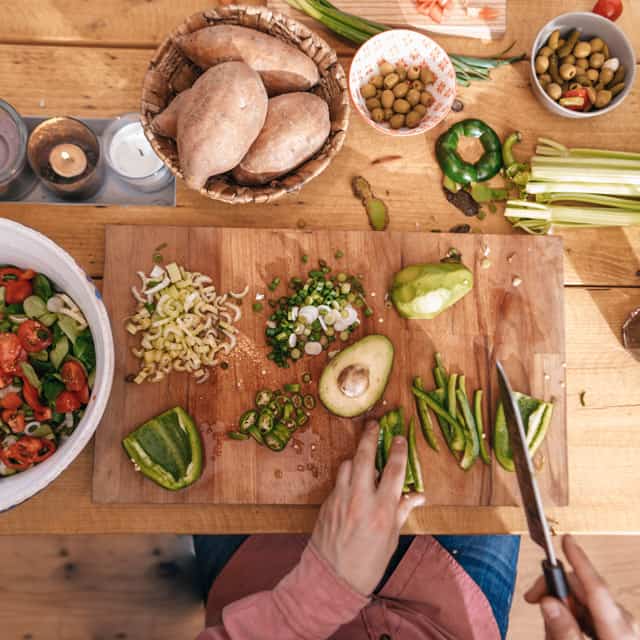 Raw meat, poultry, seafood and eggs can spread illness-causing bacteria to ready-to-eat foods if you don’t keep them separate.
Remember these helpful tips to avoid cross contamination:
Raw meat, poultry, seafood and eggs can spread illness-causing bacteria to ready-to-eat foods if you don’t keep them separate.
Remember these helpful tips to avoid cross contamination: