


Make it homemade while you’re at home
Let’s use this extra time at home to try something new! This 14-day list will not only spark your creativity, but will show you how to use simple ingredients around the house to help you save a little, too. You’ll be surprised at what you can create using common household items. From homemade dry shampoo to delicious no-bake cookies, there’s something for everyone to enjoy!Day 1: Homemade Salad Dressing
Running low on your favorite salad dressings? Don’t worry–they’re simple to make. Give this citrus vinaigrette a try!Ingredients:
- 1/4 tsp. Italian seasoning
- 3/4 cup Fresh orange juice
- 1/4 cup Extra virgin olive oil
- 1/4 tsp. Sea salt
- 1/2 tsp. Orange zest
- 2 whole Garlic cloves, crushed or pressed
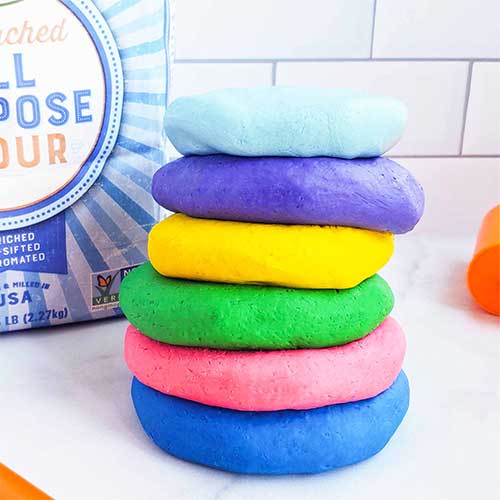
Day 2: DIY Play Dough
Keep the kids busy with simple, homemade play dough. Here’s how:Ingredients:
- 2 cups All-purpose flour
- 3/4 cup Salt
- 4 tsp. Cream of tartar
- 2 Tbsp. Coconut oil
- Food coloring of choice
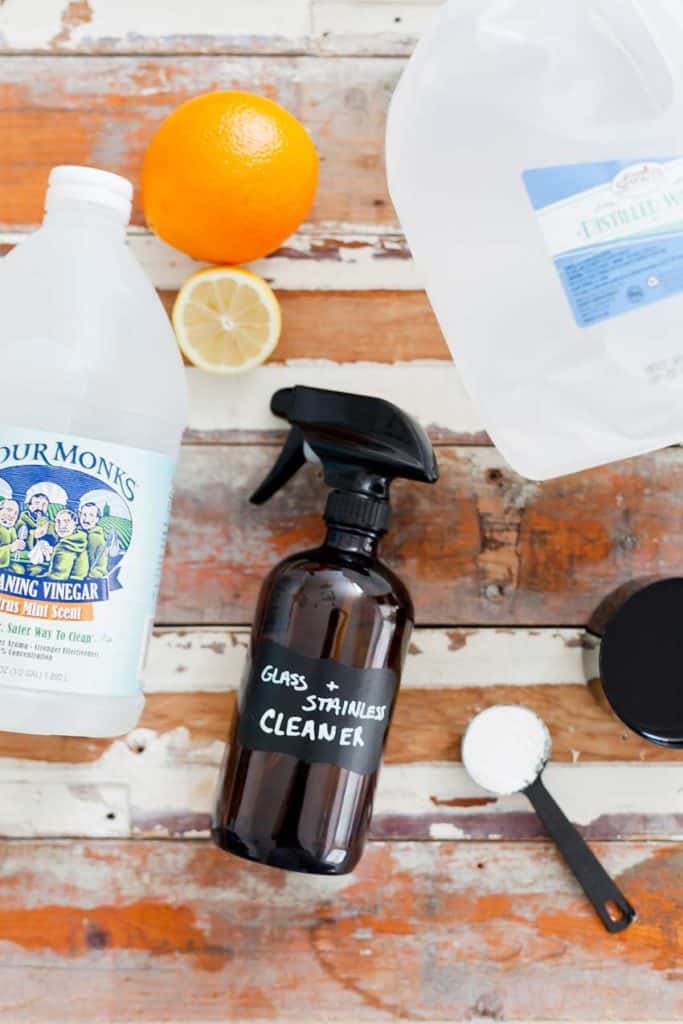
Day 3: At-home Cleaning Spray
Freshen up your home with a natural, homemade cleaning spray. Not only is it free from harsh chemicals, the essential oils will leave your home smelling like a relaxing, spa retreat.Ingredients:
- 1 Empty spray bottle
- 1/2 cup White vinegar
- 1/2 cup Rubbing alcohol (70% or more)
- 1 cup Distilled water
- 3-5 drops Essential oil or citrus rinds of choice
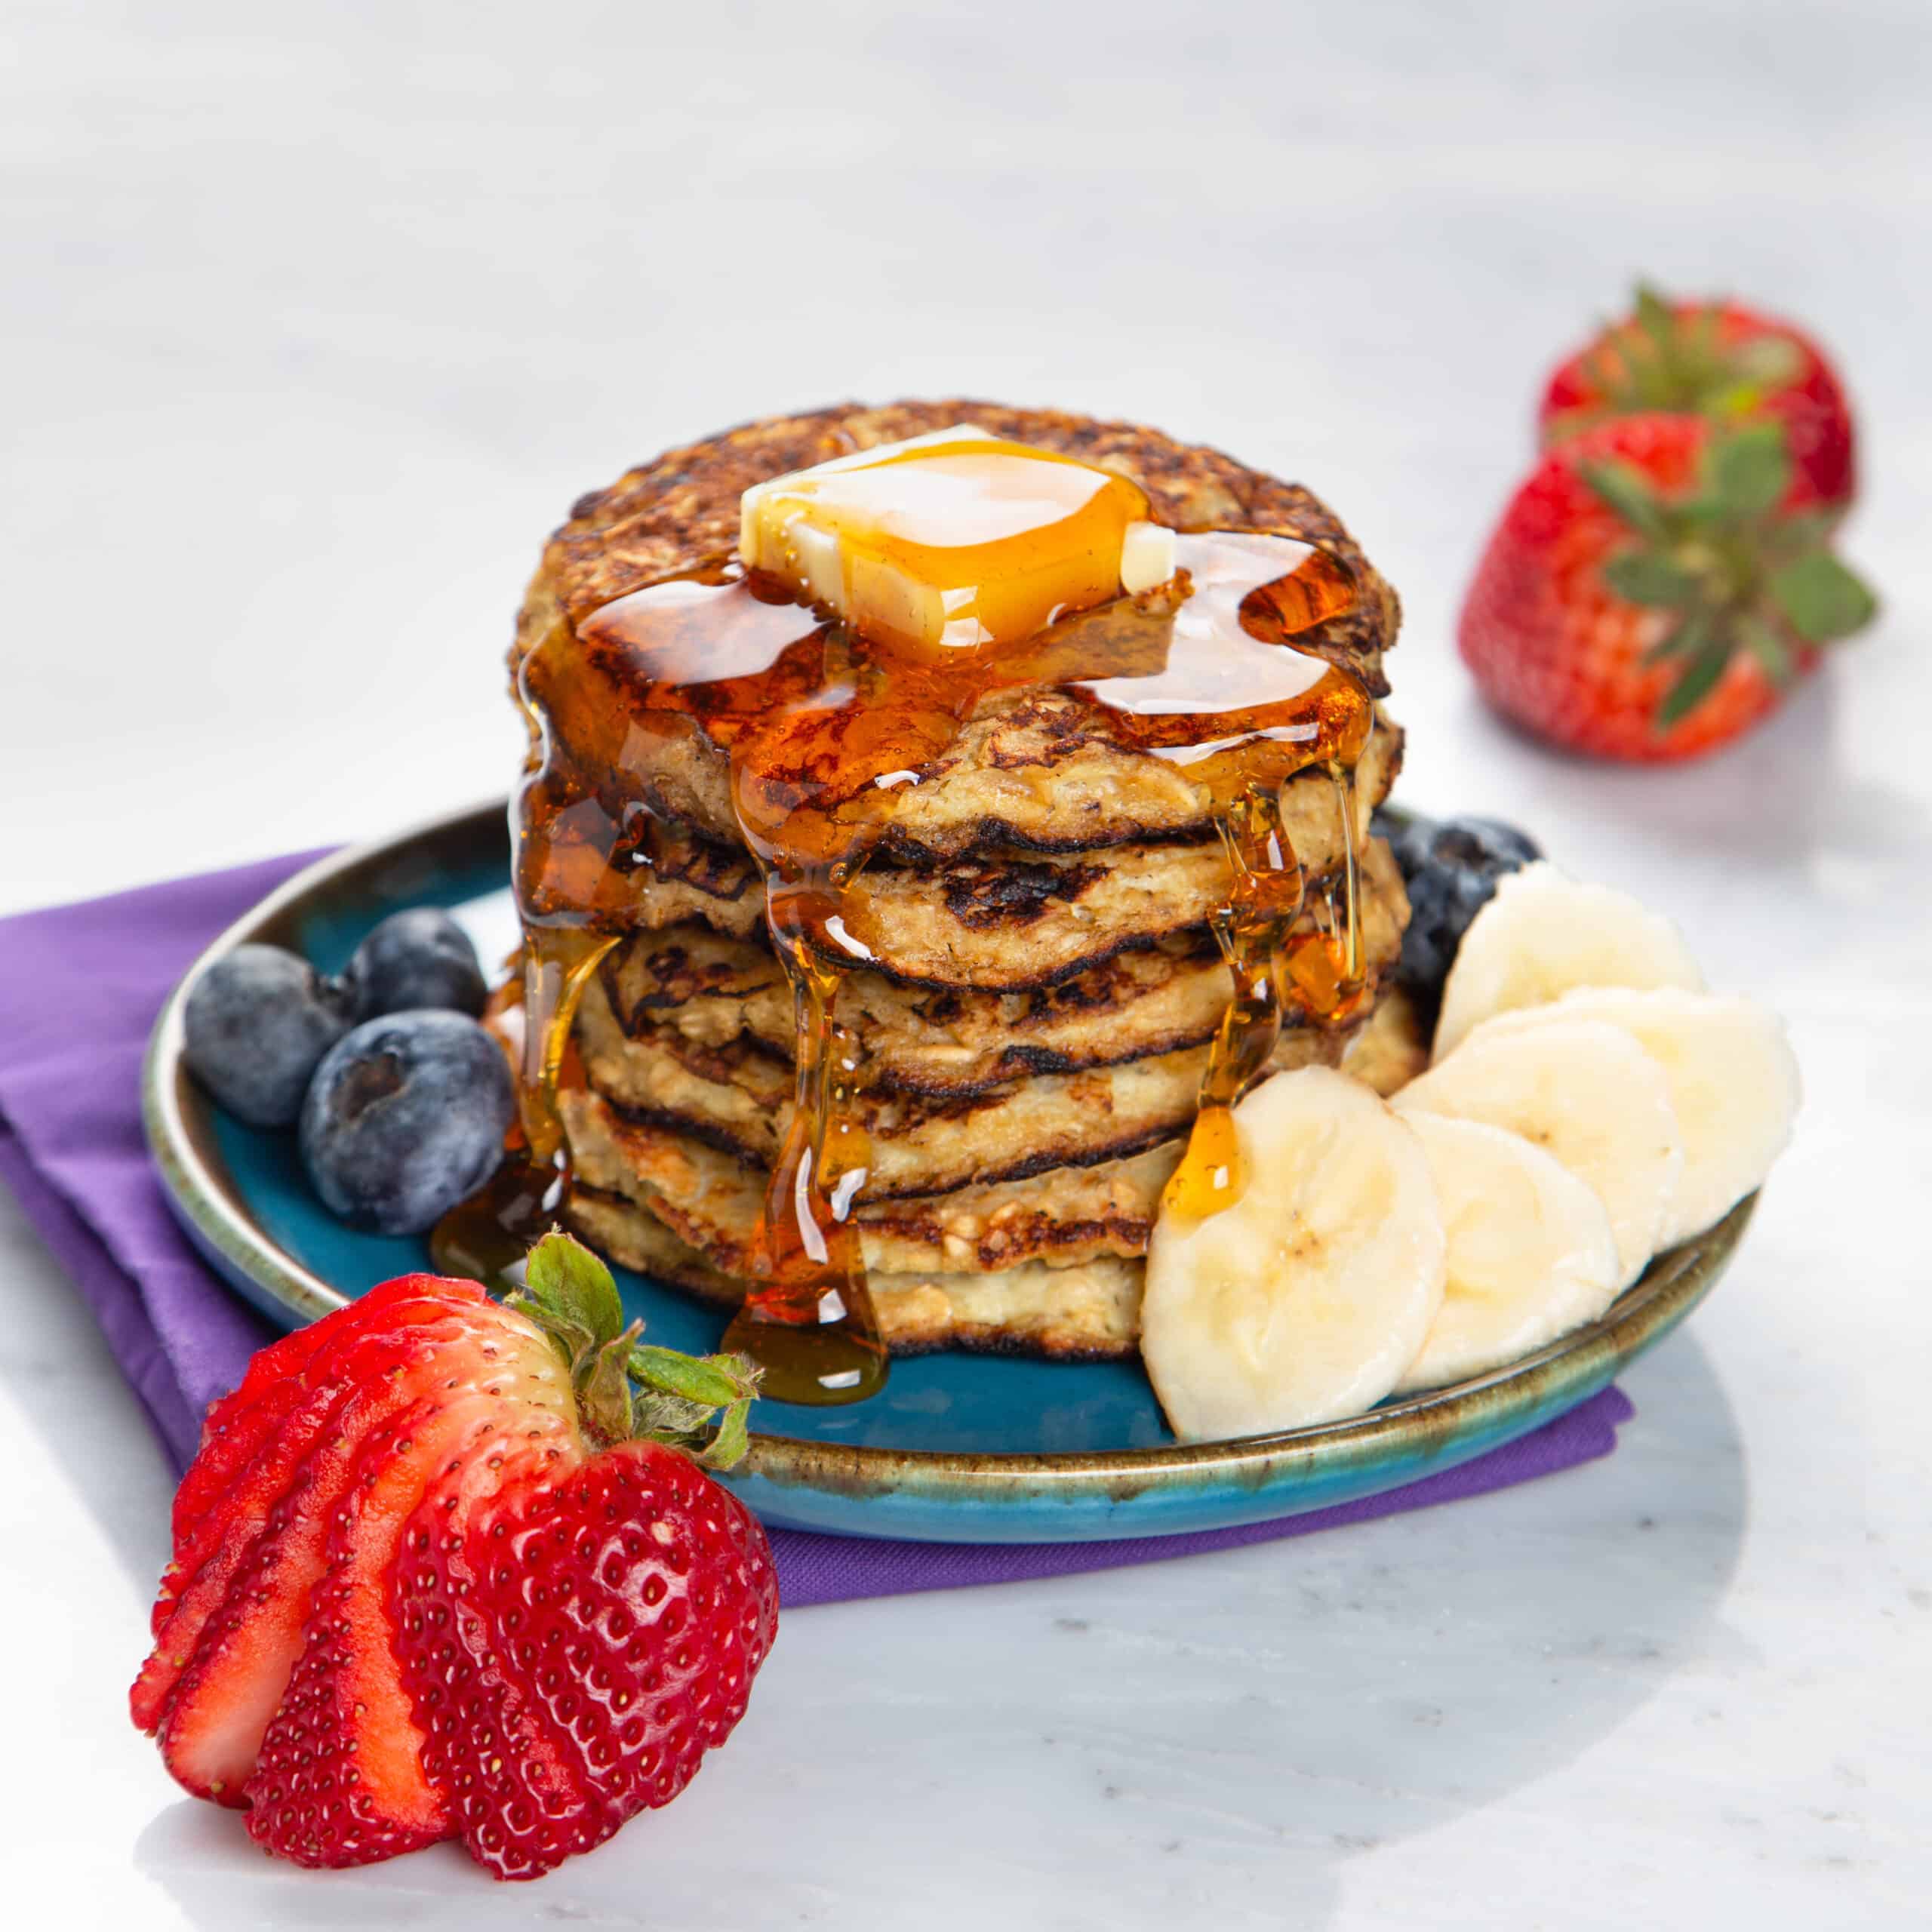
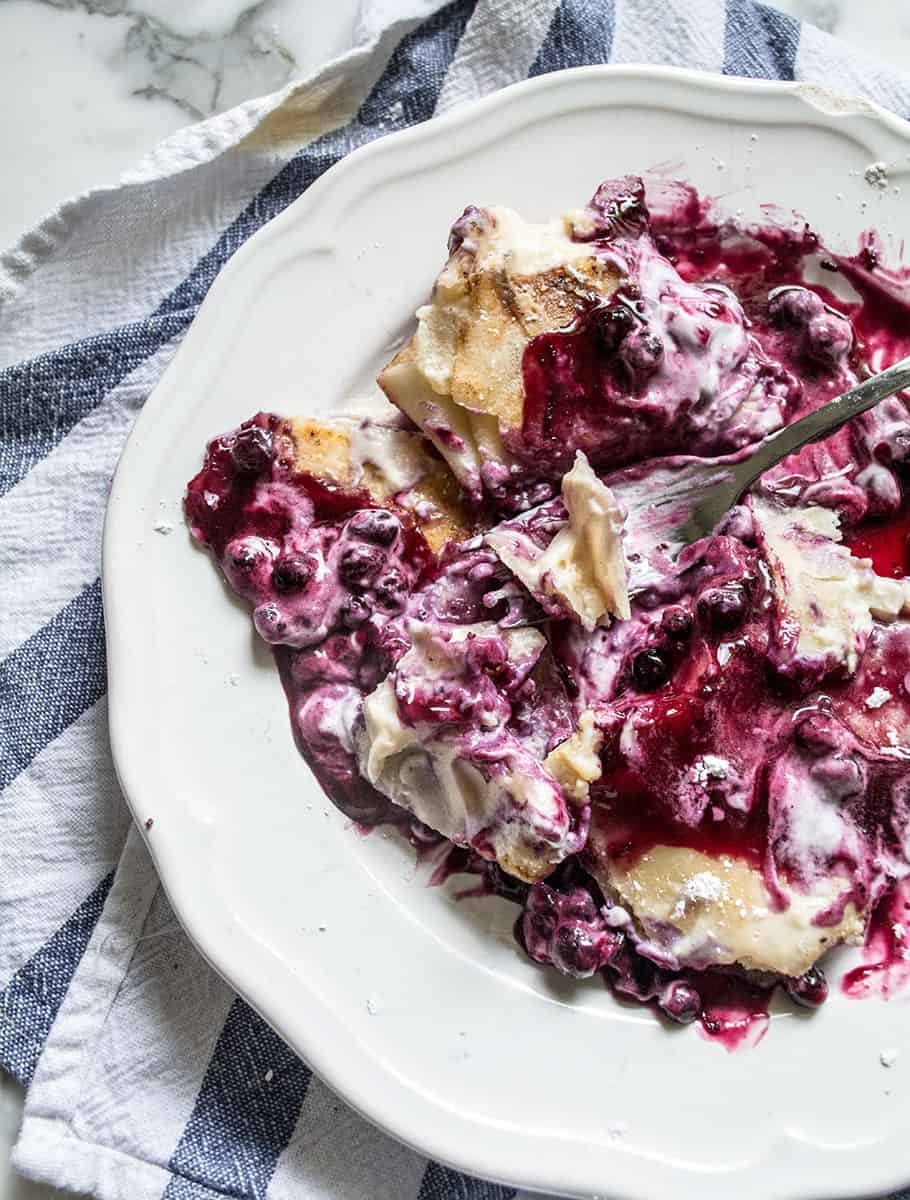
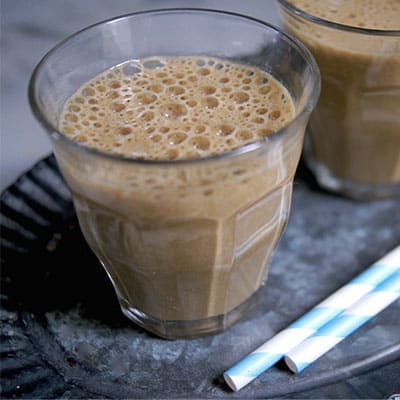
Day 4: Three Ingredient Pancakes
Tied for ingredients while you’re at home? No worries! This easy, kid-friendly pancake recipe only requires three ingredients: bananas, oats and eggs.Ingredients:
- 2 Bananas, ripe
- 2 Eggs
- 1/2 cup Oats
Day 5: No-bake Cookies
Satisfy your sweet tooth cravings without the bake-time! No-bake cookies are a delicious blend of nutty peanut butter and rich cocoa—perfect for making your day a little better.Ingredients:
- 2 cups Granulated sugar
- 1/2 cup Butter
- 1/2 cup Milk
- 1/4 cup Unsweetened cocoa powder
- 1 tsp. Vanilla extract
- 3 cups Quick oats
- 1/2 cup Peanut butter, creamy or crunchy

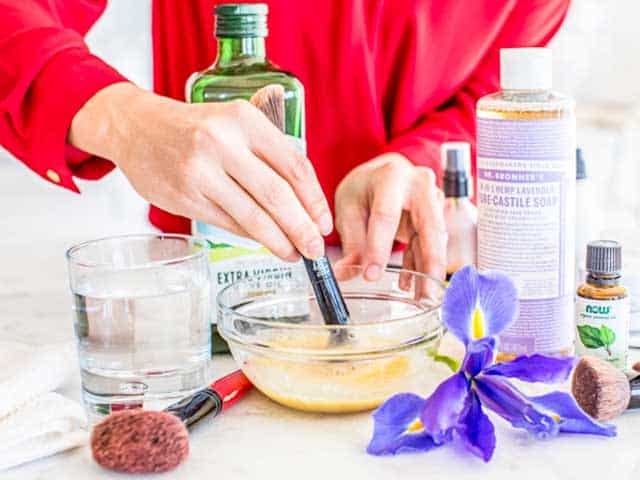
Day 6: Essential Oil Bath Soak
Make the most of your time at home by investing in some R&R time. Using this DIY bath soak can give you some much-needed me-time before tackling the day–just use 2-3 scoops!Ingredients: For Lavender Bath Salts:
- 1/2–1 cup Kosher Salt
- 1/2 cup Baking soda
- 2 sprigs Fresh rosemary, minced
- 10 drops Lavender essential oil
- 3/4 cup Coconut oil
- 2 cups Sprouts Epsom Salt
- 2 sprigs Fresh rosemary, minced
- 10 drops Lemon essential oil
Day 7: Simple Lemonade
Spring is here and what better way to feel refreshed than with a tangy pitcher of lemonade made straight from the comfort of your home!Ingredients:
- 1 cup Lemon juice (about 6 lemons)
- 2 cups Sugar
- 1 Fresh lemon
- 3-4 cups Cold water
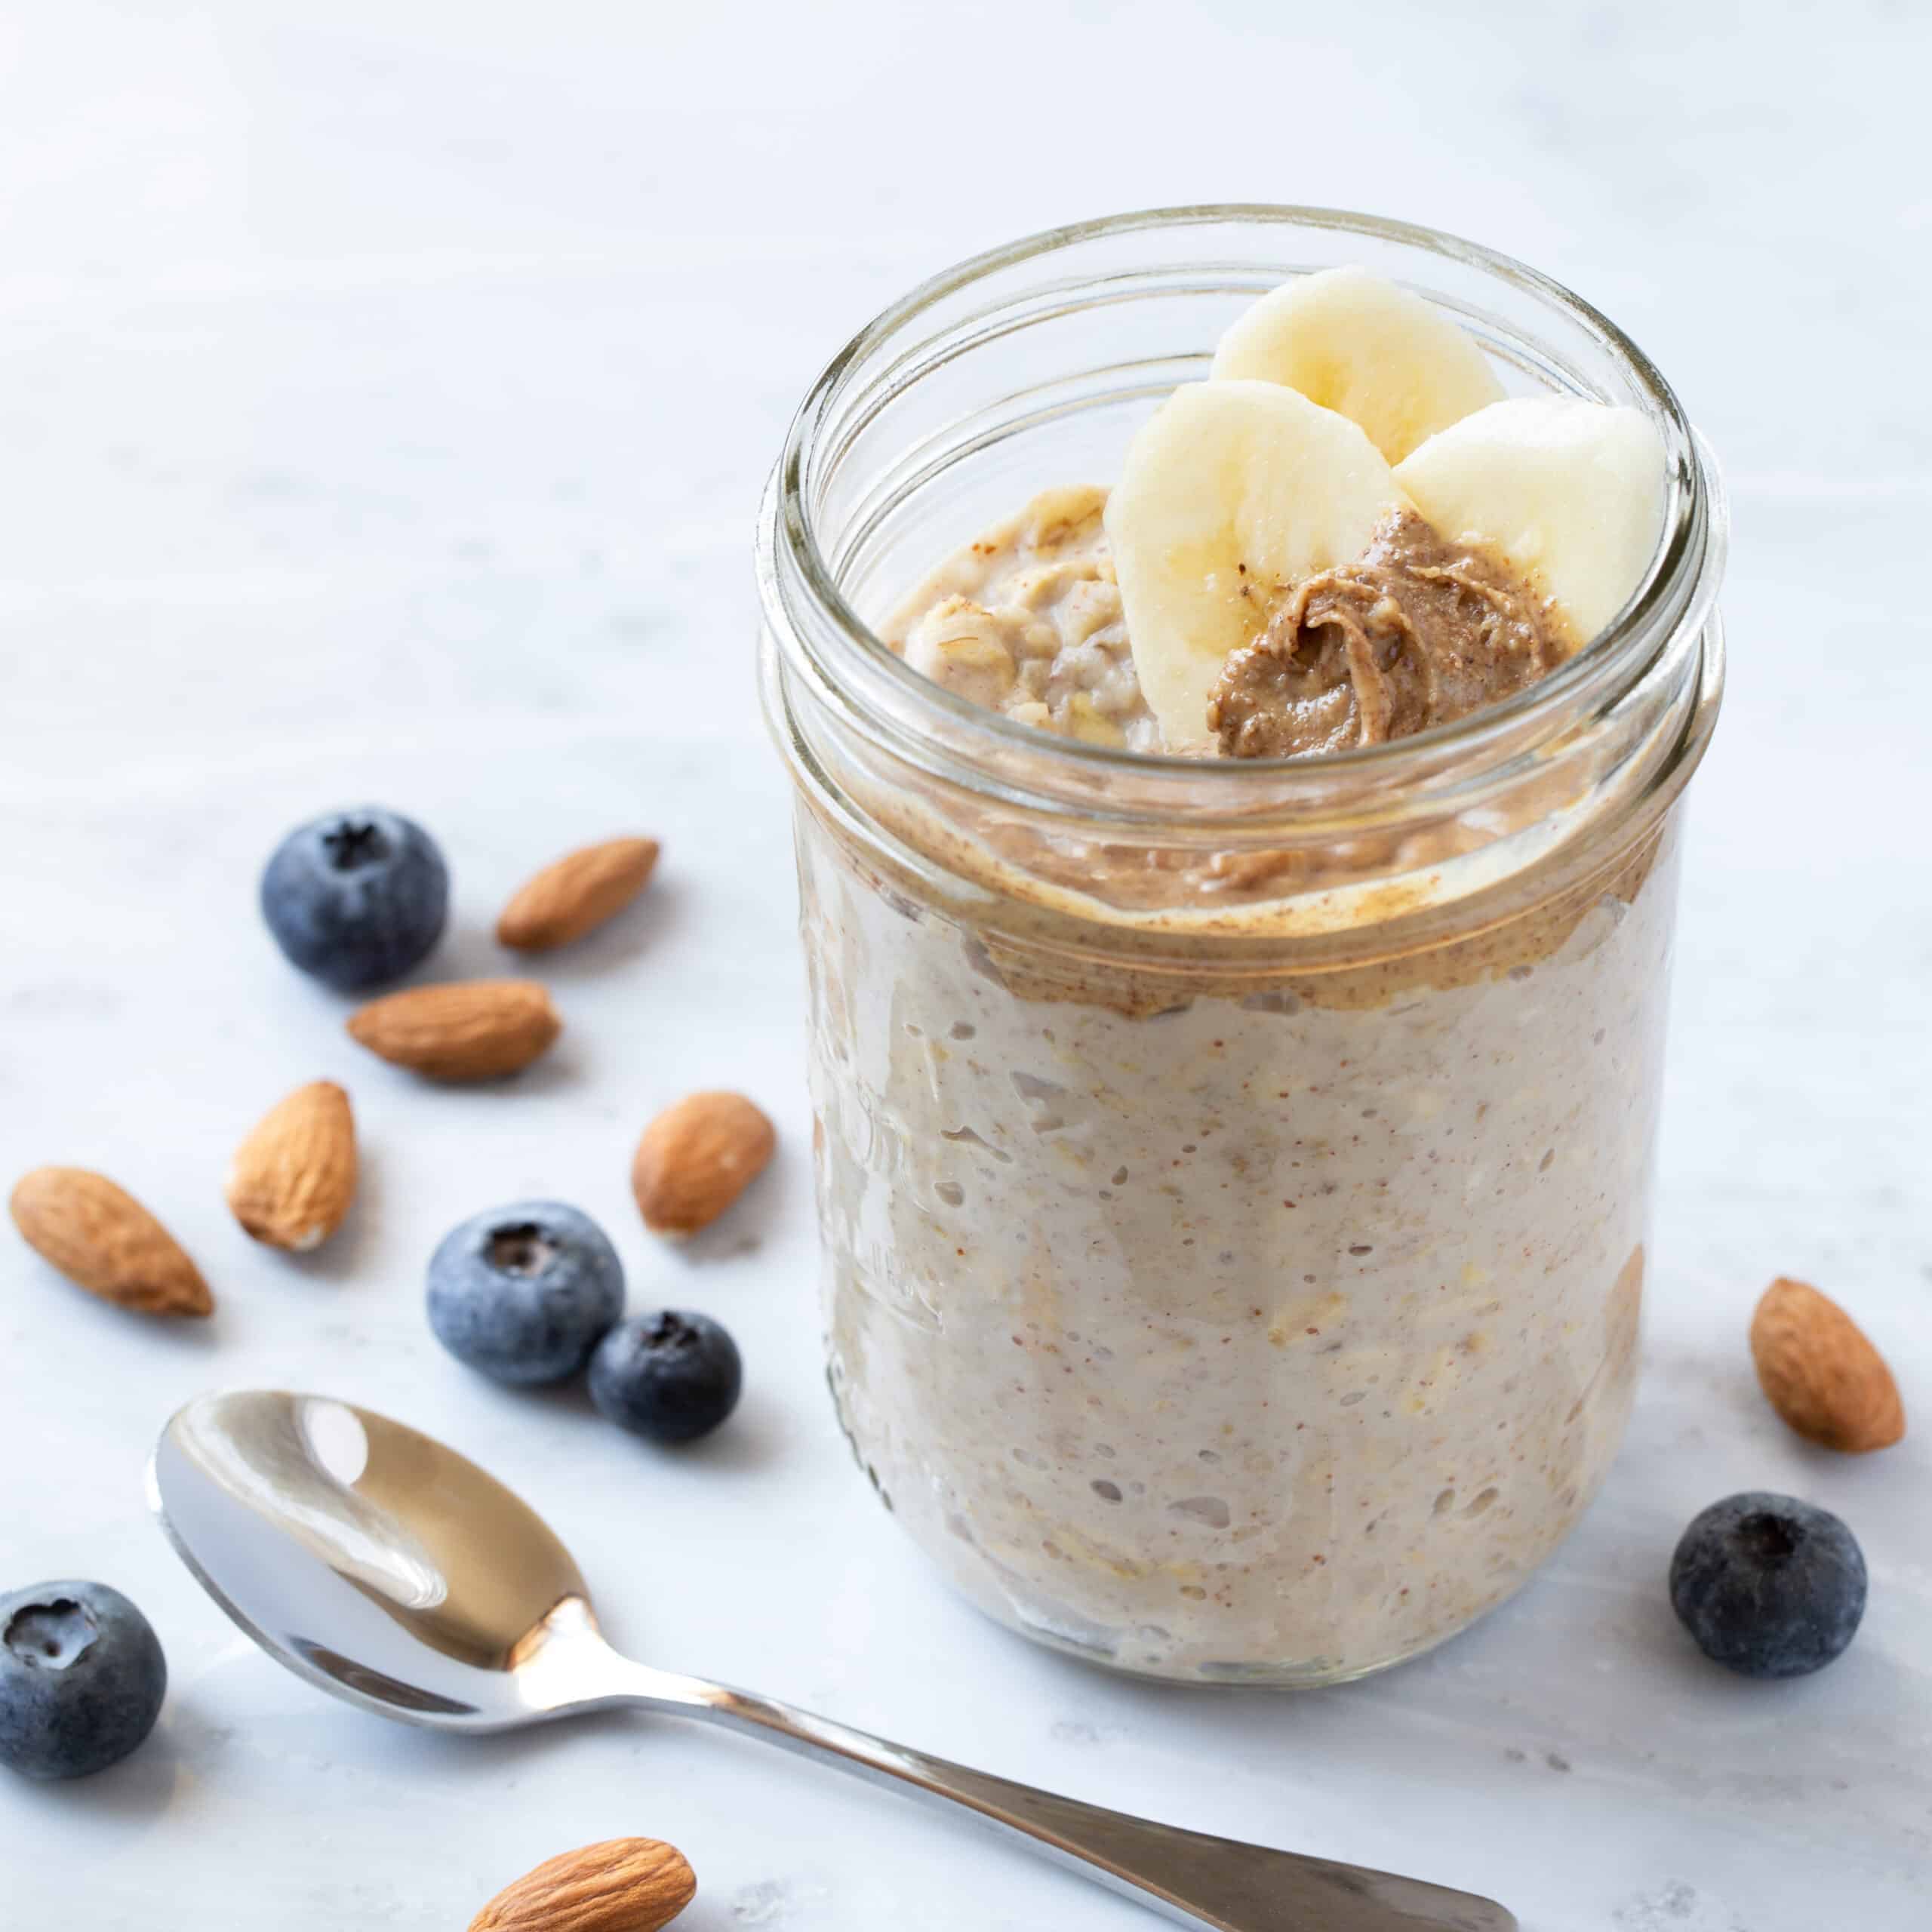
Day 8: Easy Overnight Oats
Breakfast is easy when you make it the night before! Simply combine oats, milk of choice and toppings for a quick breakfast or snack. Give this recipe a try or get creative with whatever you may have in your pantry.Ingredients:
- 1/2 Banana, ripe
- 1/3 cup Rolled oats
- 2/3 cup Almond milk
- 1 Tbsp. Almond butter
- 1 tsp. Honey
- Fruit for topping
Day 9: DIY Dry Shampoo
One of the best self-care tips for when you’re staying home is to still get ready in the morning. It can help you feel refreshed and promote a daily routine. If you find yourself running low on your favorite beauty essentials, you may be able to create them from scratch–like this homemade dry shampoo!Ingredients:
- 1/2 cup Cornstarch
- 1/2 cup Baking soda
- 1-2 drops Essential oil of choice
- Cocoa powder as needed to match your hair color
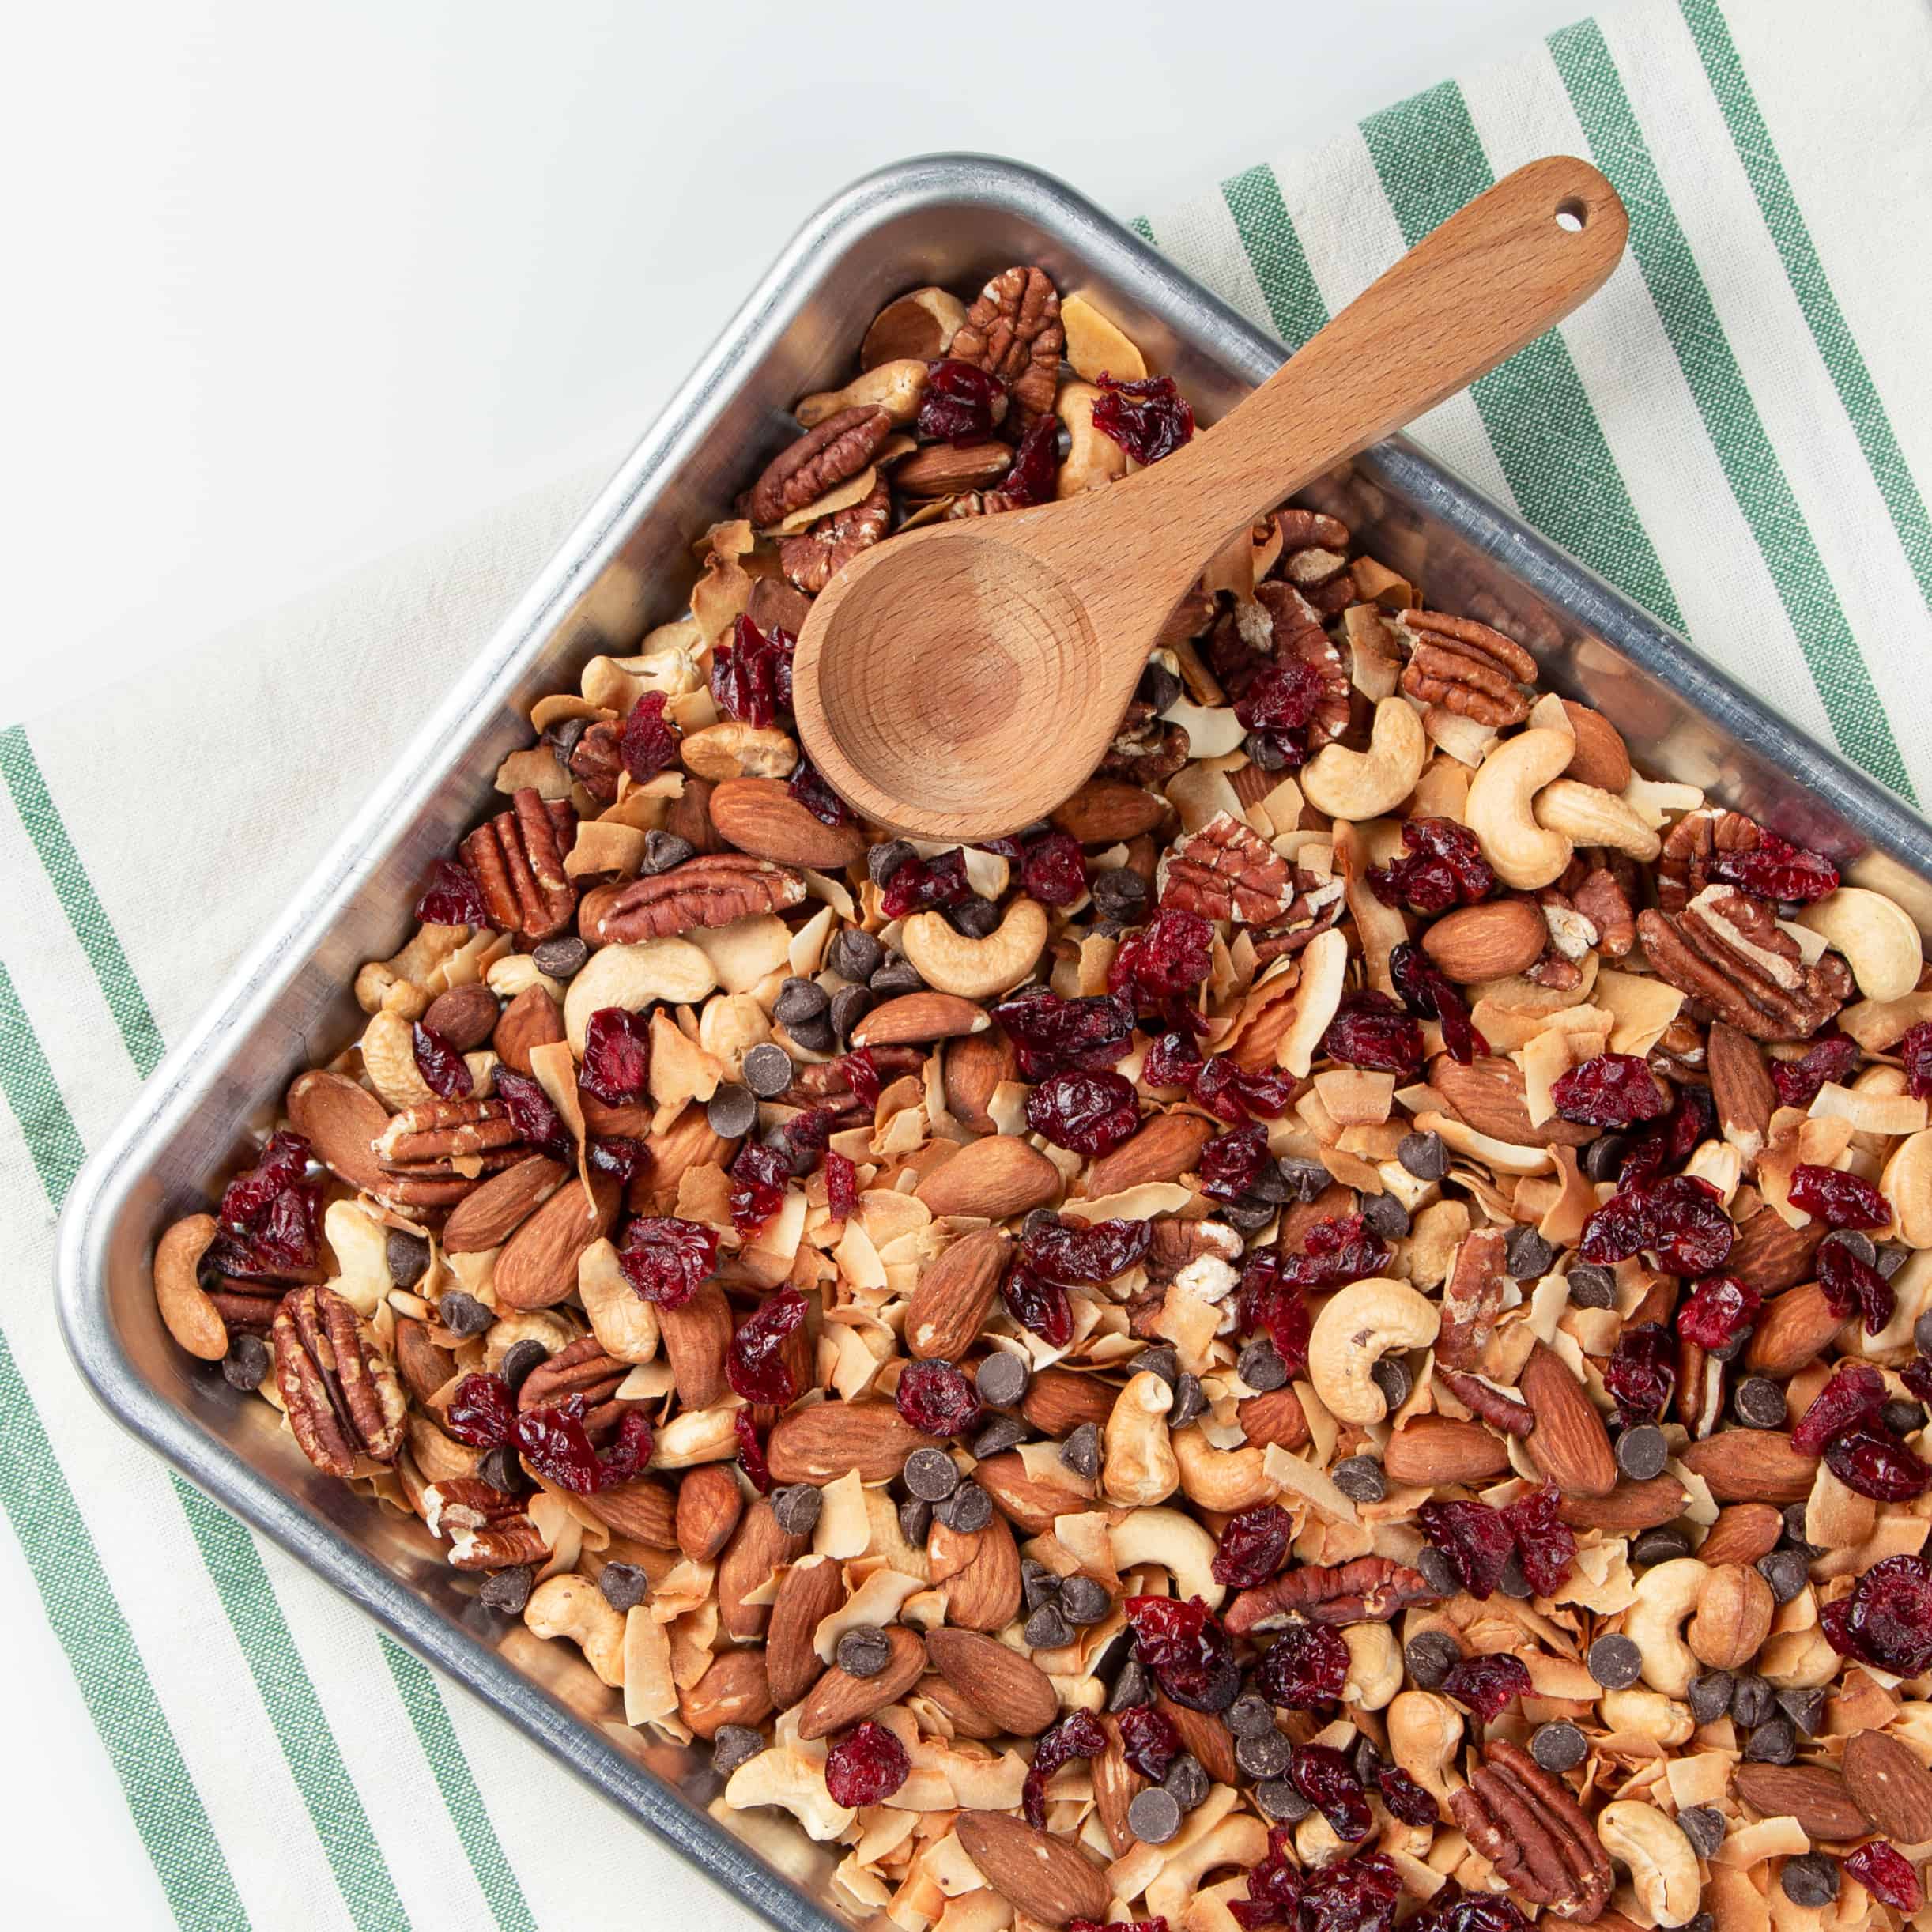
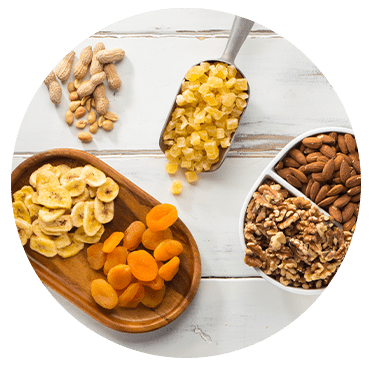
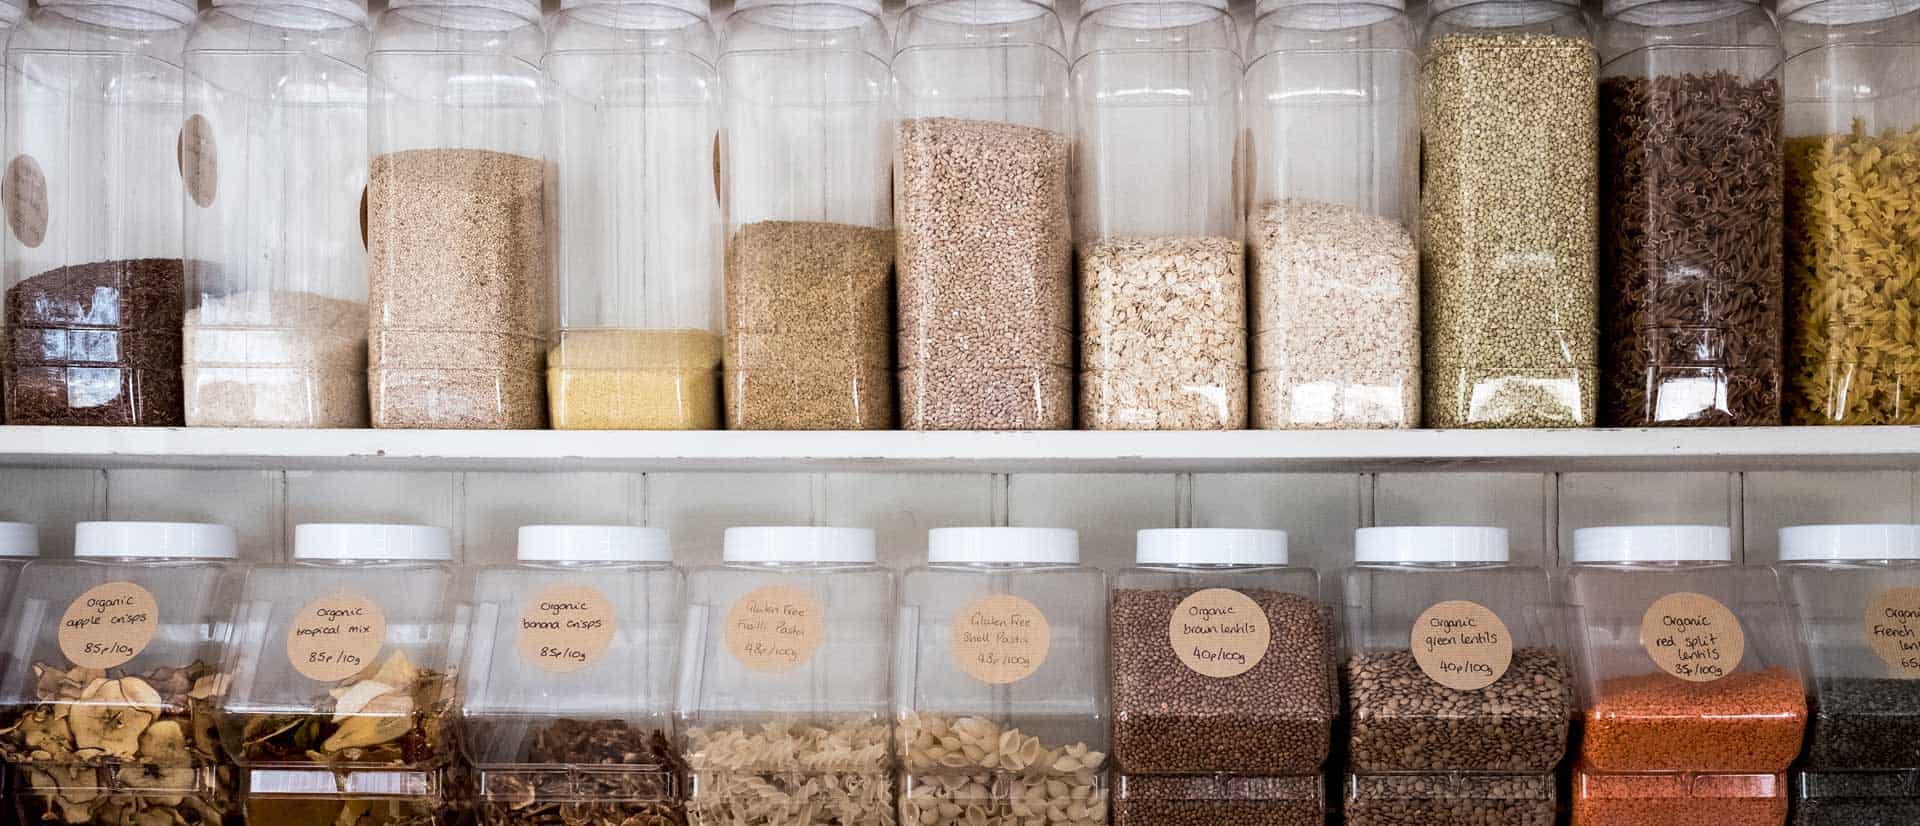
Day 10: One-pan Trail Mix
Do you have a pantry full of half-used nuts, chocolate chips, or dried fruits leftover from other recipes? Well, you’re in luck! Create a trail mix choc-full of nutrients using a variety of items. No matter what you have, aim for a hearty variety of salty and sweet.Ingredients:
- 2 cups Unsweetened coconut flakes
- 1 cup Raw or salted almonds
- 1 cup Raw or salted cashews
- 1 cup Raw or salted pecans
- 1 cup Dark chocolate chips
- 1 cup Dried cranberries
Day 11: DIY Tea Blend
Practice a little self-care and sip on a homemade tea. Your spice cabinet is full of aromatic ingredients to create the perfect drink for unwinding.Ingredients:
- 1 cup Boiling water
- 1 Tbsp. Dried peppermint leaves
- 1/2 Tbsp. Ground ginger
- Fresh lemon juice to taste
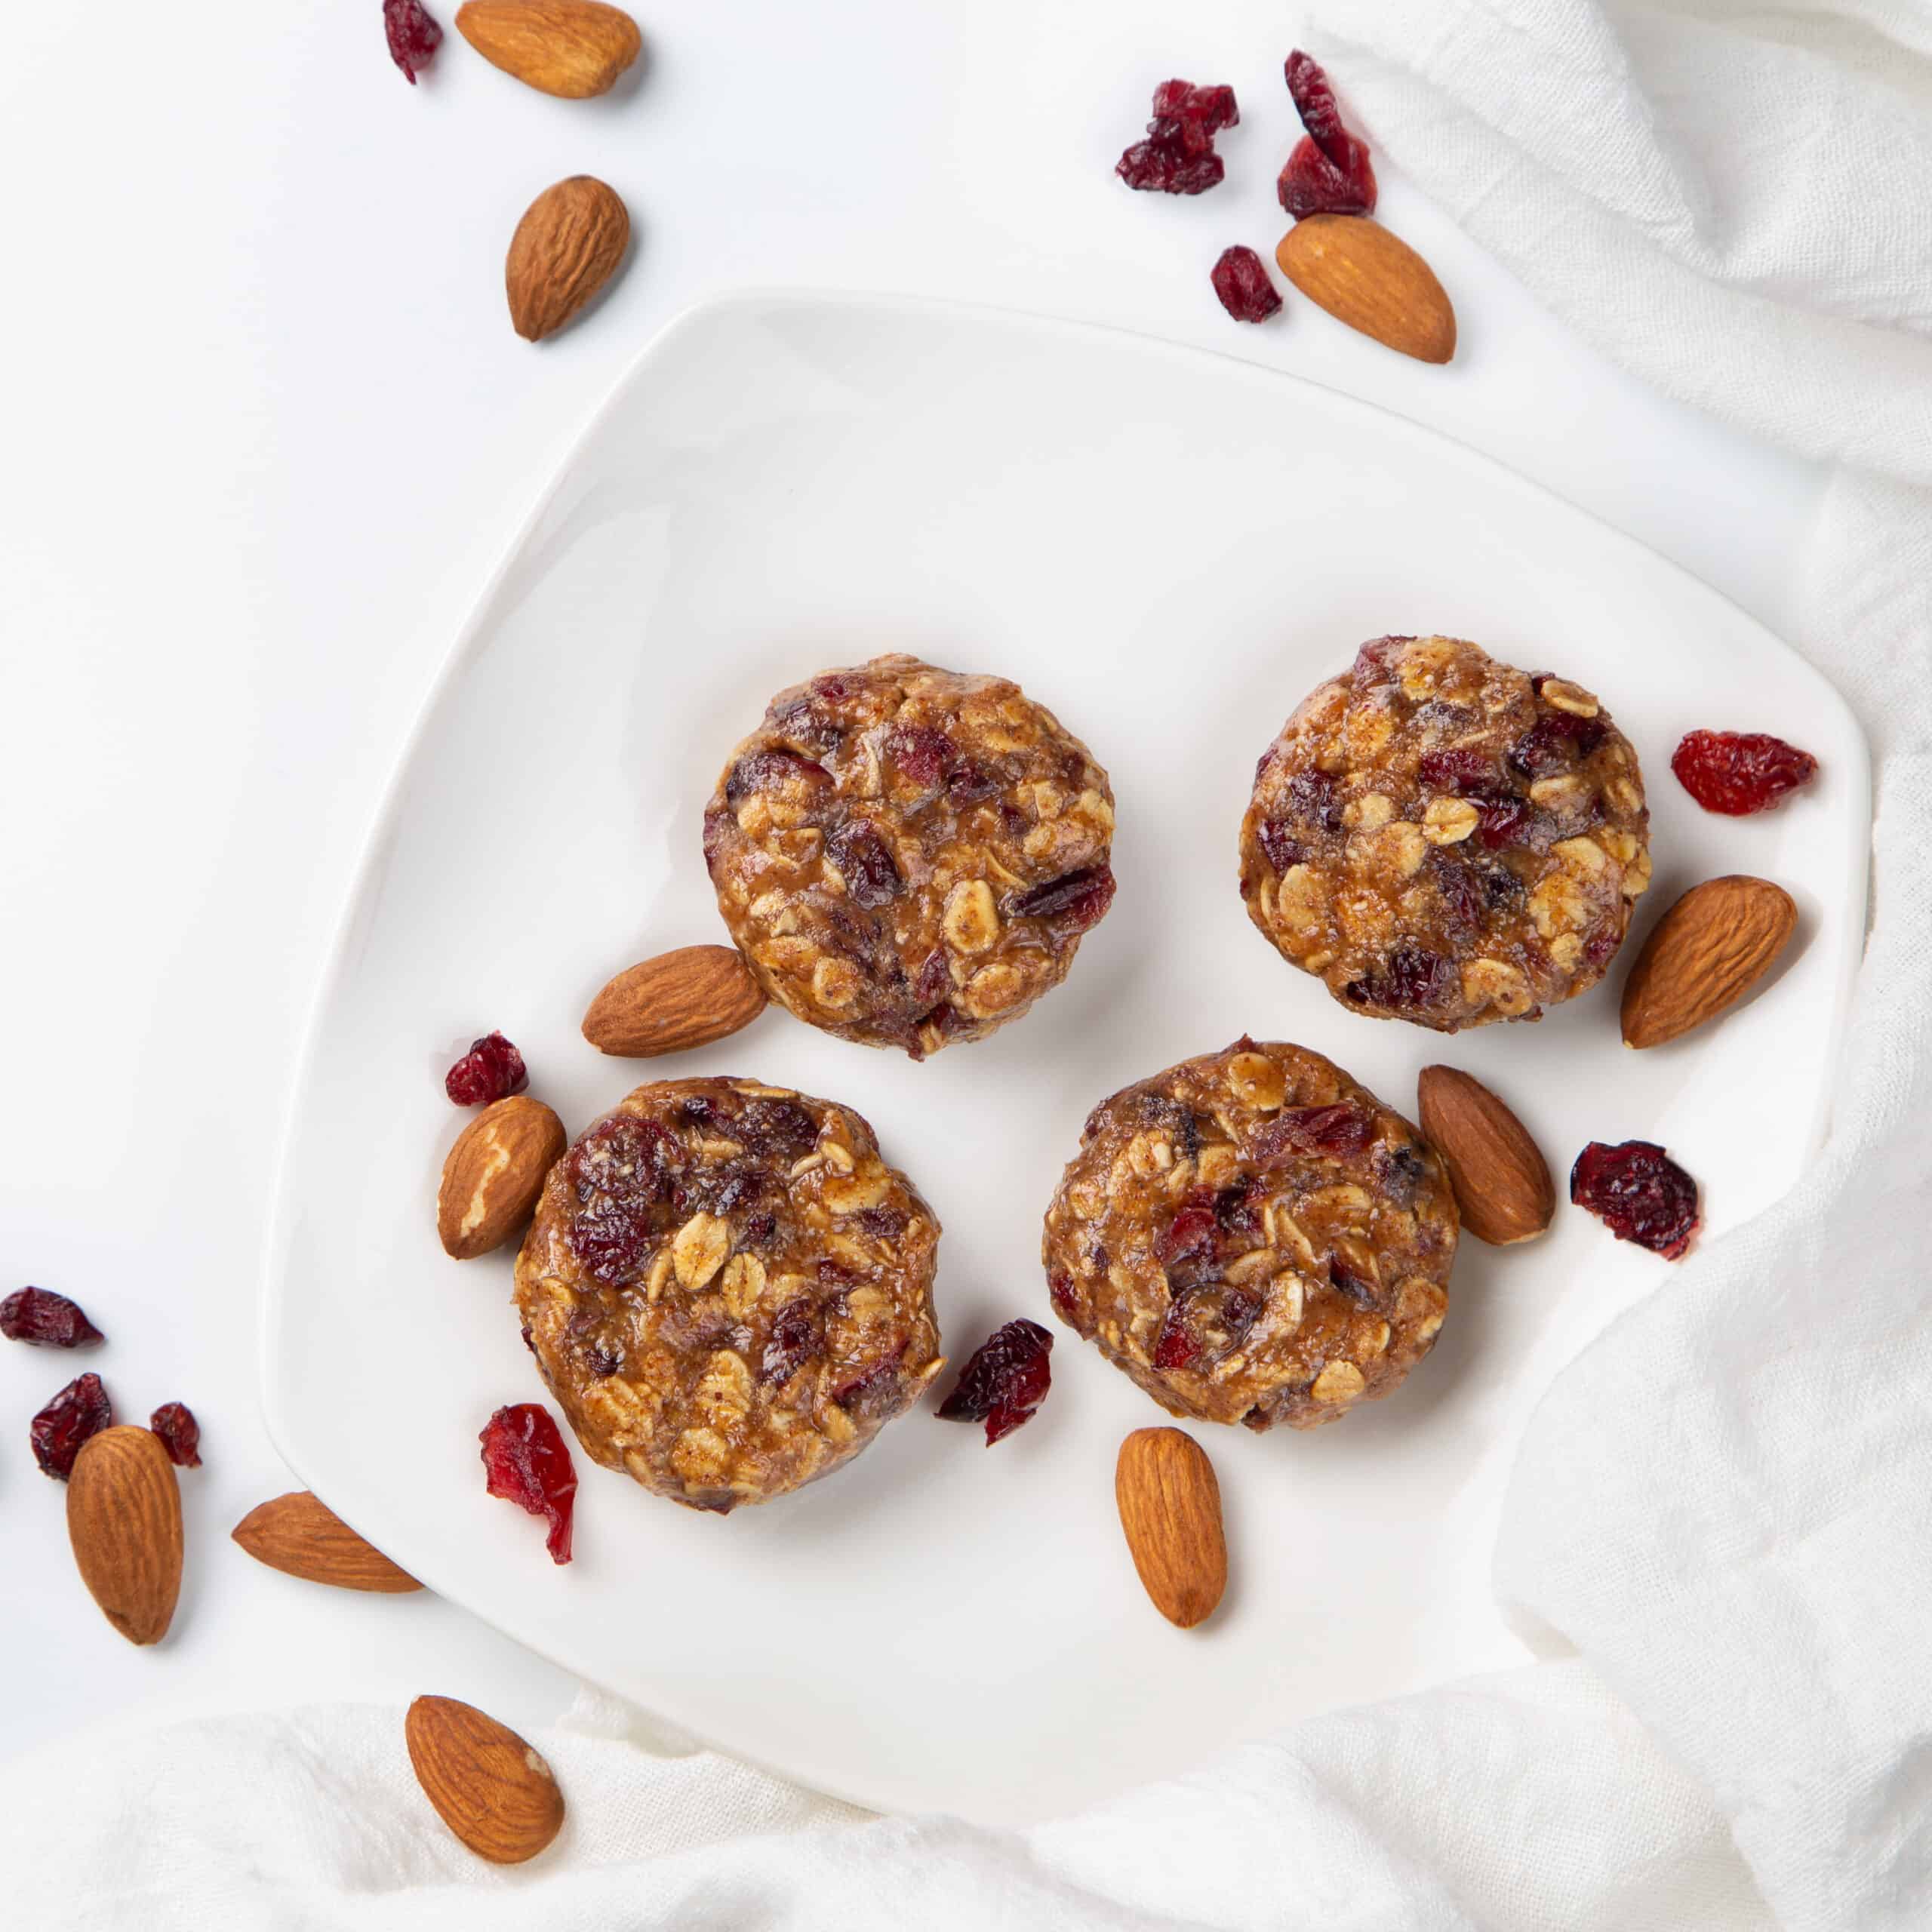
Day 12: No-bake Energy Bites
Give yourself a boost of energy and nutrients with these tasty, no-bake energy bites!Ingredients:
- 1/4 cup Old fashioned oats
- 1/4 cup Nut butter of choice
- 1/4 cup Raisins or dried fruit of choice
- 1/8 tsp. Dried cinnamon
- 1/8 cup Maple syrup
- 1/2 tsp. Vanilla extract
Day 13: One-pot Pasta
Calling all pasta-lovers! This one’s for you–make a simple one-pot pasta dish you and the whole family will love.Ingredients:
- 16 oz. Spaghetti
- 1 tsp. Oregano
- 2 tsp. Salt
- 2 1/2 cups Sprouts Organic Vegetable Broth
- 4 Garlic cloves, sliced
- 1 tsp. Black pepper
- 1 14.5oz. can Muir Glen Organic Diced Tomatoes
- Grated Parmigiano-Reggiano Cheese
- 1/2 lrg. Onion, chopped
- 20 Basil Leaves

Day 14: Yogurt Pizza Dough
Homemade pizza dough isn’t as hard as it may seem. Our friend, Danny Seo, gave us a simple, two-ingredient recipe that anyone can make!Ingredients:
- 2 cups Self-rising flour
- 1 cup Organic Greek plain whole milk yogurt
- Pizza toppings of choice
 Finding the balance between work and home can be a challenge but it’s not impossible. We’ve collected a couple self-care tips and tricks to help you while working from home!


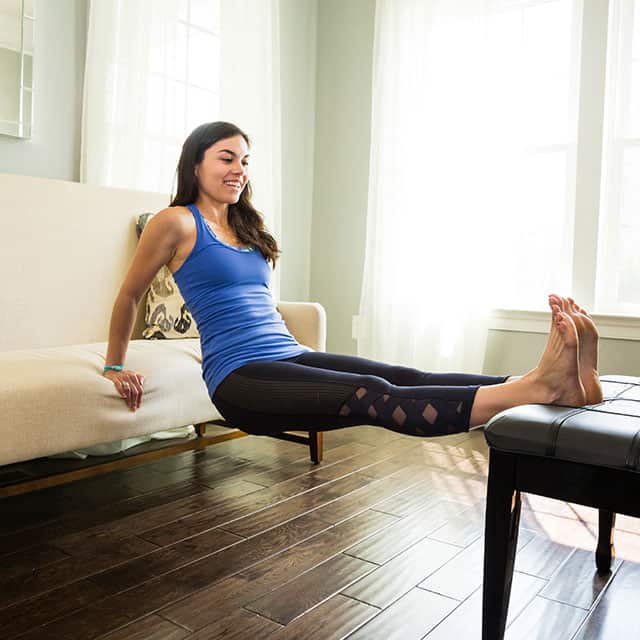 No gym equipment? No problem. Put common household items to use and get moving with a simple fitness routine. This full-body routine will take 20-30 minutes and can be modified depending on your fitness level and experience. The endorphins released during physical activity can naturally boost your mood, increase your immunity and contribute to your general well-being.
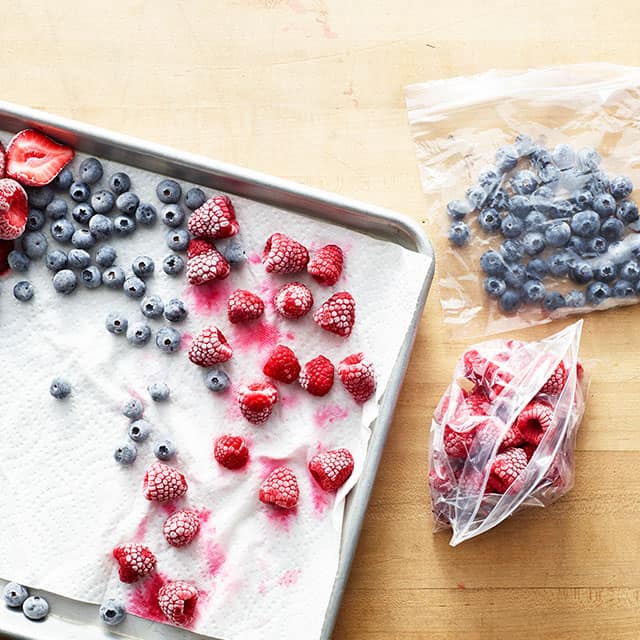 We’re all spending more time at home these days, so why not spend some of it learning to extend the life of your produce? Freezing food is one of the best ways to combat food waste and allows you to have plenty of food on hand for an extended period of time.
 Instructions:
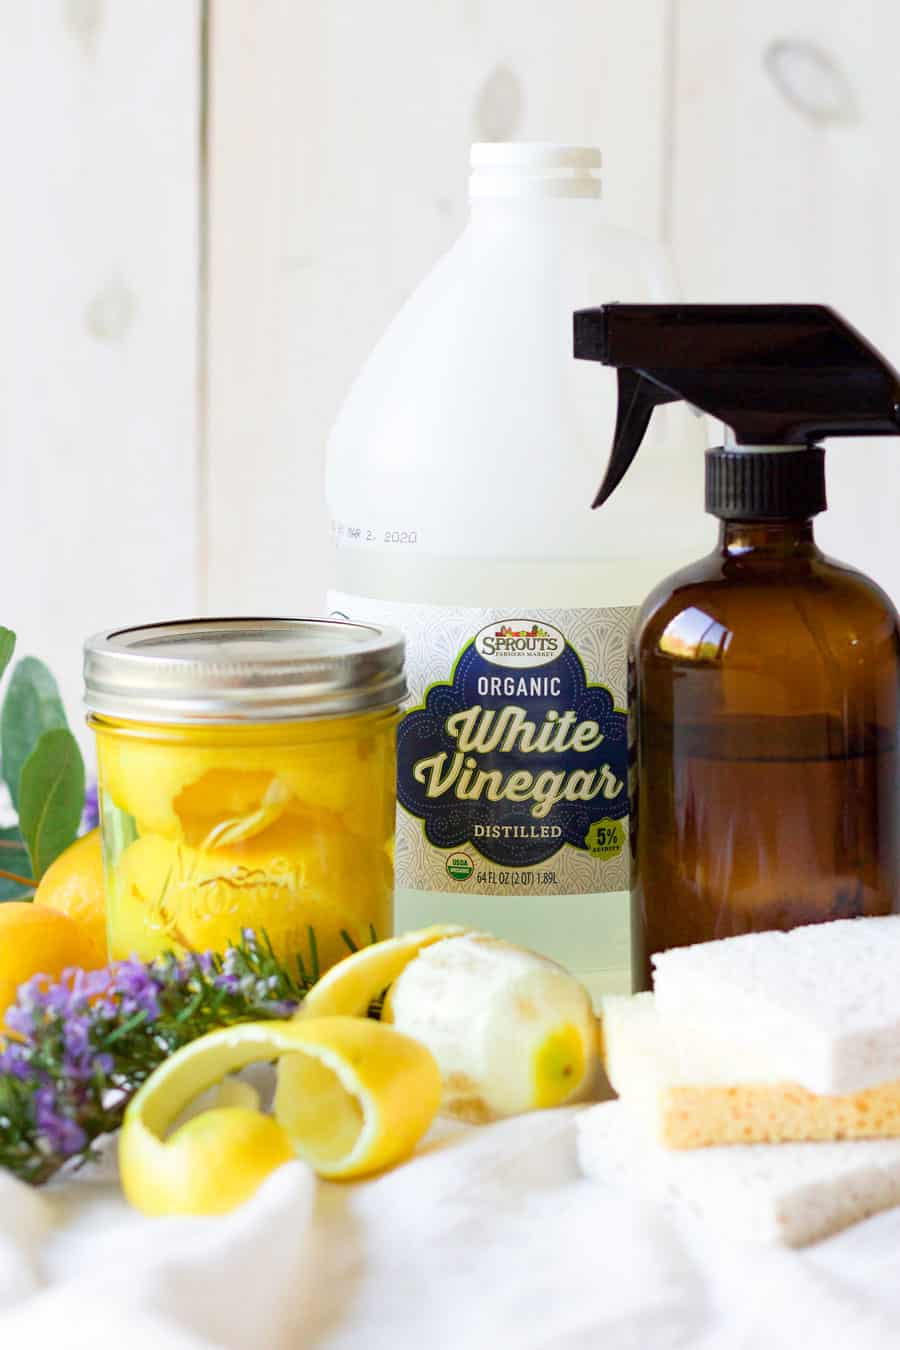
 Ingredients: